OpenSSH
Coolify uses SSH to connect to your server and deploy your applications. This is true even when using the localhost server where Coolify is running.
You have to configure SSH properly for Coolify to be able to access your servers.
Methods to setup
There are two ways to setup OpenSSH
IMPORTANT!
The SSH key must not have a passphrase or 2FA enabled for the user used to run the Coolify installation script or the SSH connection will fail.
Semi-automatic setup
1. Install OpenSSH Server
apt update && apt install -y openssh-server
systemctl enable --now ssh
dnf install -y openssh-server
systemctl enable --now sshdzypper install -y openssh
systemctl enable --now sshdpacman -Sy --noconfirm openssh
systemctl enable --now sshdapk add openssh
rc-update add sshd
rc-service sshd start2. Configure SSH
- Edit SSH config:
nano /etc/ssh/sshd_config- Make these settings options:
PubkeyAuthentication yes
PermitRootLogin prohibit-password
Note
The PermitRootLogin option can be set to yes, without-password, or prohibit-password. For enhanced security, we recommend using prohibit-password.
IMPORTANT!
Make sure to add your SSH keys to the ~/.ssh/authorized_keys file before setting PermitRootLogin to prohibit-password, otherwise you may lock yourself out of the server.
- Restart SSH:
systemctl restart sshsystemctl restart sshdrc-service sshd restartManual Setup
Note
The following steps are handled automatically by the Coolify installation script. Manual configuration is only needed if the automatic setup fails.
1. Install OpenSSH Server
apt update && apt install -y openssh-server
systemctl enable --now ssh
dnf install -y openssh-server
systemctl enable --now sshdzypper install -y openssh
systemctl enable --now sshdpacman -Sy --noconfirm openssh
systemctl enable --now sshdapk add openssh
rc-update add sshd
rc-service sshd start2. Configure SSH
- Edit SSH config:
nano /etc/ssh/sshd_config- Make these settings options:
PubkeyAuthentication yes
PermitRootLogin prohibit-password
Note
The PermitRootLogin option can be set to yes, without-password, or prohibit-password. For enhanced security, we recommend using prohibit-password.
IMPORTANT!
Make sure to add your SSH keys to the ~/.ssh/authorized_keys file before setting PermitRootLogin to prohibit-password, otherwise you may lock yourself out of the server.
- Restart SSH:
systemctl restart sshsystemctl restart sshdrc-service sshd restart3. Generate SSH Key for Coolify
Run the following commands on the server:
- Generate SSH Key
ssh-keygen -t ed25519 -a 100 \
  -f /data/coolify/ssh/keys/[email protected] \
-q -N "" -C root@coolify- Change ownership:
chown 9999 /data/coolify/ssh/keys/[email protected]4. Authorize the Public Key
- Add public key to
authorized_keysfile:
mkdir -p ~/.ssh
cat /data/coolify/ssh/keys/[email protected] >> ~/.ssh/authorized_keys- Change permissions:
chmod 700 ~/.ssh
chmod 600 ~/.ssh/authorized_keys
5. Add private key to Coolify
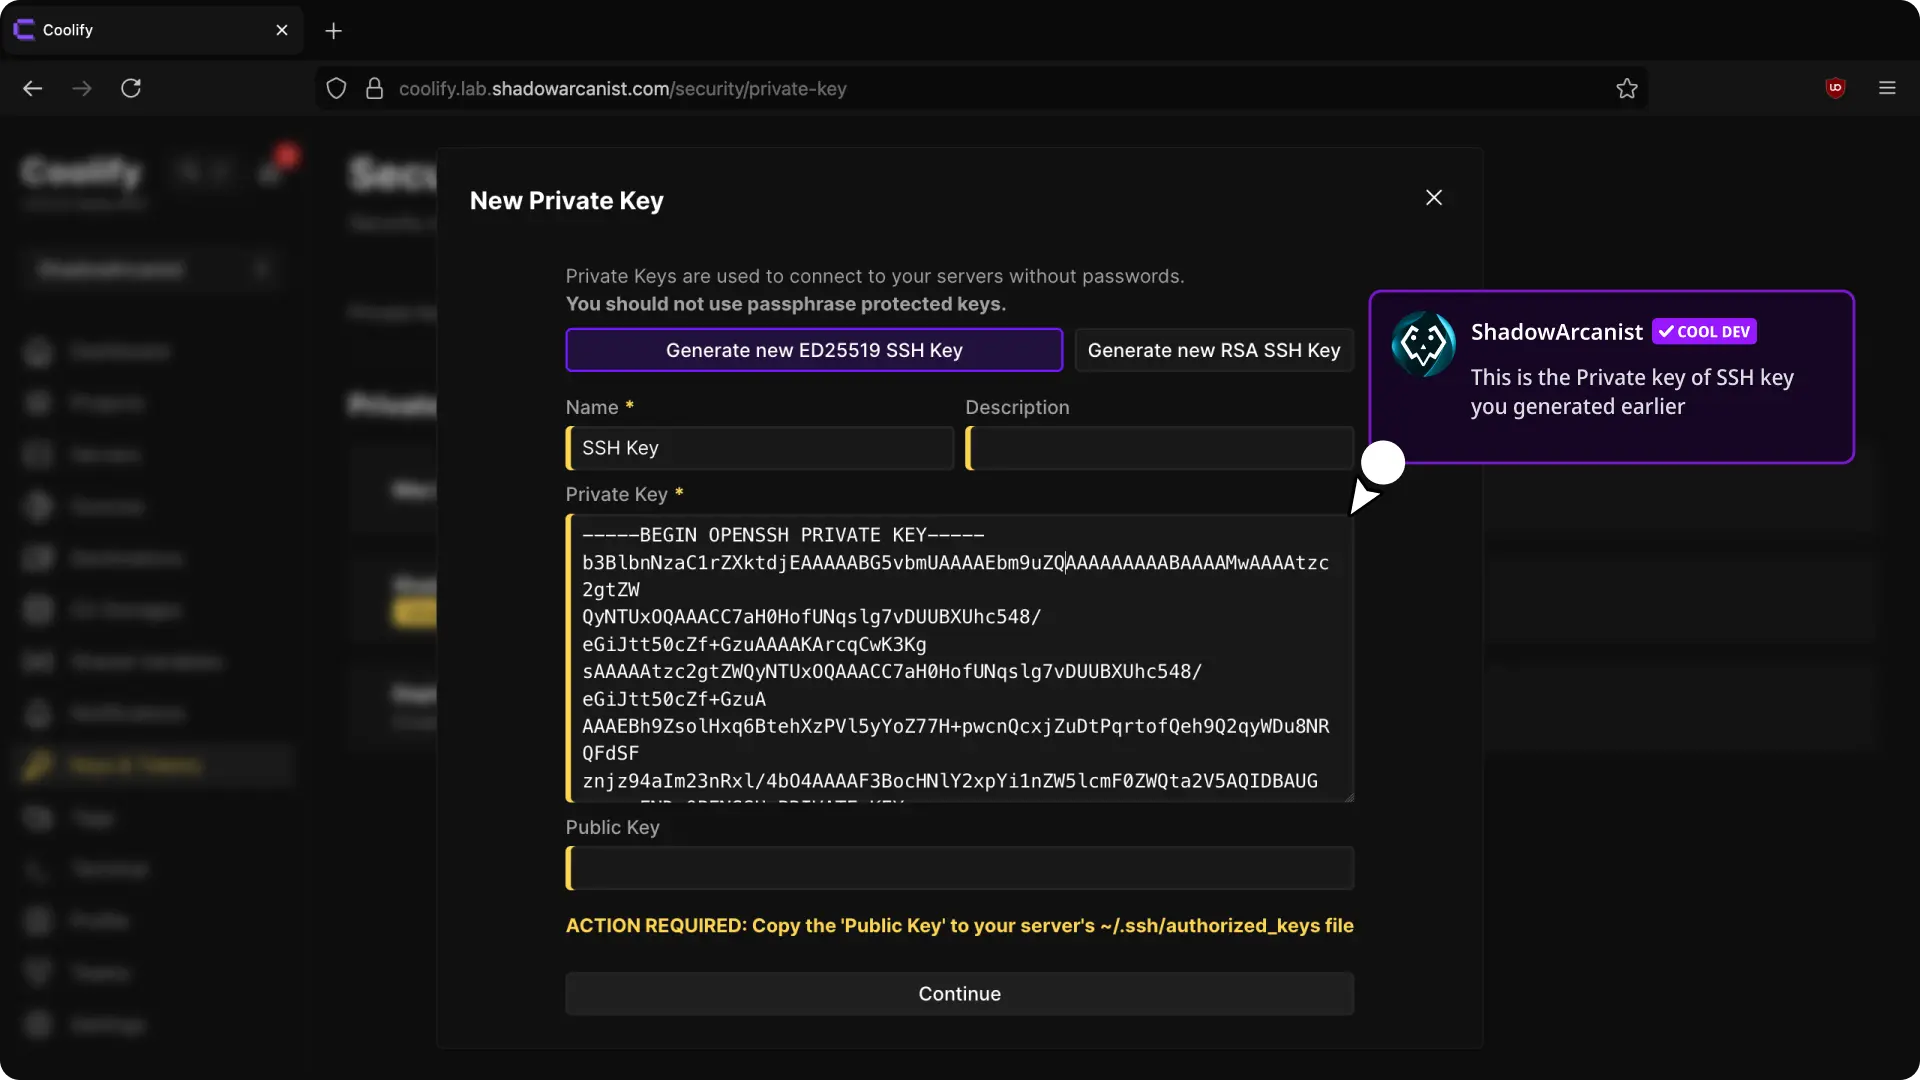
- Copy the content of private key:
# This command will show you the content of the Private key, you have to copy the content manually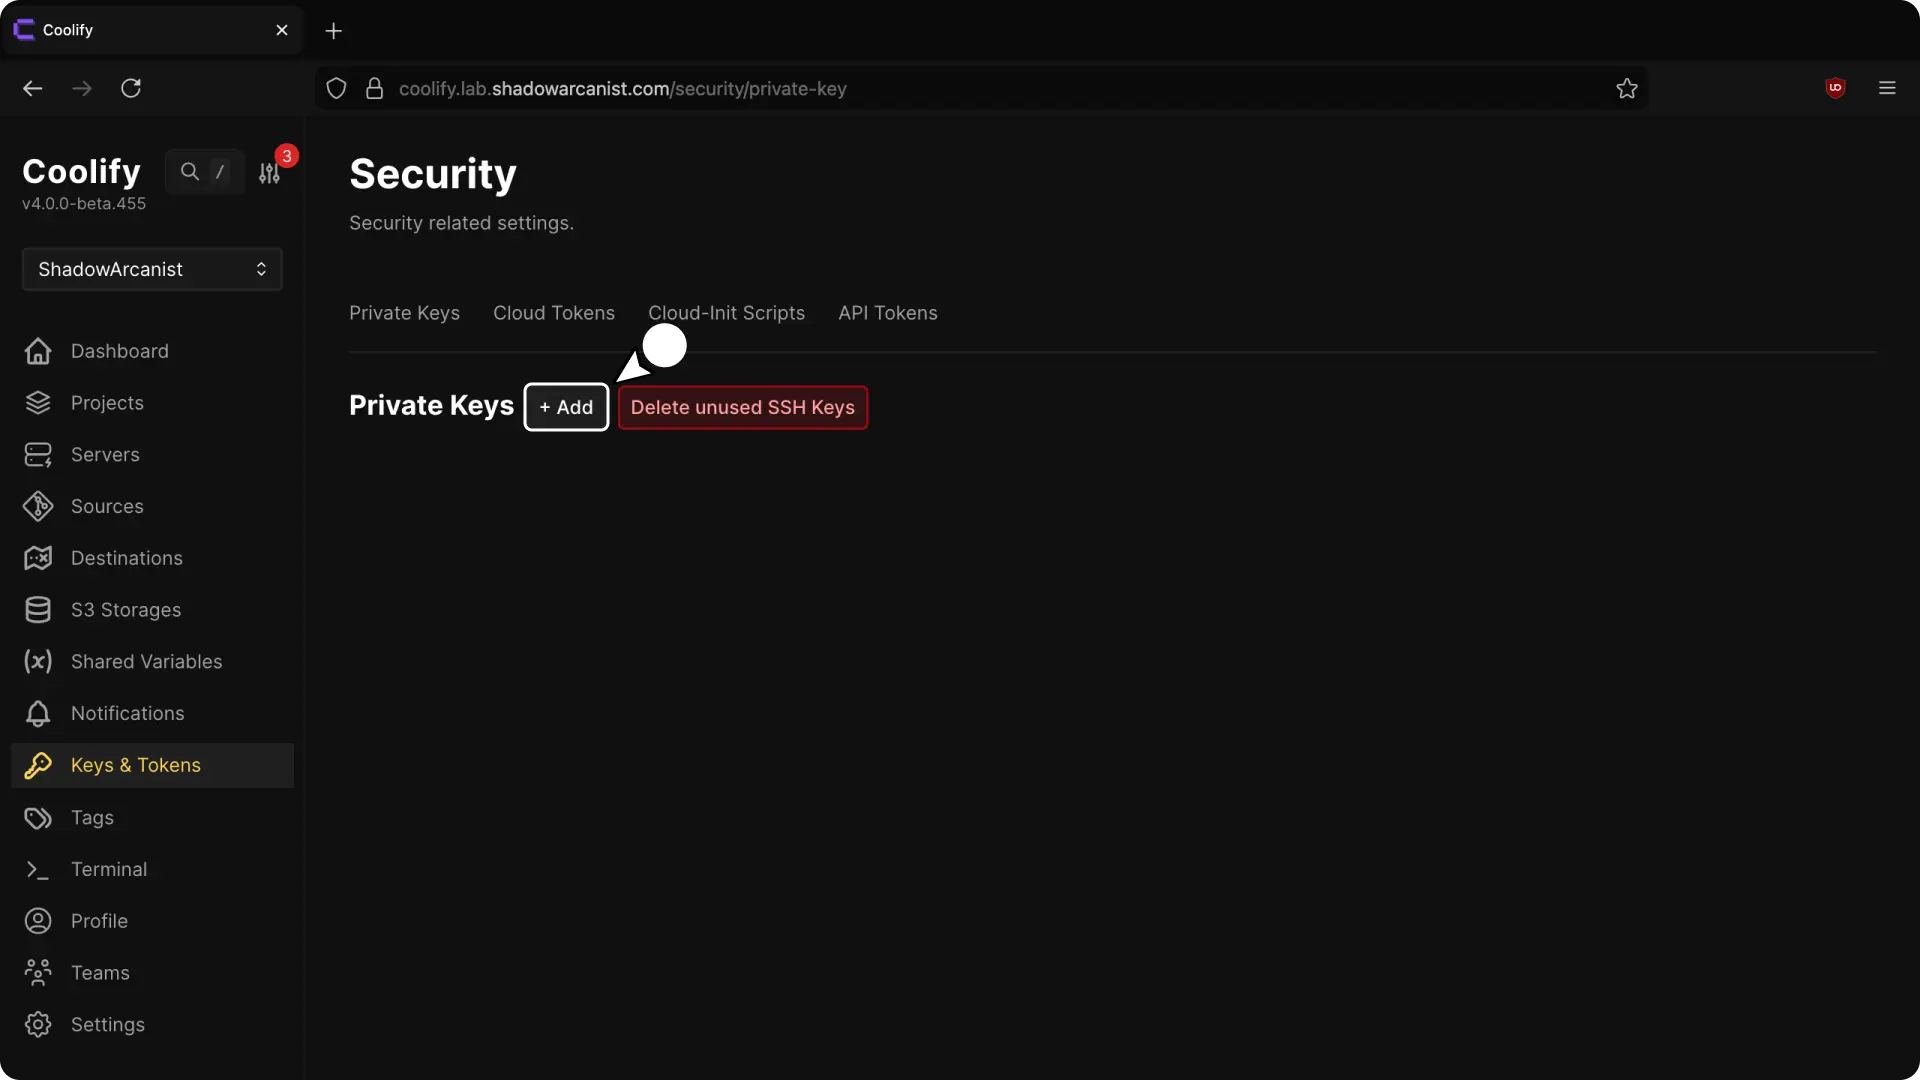
cat /data/coolify/ssh/keys/[email protected]- Login to your Coolify dashboard and Add a new private key
On private key input field you have to paste the private key you copied on previous step:
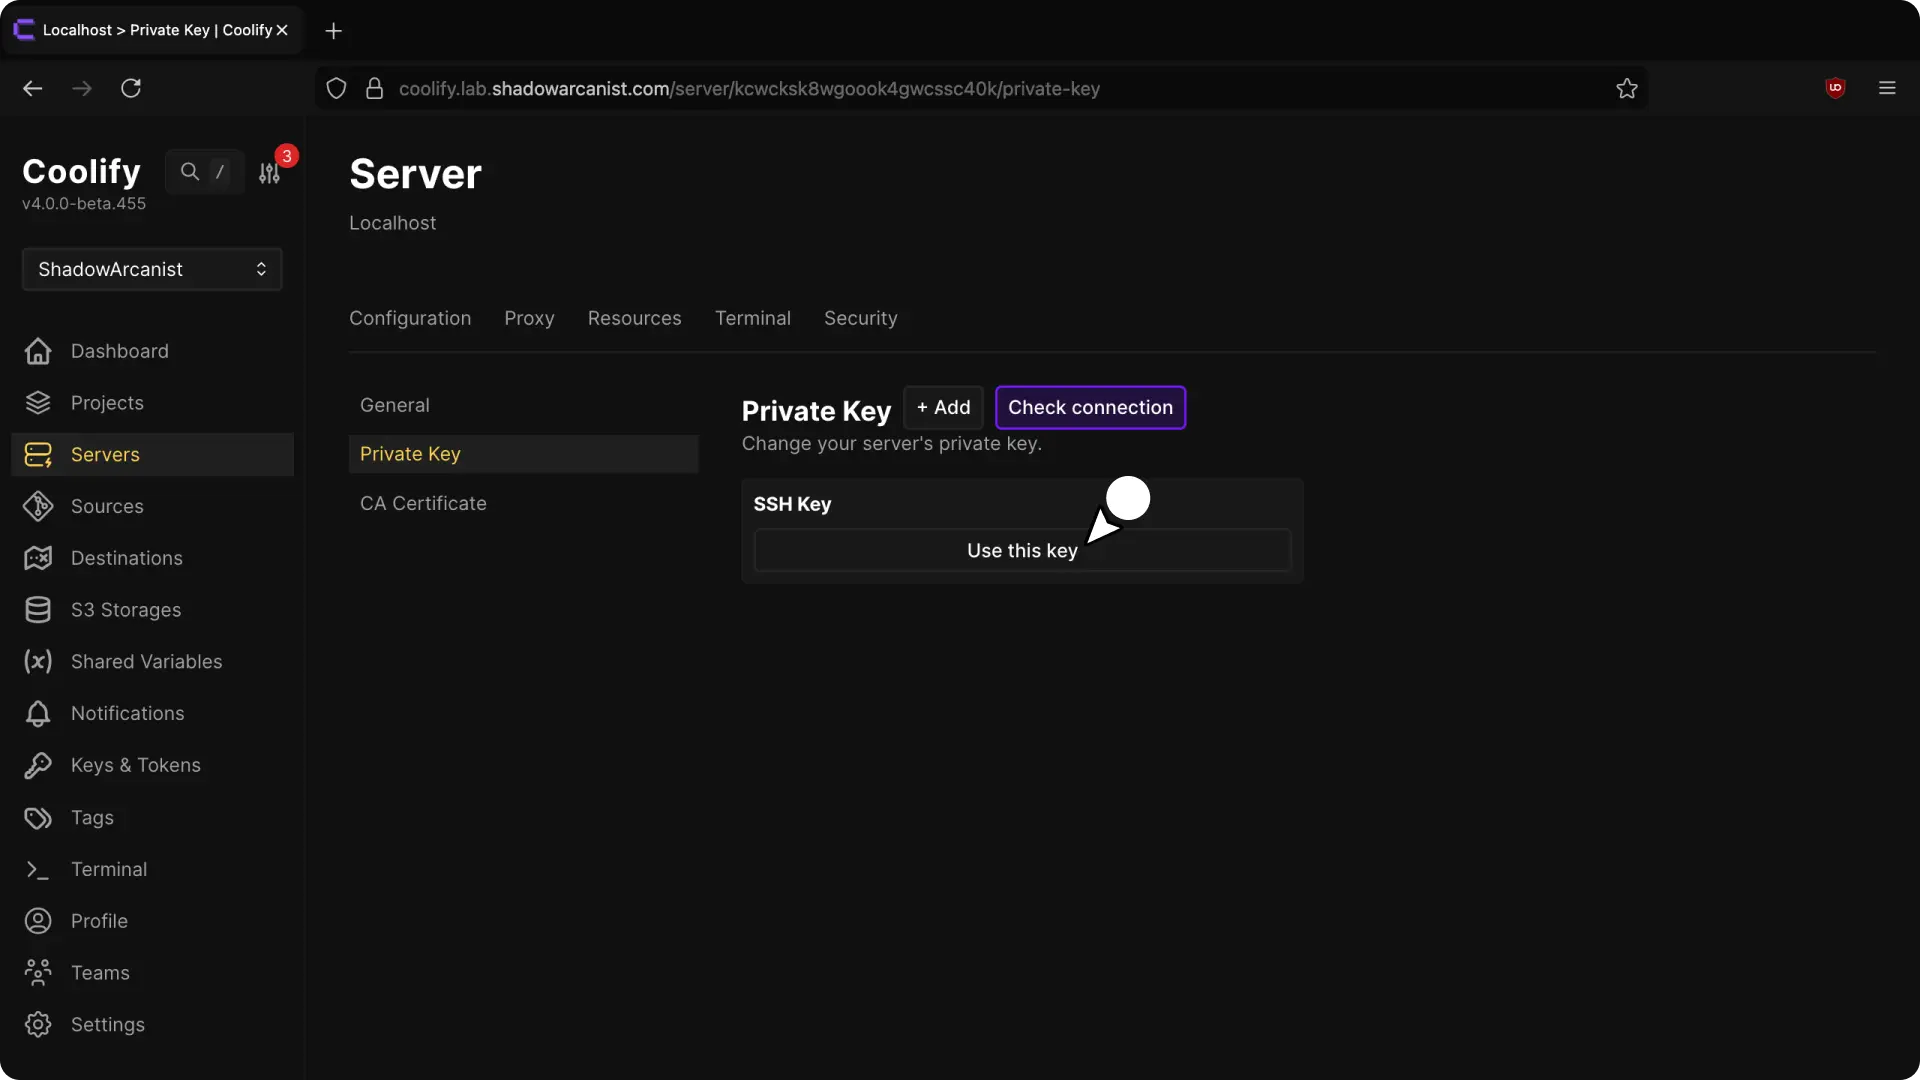
- Navigate to the Servers tab and click on the
localhostserver
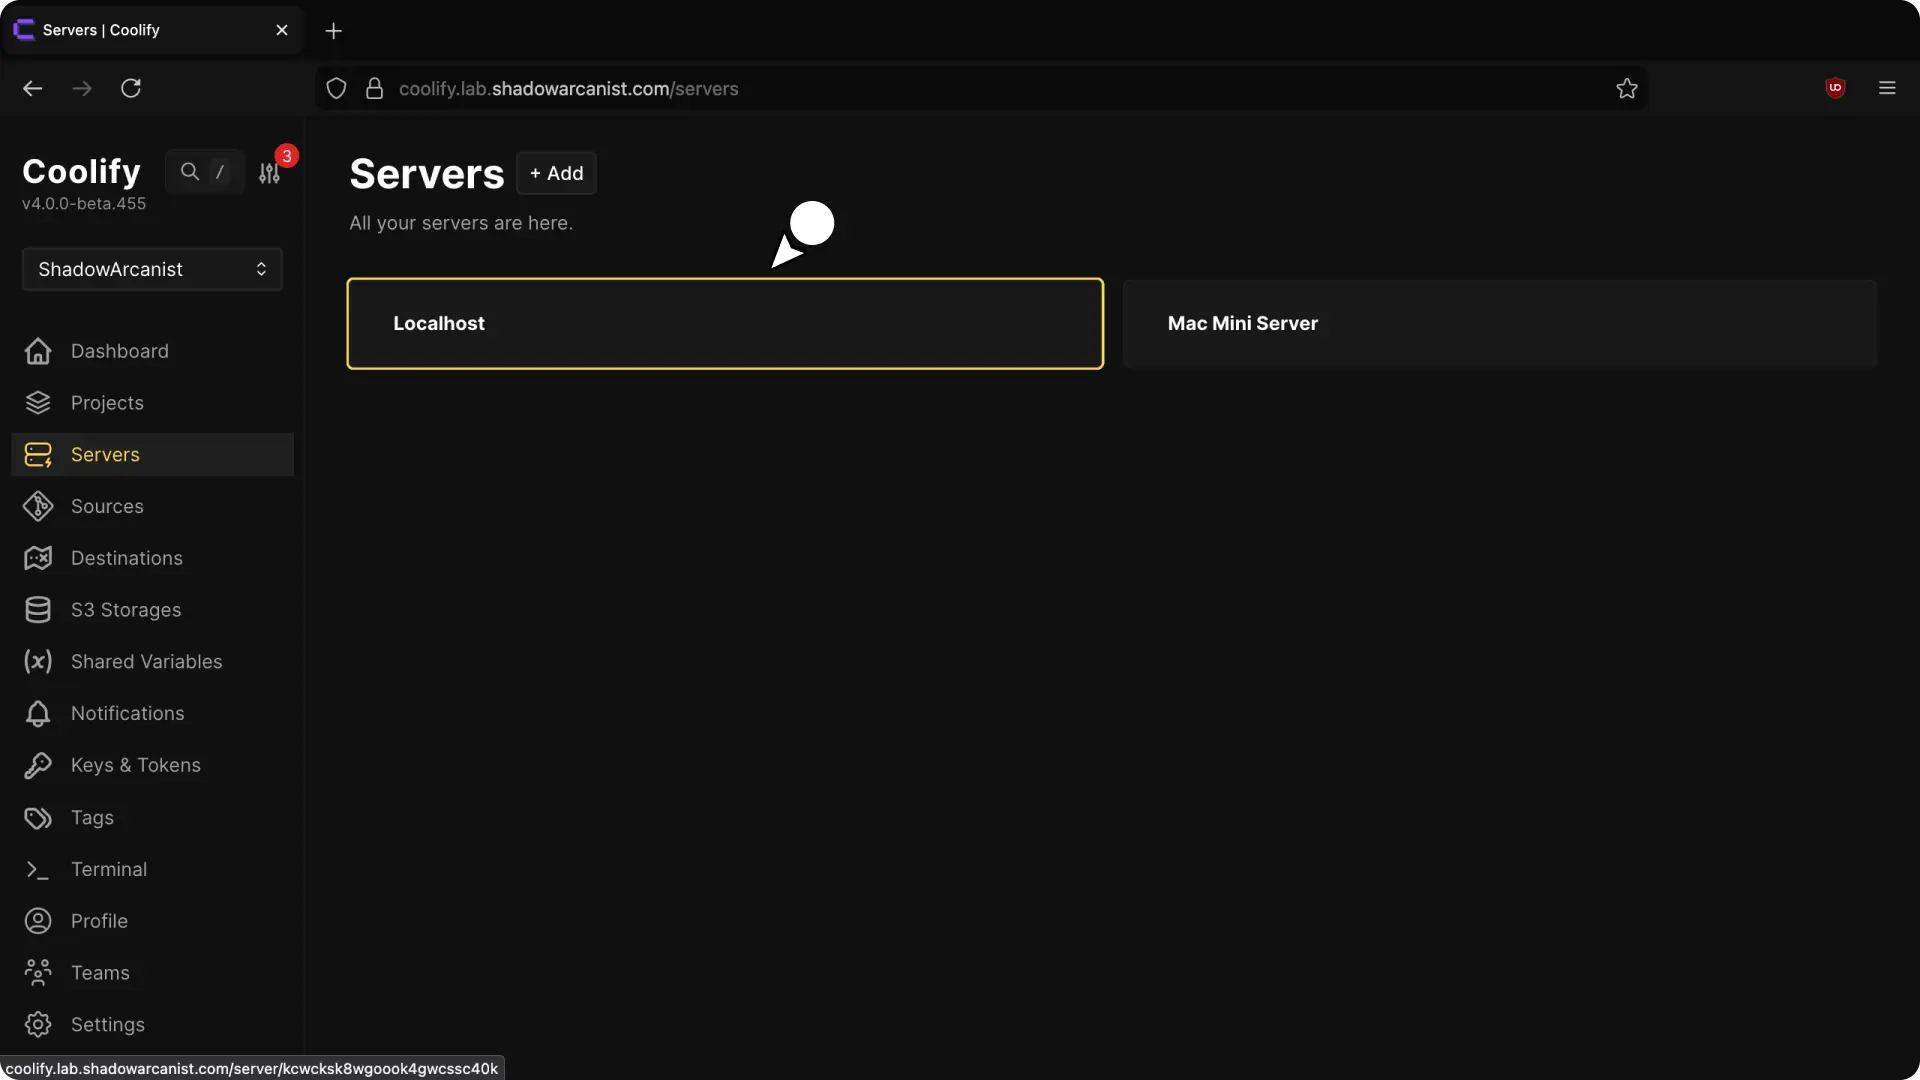
- Navigate to "Private key" page and select the Private key you added in the previous step.
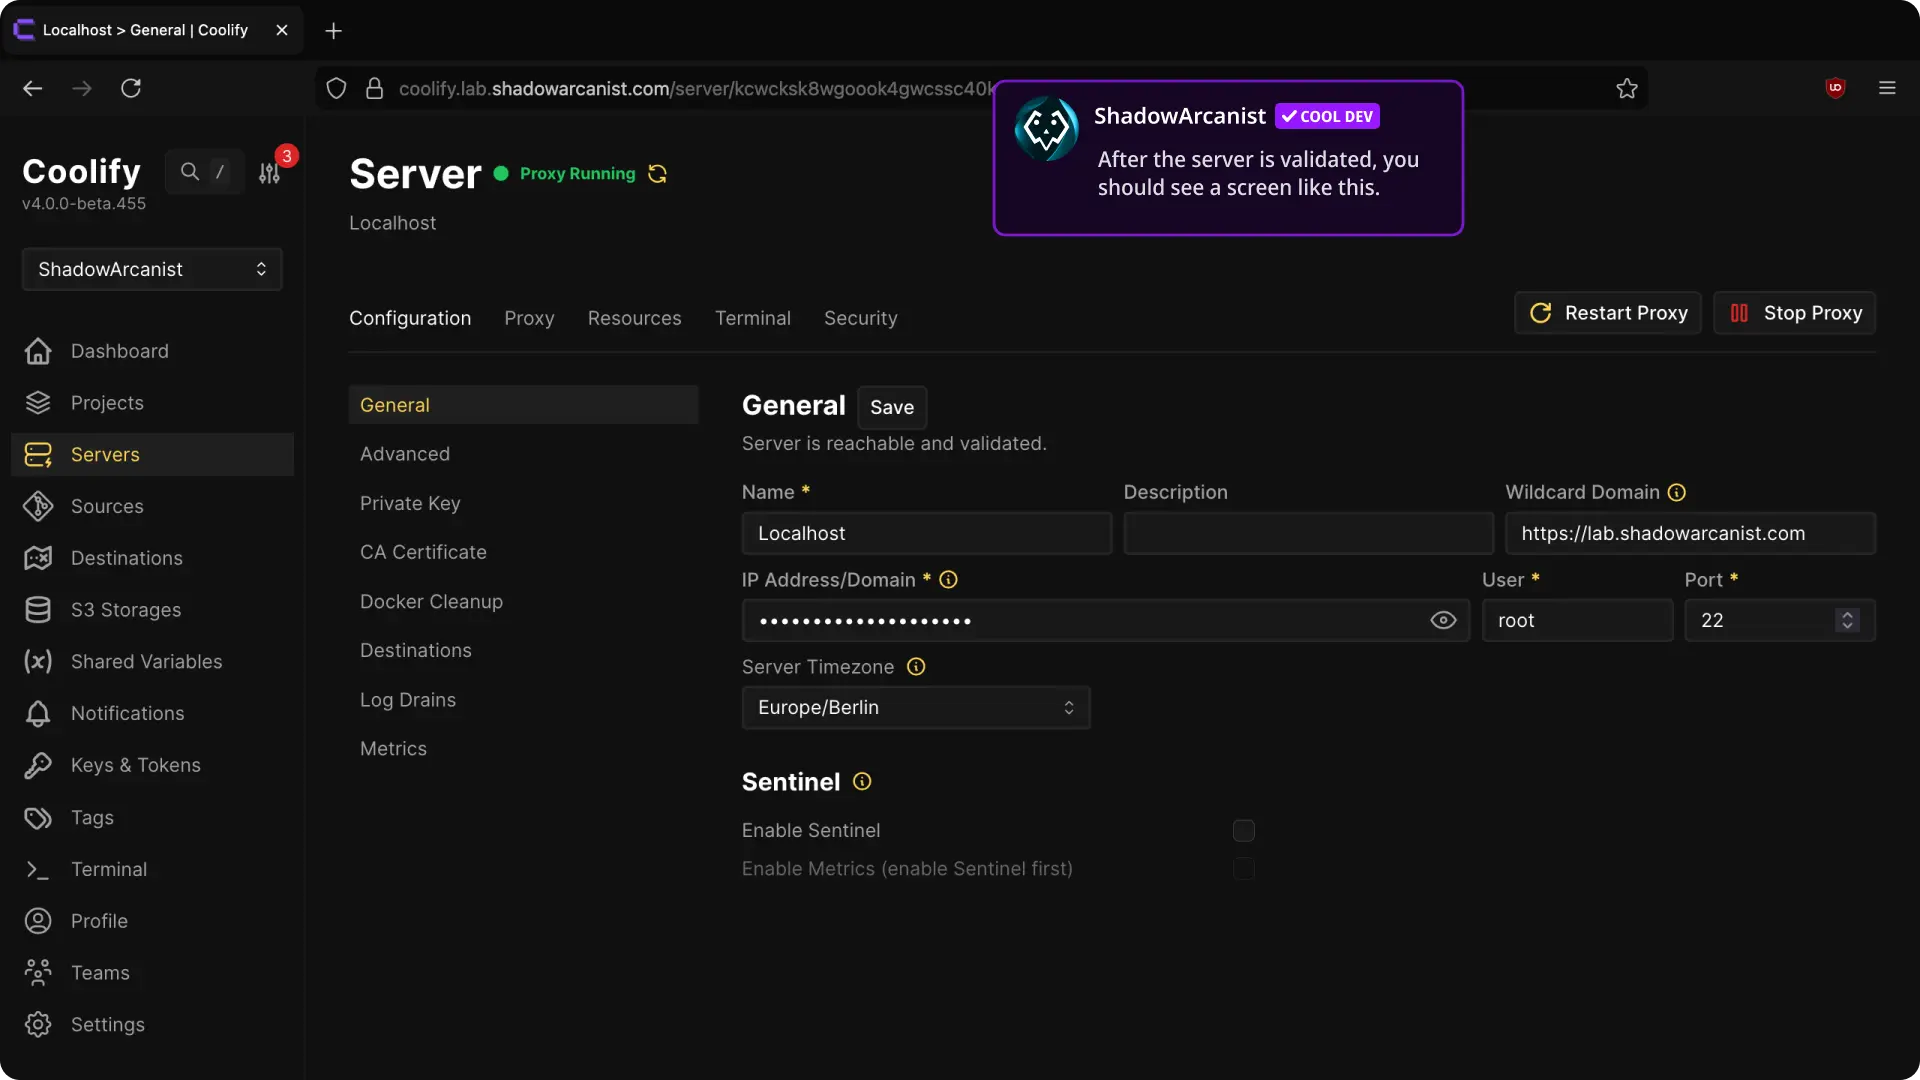
6. Validate Server
Navigate to "General" page and Click Validate Server & Install Docker Engine.
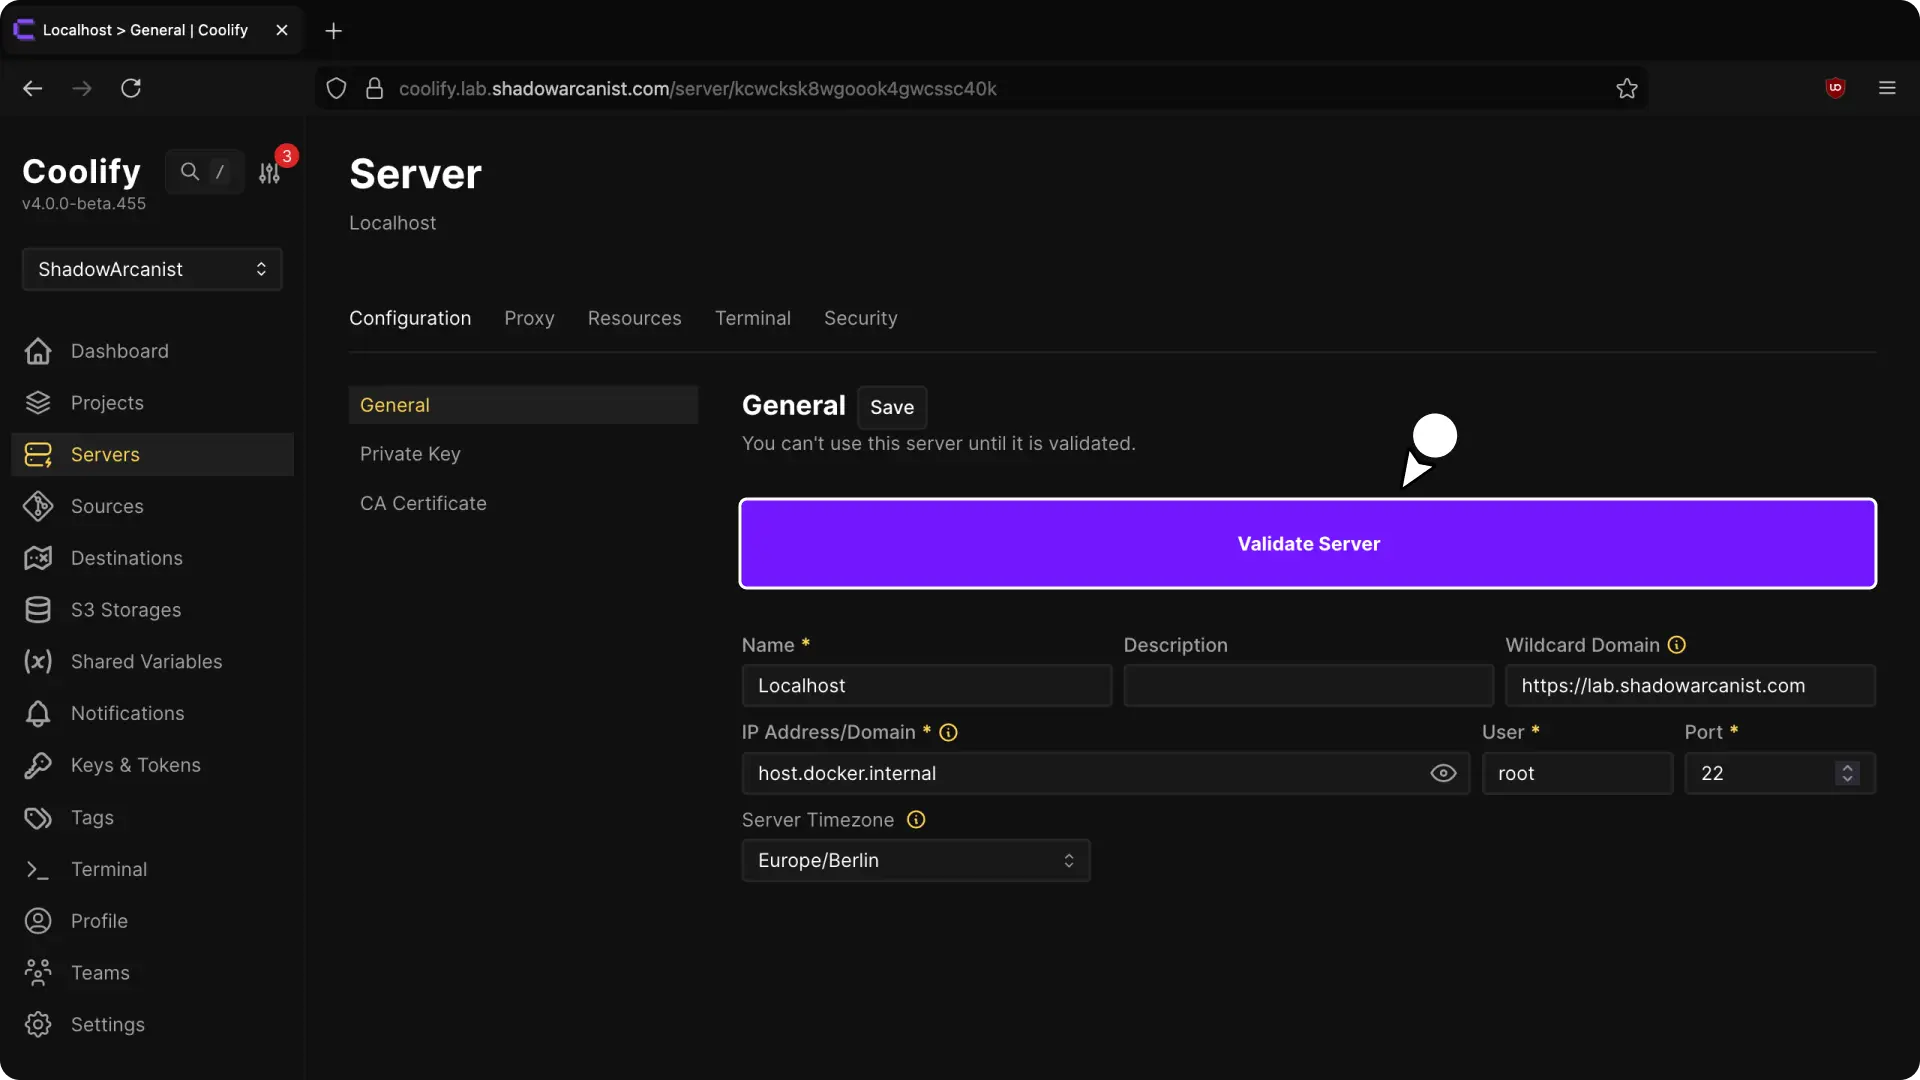
Once finished, you should see a green Proxy Running status indicating everything is set up.