GitHub Deploy Key
Deploy keys allow you to grant read-only access to a single private GitHub repository without using a personal access token or SSH key tied to your account.
When using deploy keys, Coolify can clone and deploy from private repositories securely, ensuring that only the specified repository is accessible.
Why Use Deploy Keys with Coolify?
- Secure Access: Grant read-only access to a single repository without sharing to many repositories.
- Repository-Specific: Deploy keys are scoped to one repository.
- No Account Exposure: Prevents potential security risks if the key is compromised.
- Cannot Install Github App: Deploy keys can be used when you cannot install a GitHub App to your organization.
When Not to Use Deploy Keys
- Multiple Repositories: If you need access to multiple private repositories, consider using a GitHub App.
Example Data
The following data is used as an example in this guide. Please replace it with your actual data when following the steps:
- Repository Owner:
ShadowArcanist - Repository Name:
coolify-dev - Deploy Key Name:
Deploy Key Tutorial - SSH URL:
[email protected]:ShadowArcanist/coolify-dev.git
1. Create a Private Key on Coolify
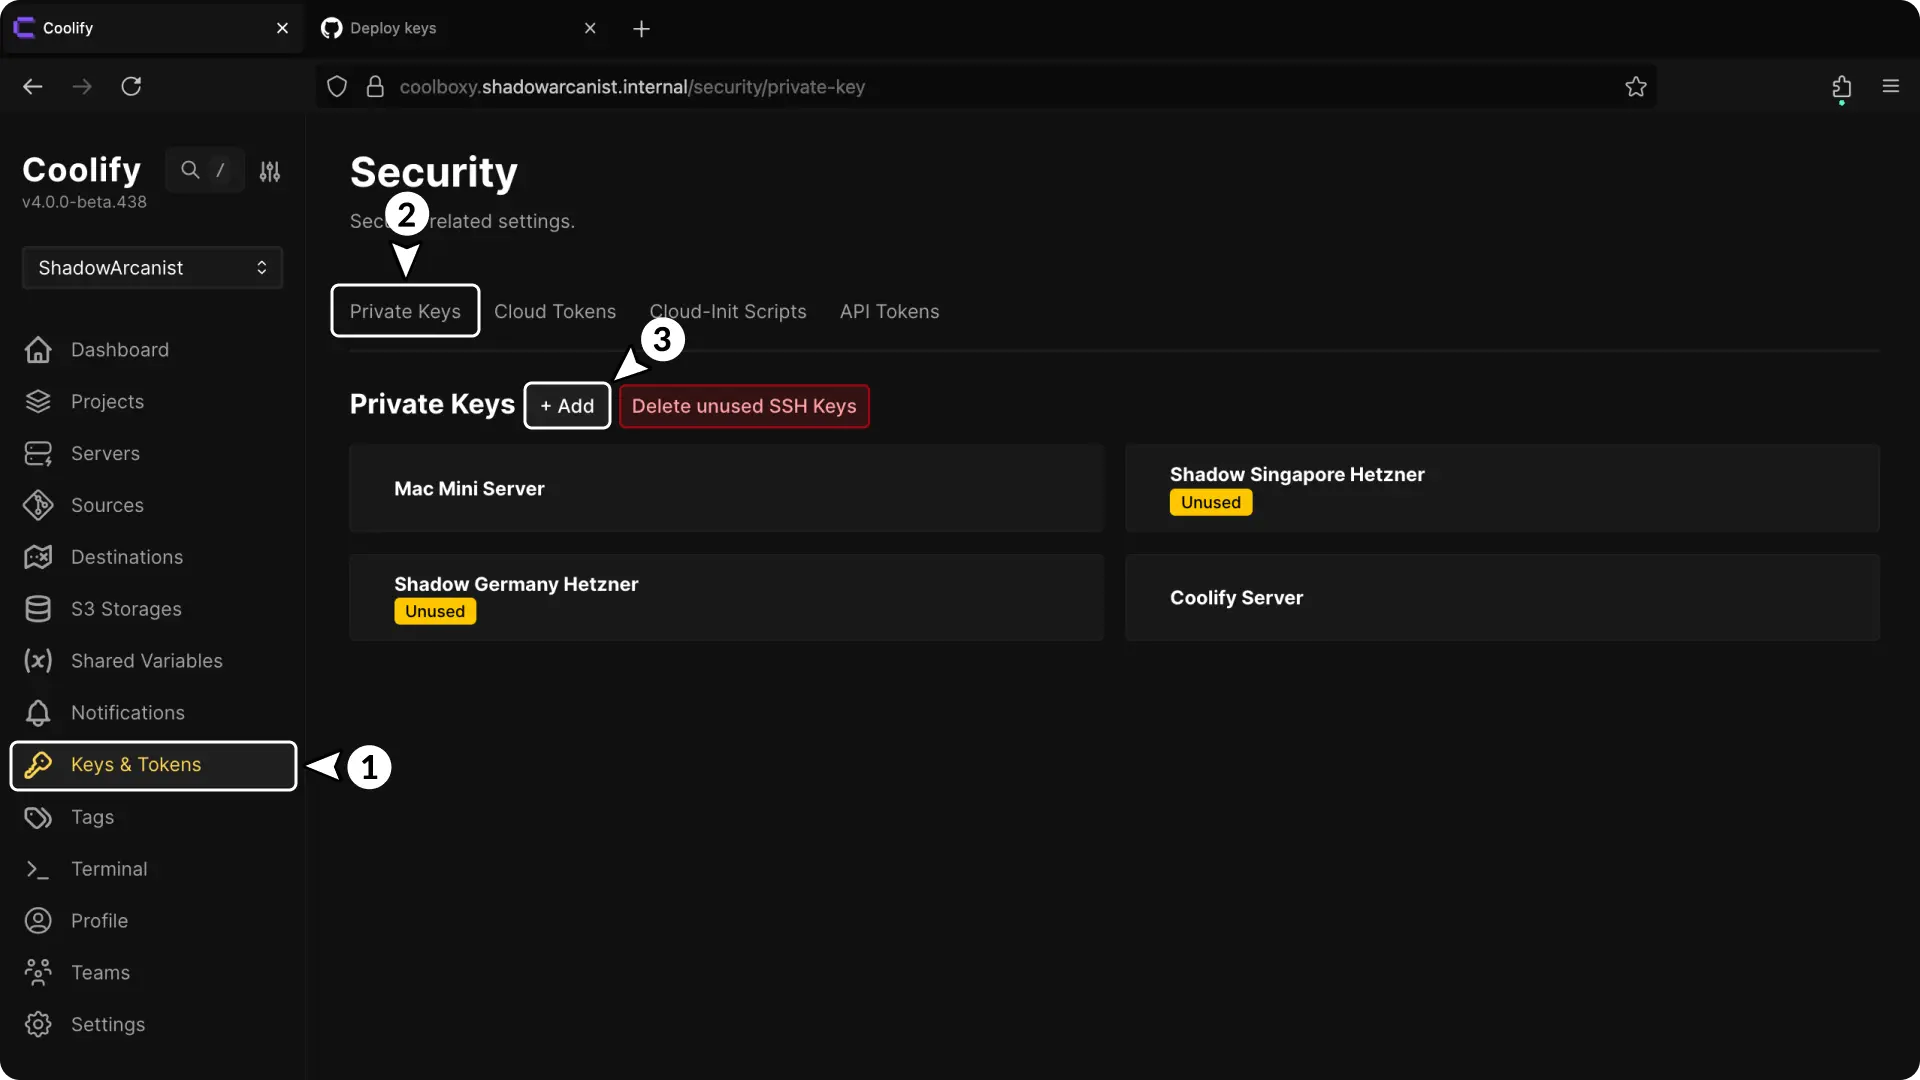
- In your Coolify dashboard, click on Keys & Tokens from the sidebar.
- Click on Private keys tab.
- Click the + Add button to create a new private key.
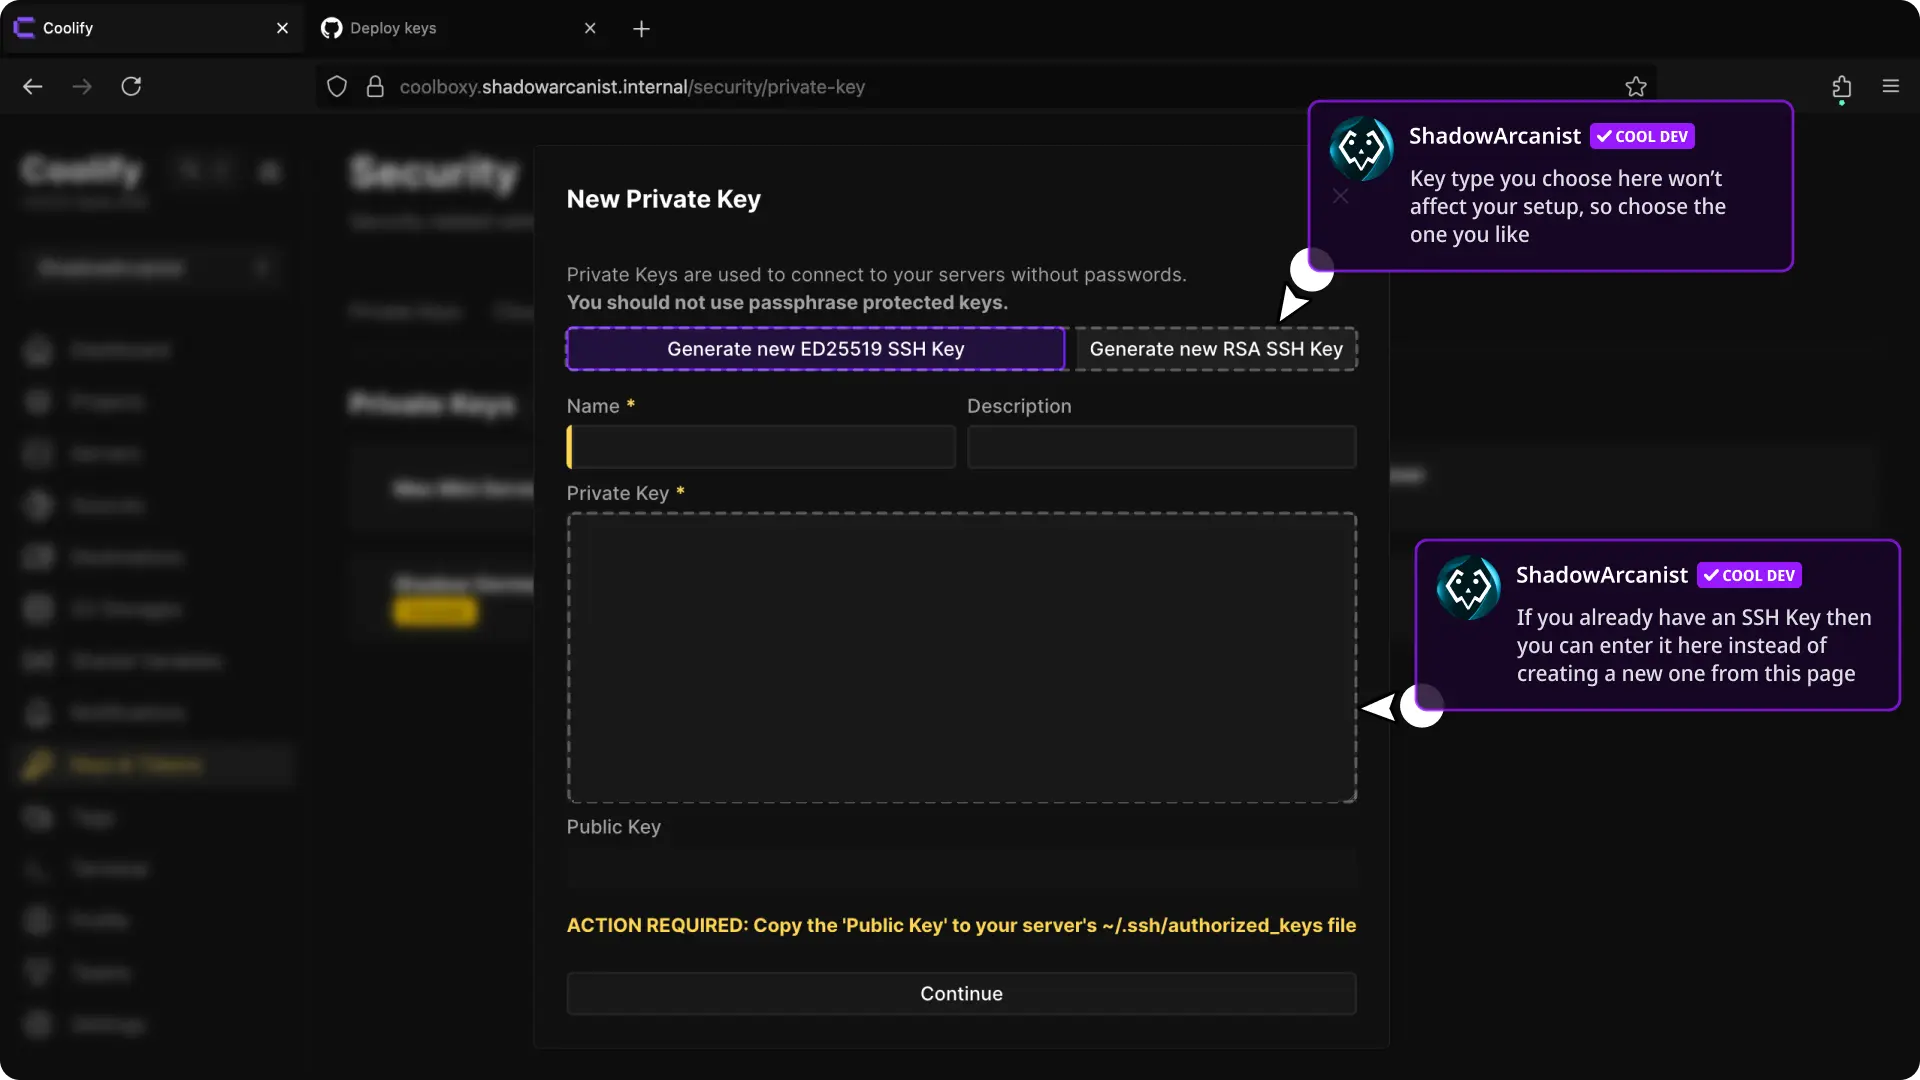
- Click Generate new RSA SSH Key or Generate new ED25519 SSH Key to generate a key pair.
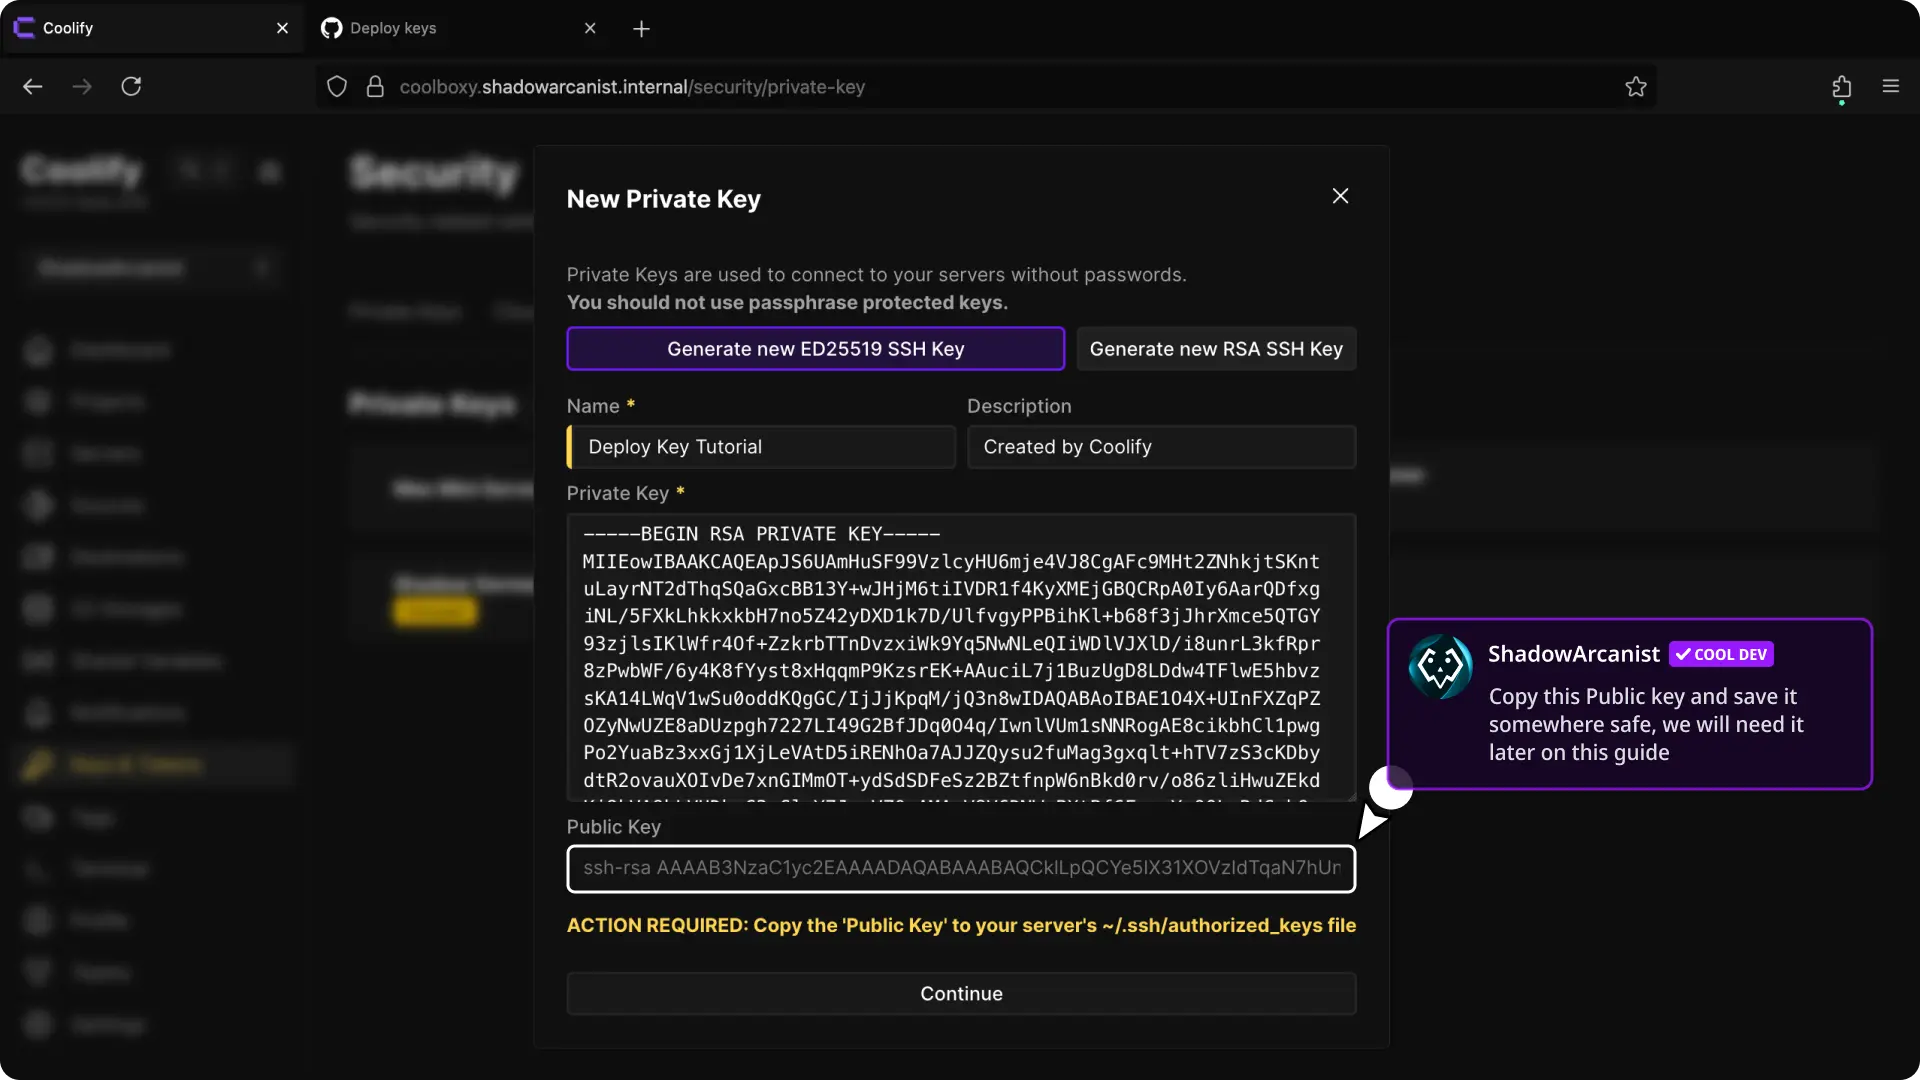
- Copy the public key.
- Click Continue to save the keys.
TIP
You can also generate a key externally using the ssh-keygen command and paste the private key into Coolify:
ssh-keygen -t rsa -b 4096 -C "coolify-deploy-key"Then, copy the contents of the generated .pub file for the next step.
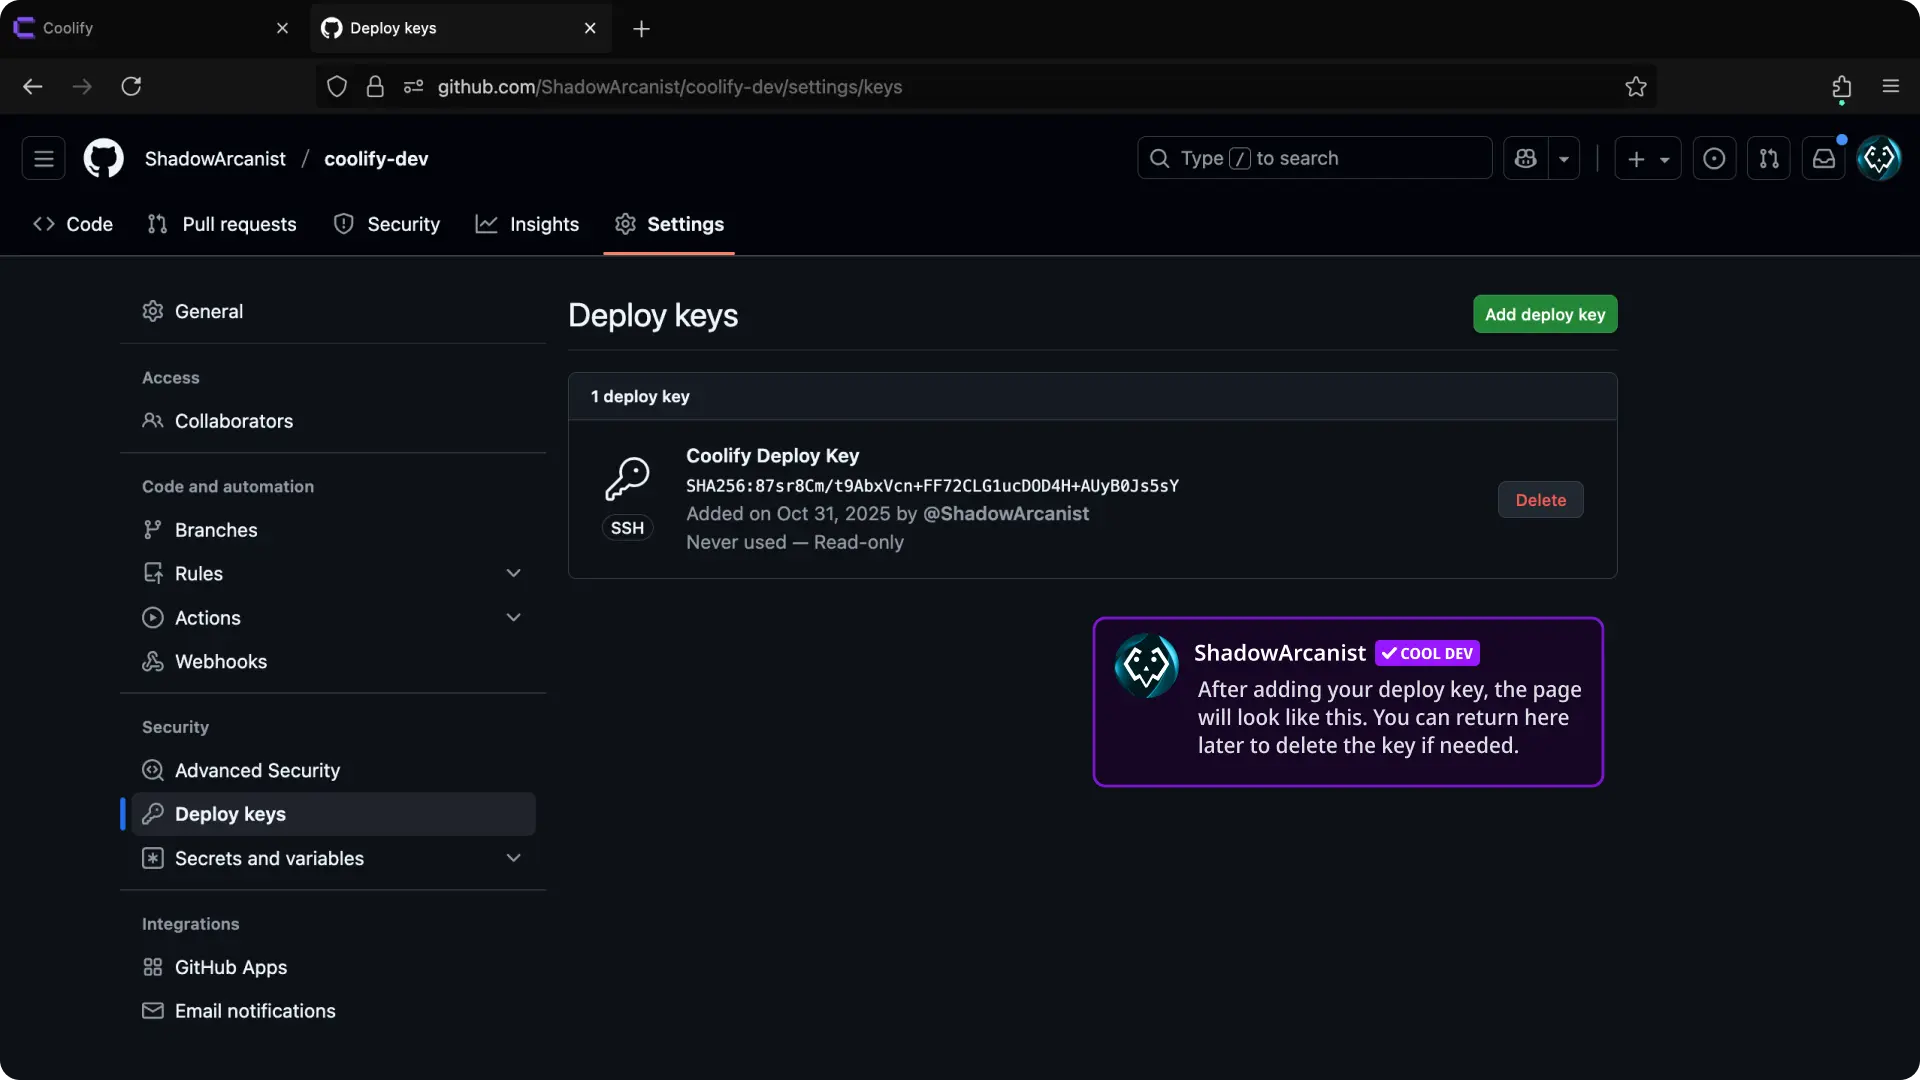
2. Add Deploy Key on GitHub

- Go to your GitHub repository settings.
- Navigate to Deploy keys in the left sidebar.
- Click Add deploy key button.
TIP
You can also access the deploy keys page directly at https://github.com/YOUR_USERNAME/YOUR_REPO_NAME/settings/keys
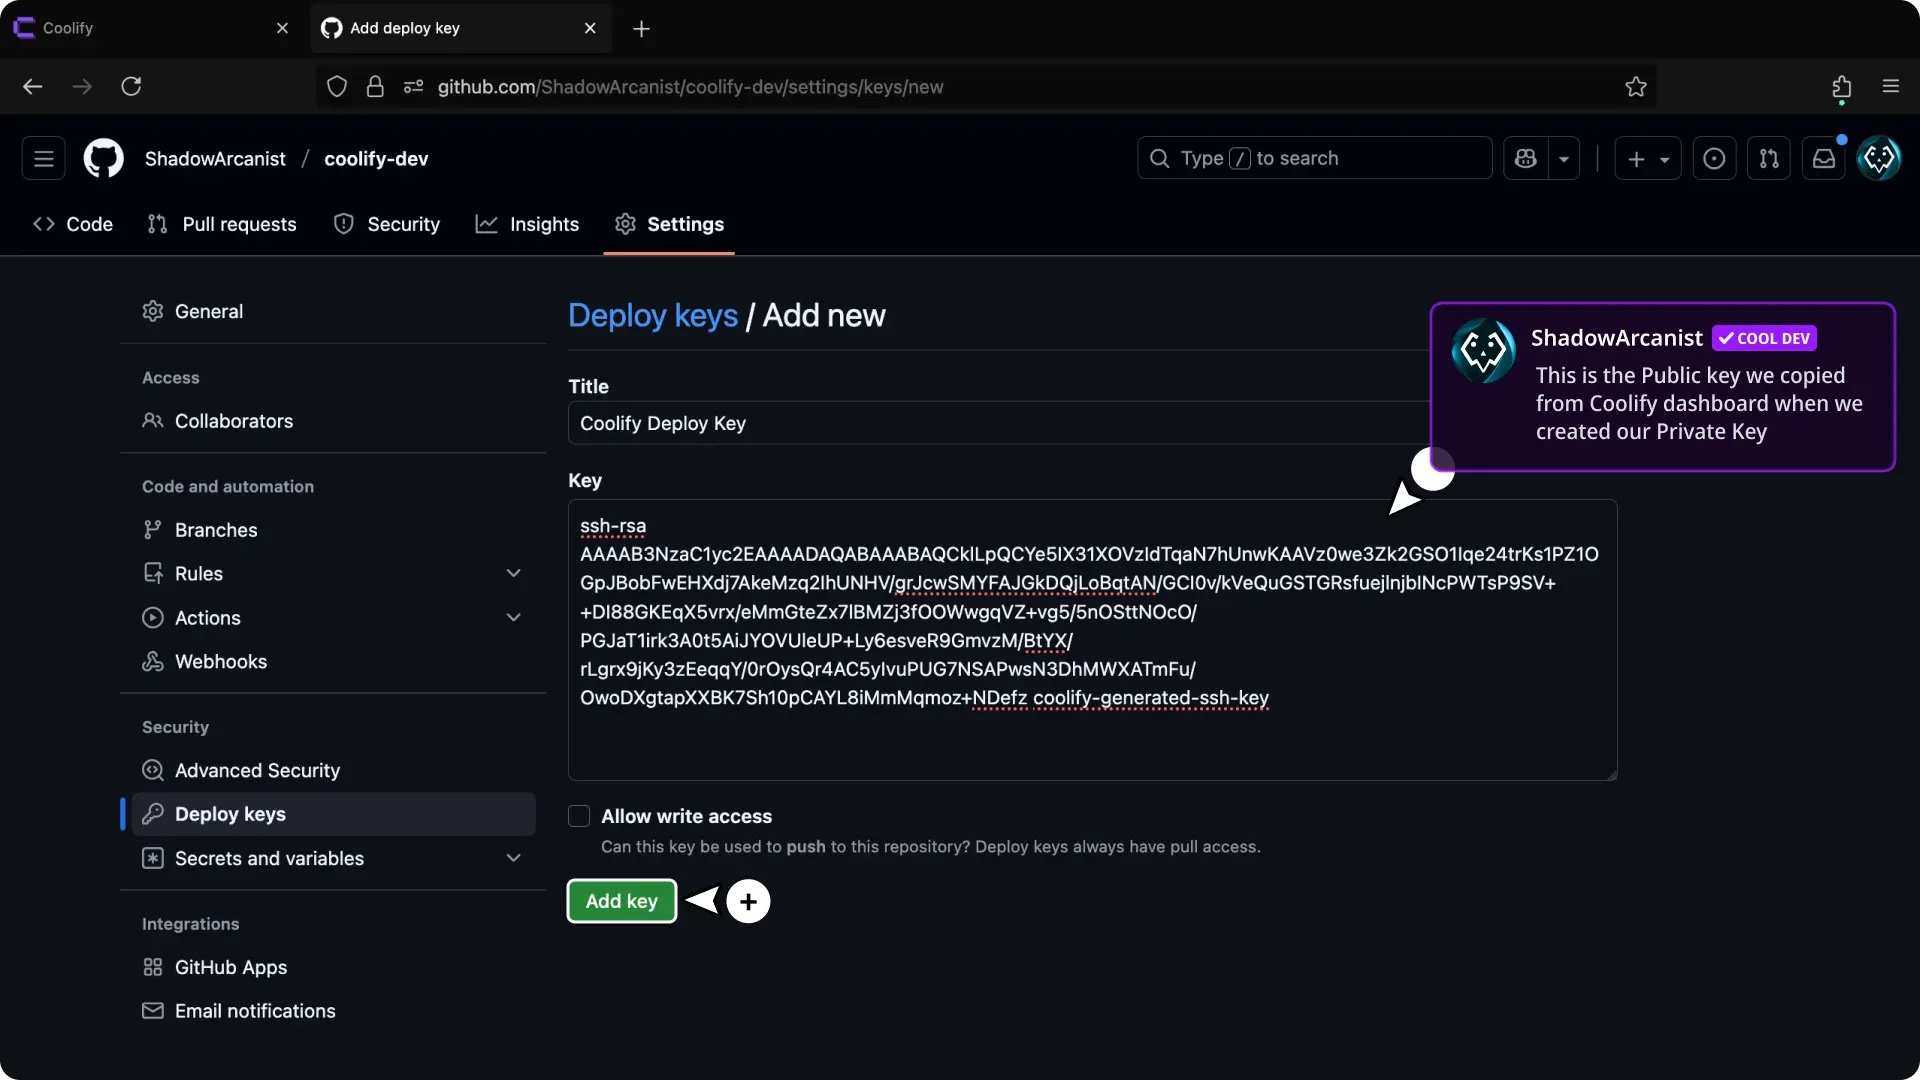
- Enter a title for your deploy key (e.g.,
Coolify Deploy Key). - Paste the public key you copied from Coolify.
- Make sure Allow write access is unchecked (deploy keys should be read-only).
- Click Add key to save.
3. Copy Repository SSH URL
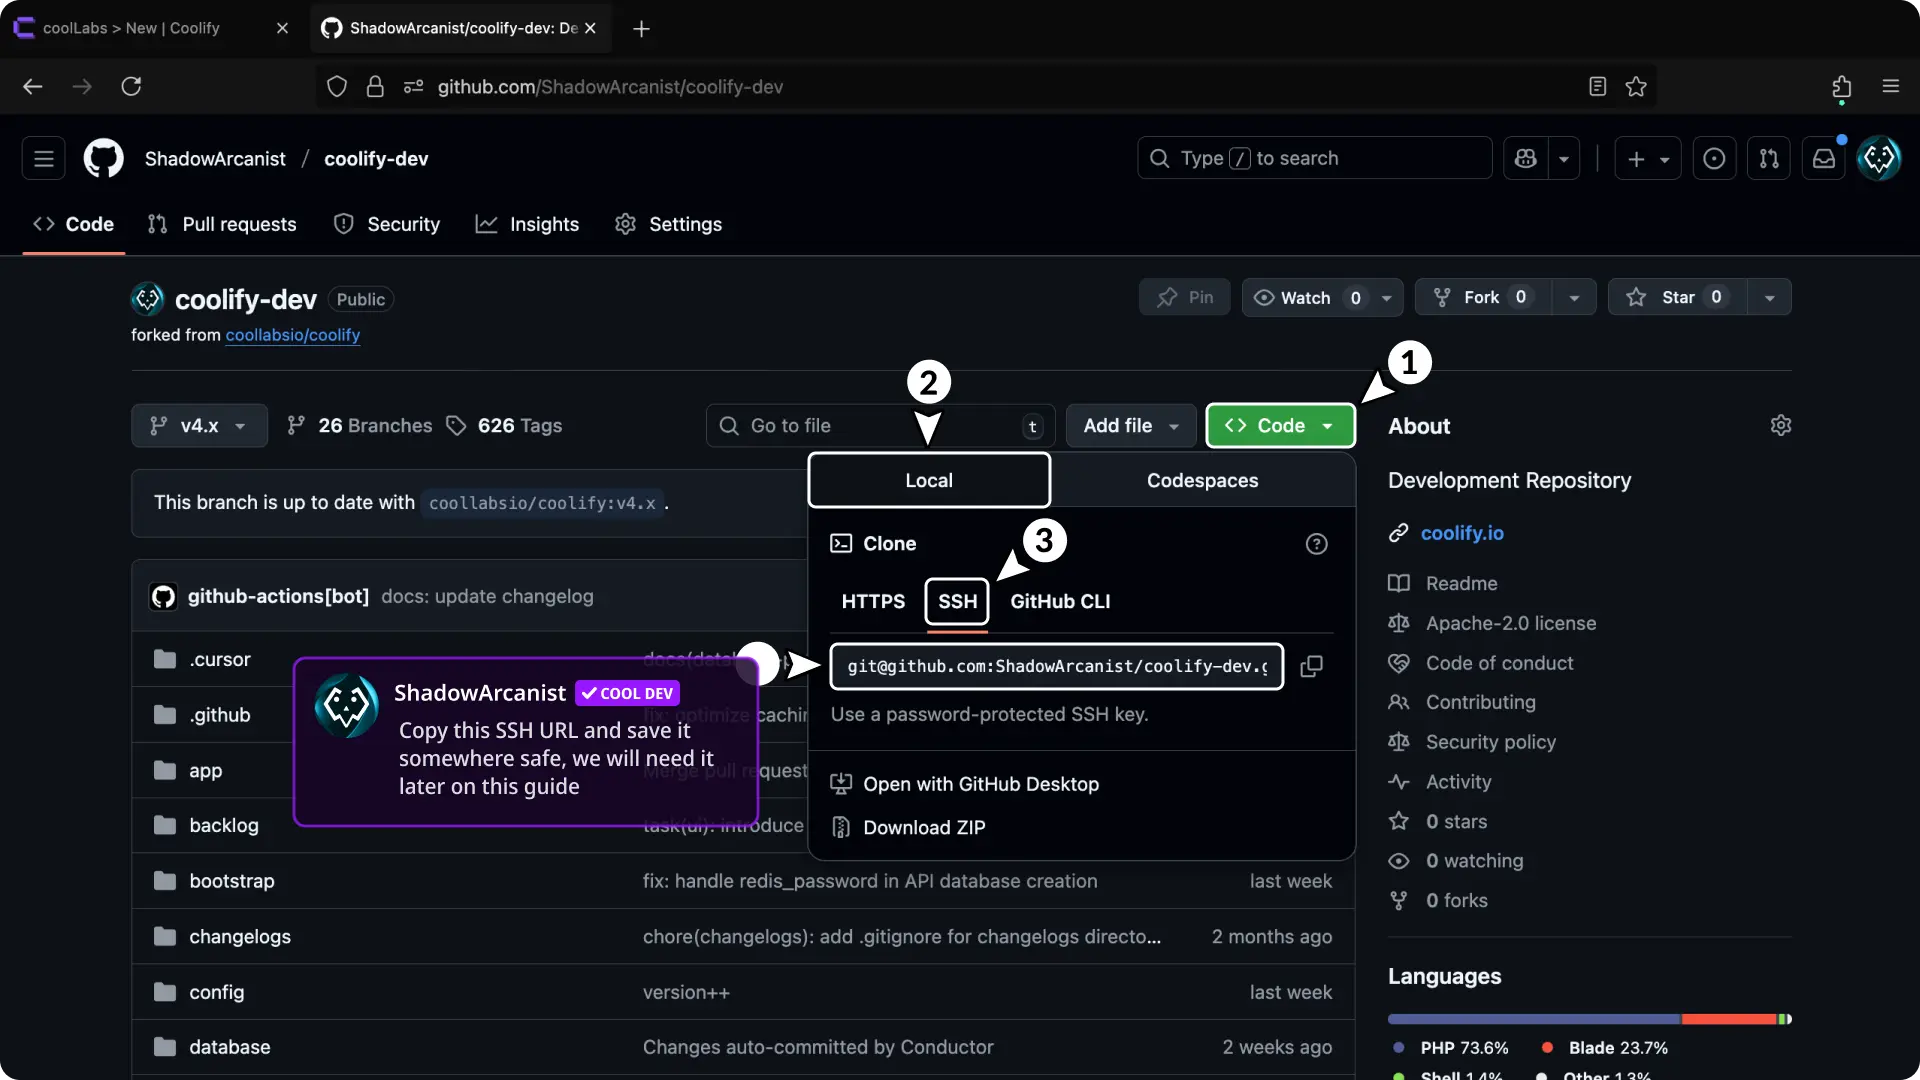
- Go to your GitHub repository.
- Click the Code button.
- Select the Local tab.
- Click the SSH tab.
- Copy the SSH URL (e.g.,
[email protected]:ShadowArcanist/coolify-dev.git).
4. Create a New Resource on Coolify
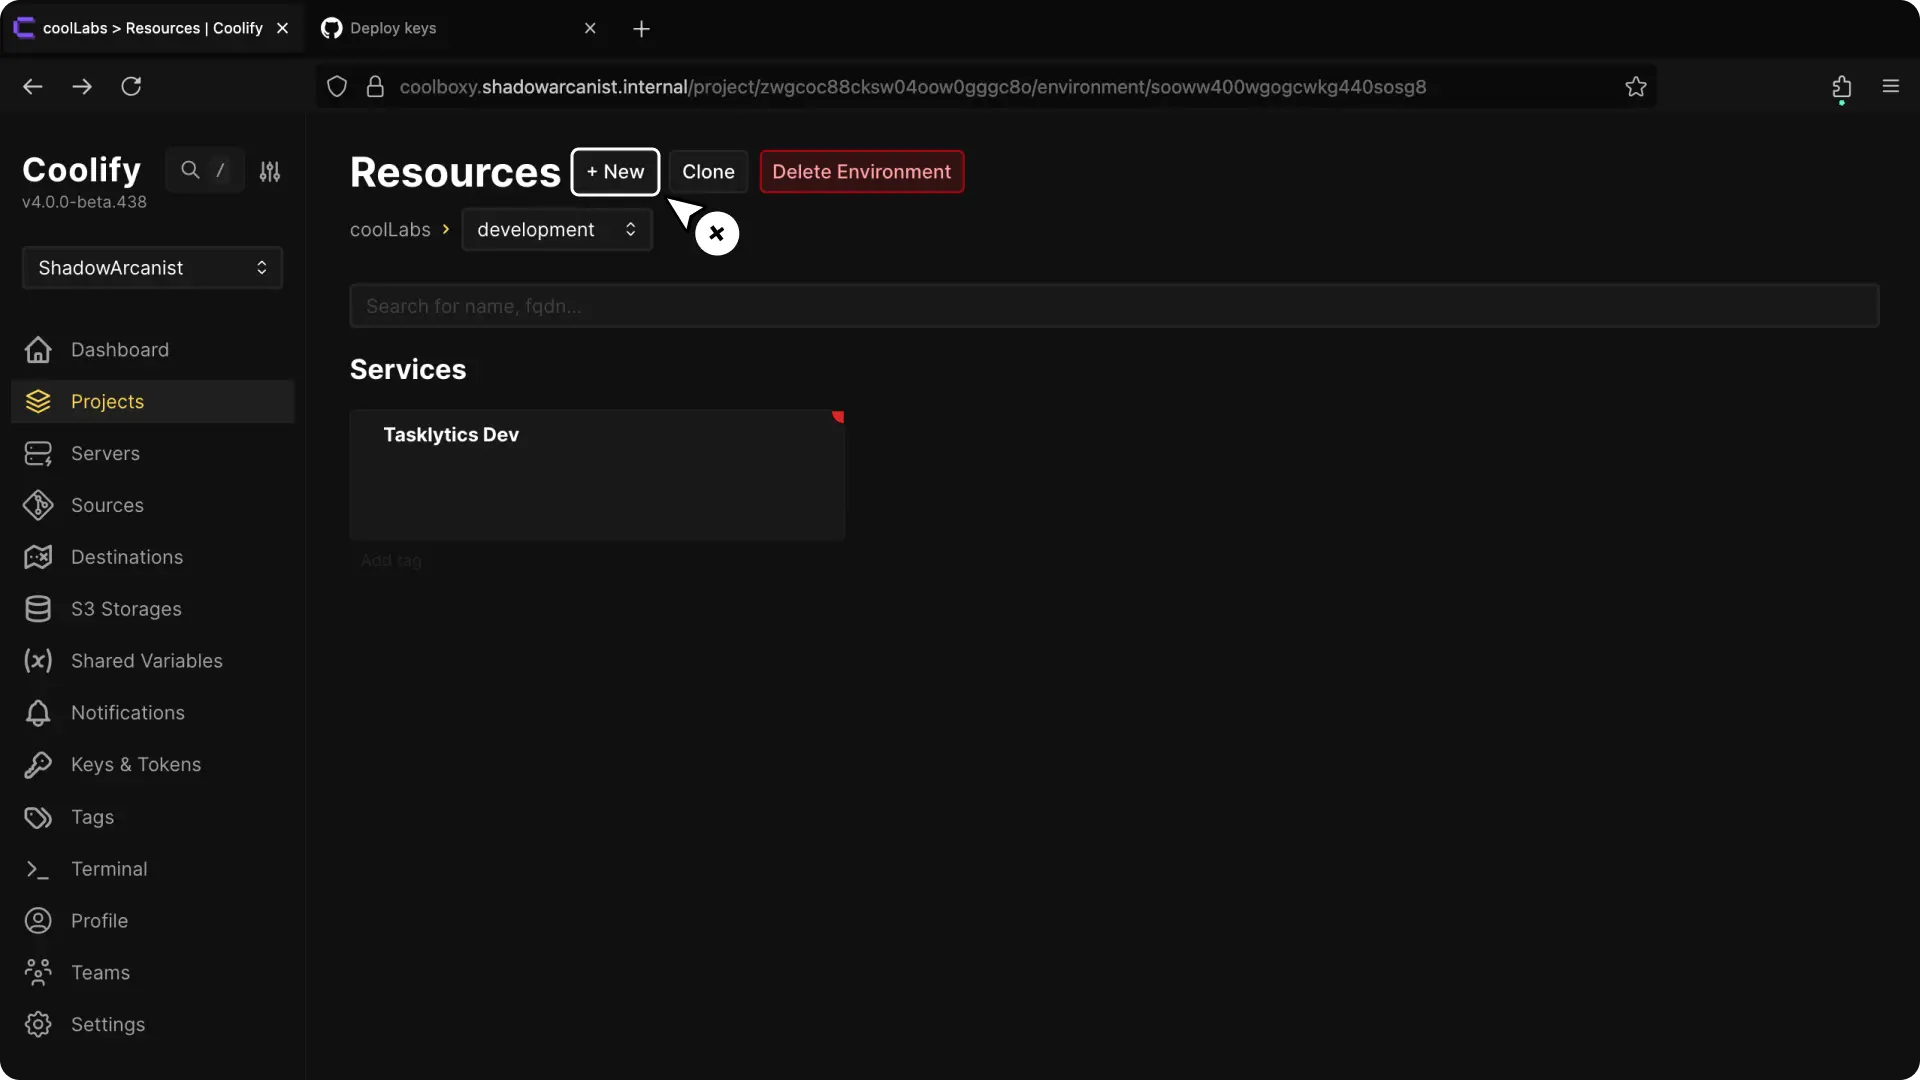
- Select your project from the Coolify dashboard.
- Click the + New button to create a new resource.
5. Select Private Repository (with Deploy Key) as Resource Type
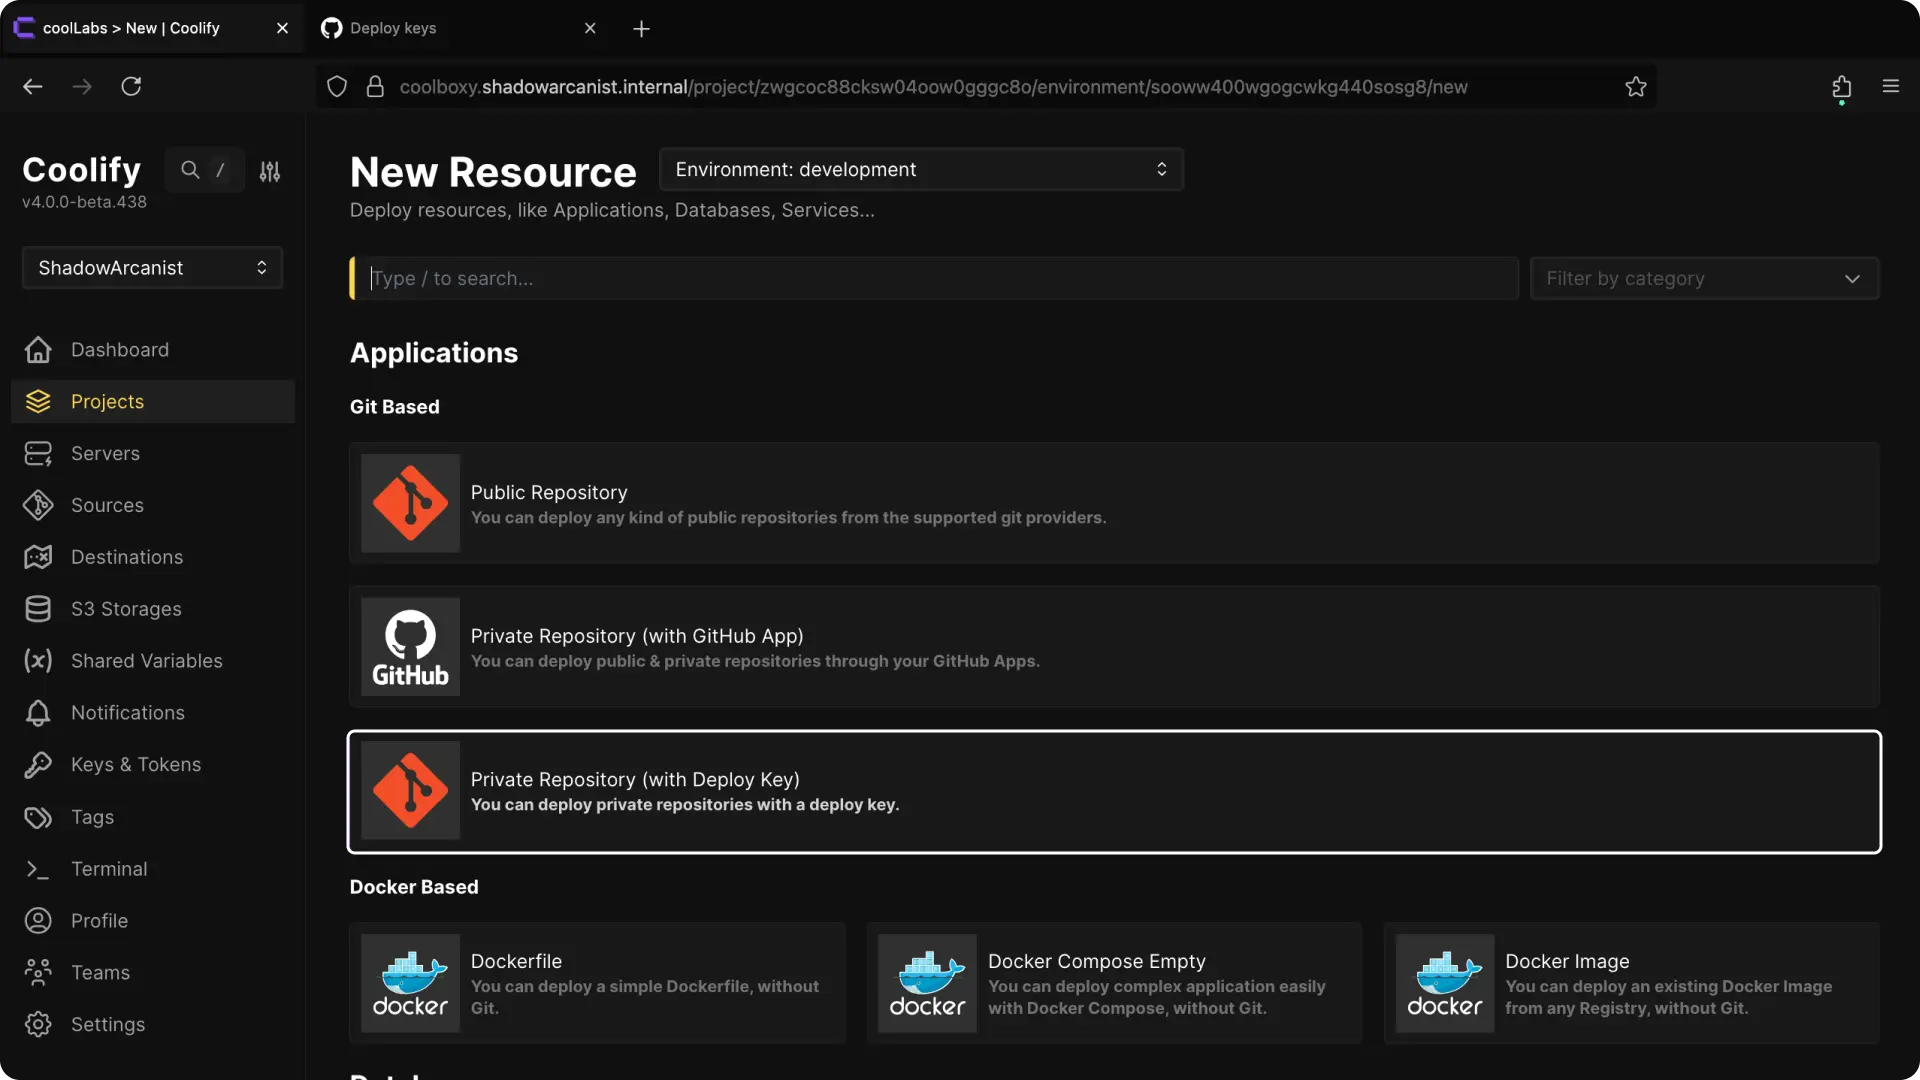
Select Private Repository (with Deploy Key) from the available resource types.
6. Choose Your Server
HEADS UP!
Coolify automatically selects the localhost server if you don't have any remote servers connected. In such cases, skip to the next step.
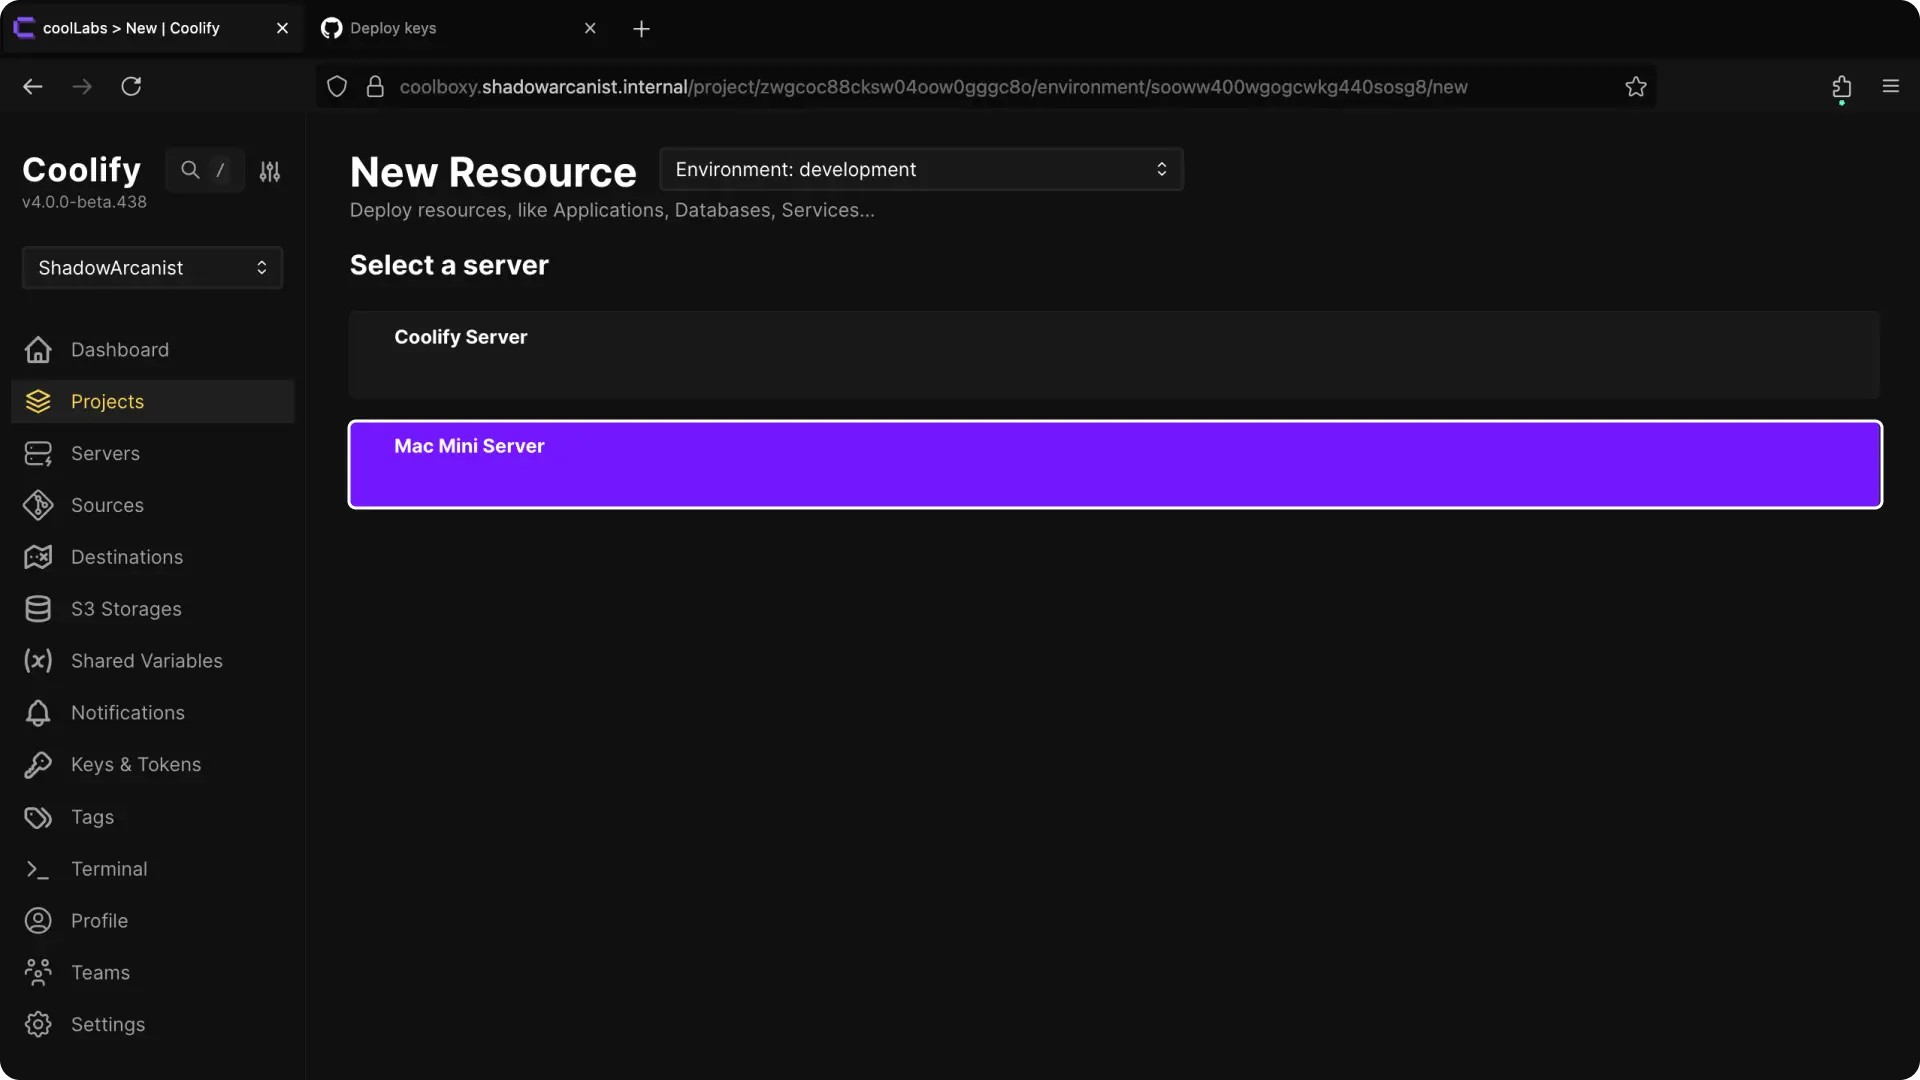
Choose the server where you want to deploy the application.
7. Choose Your Deploy Key
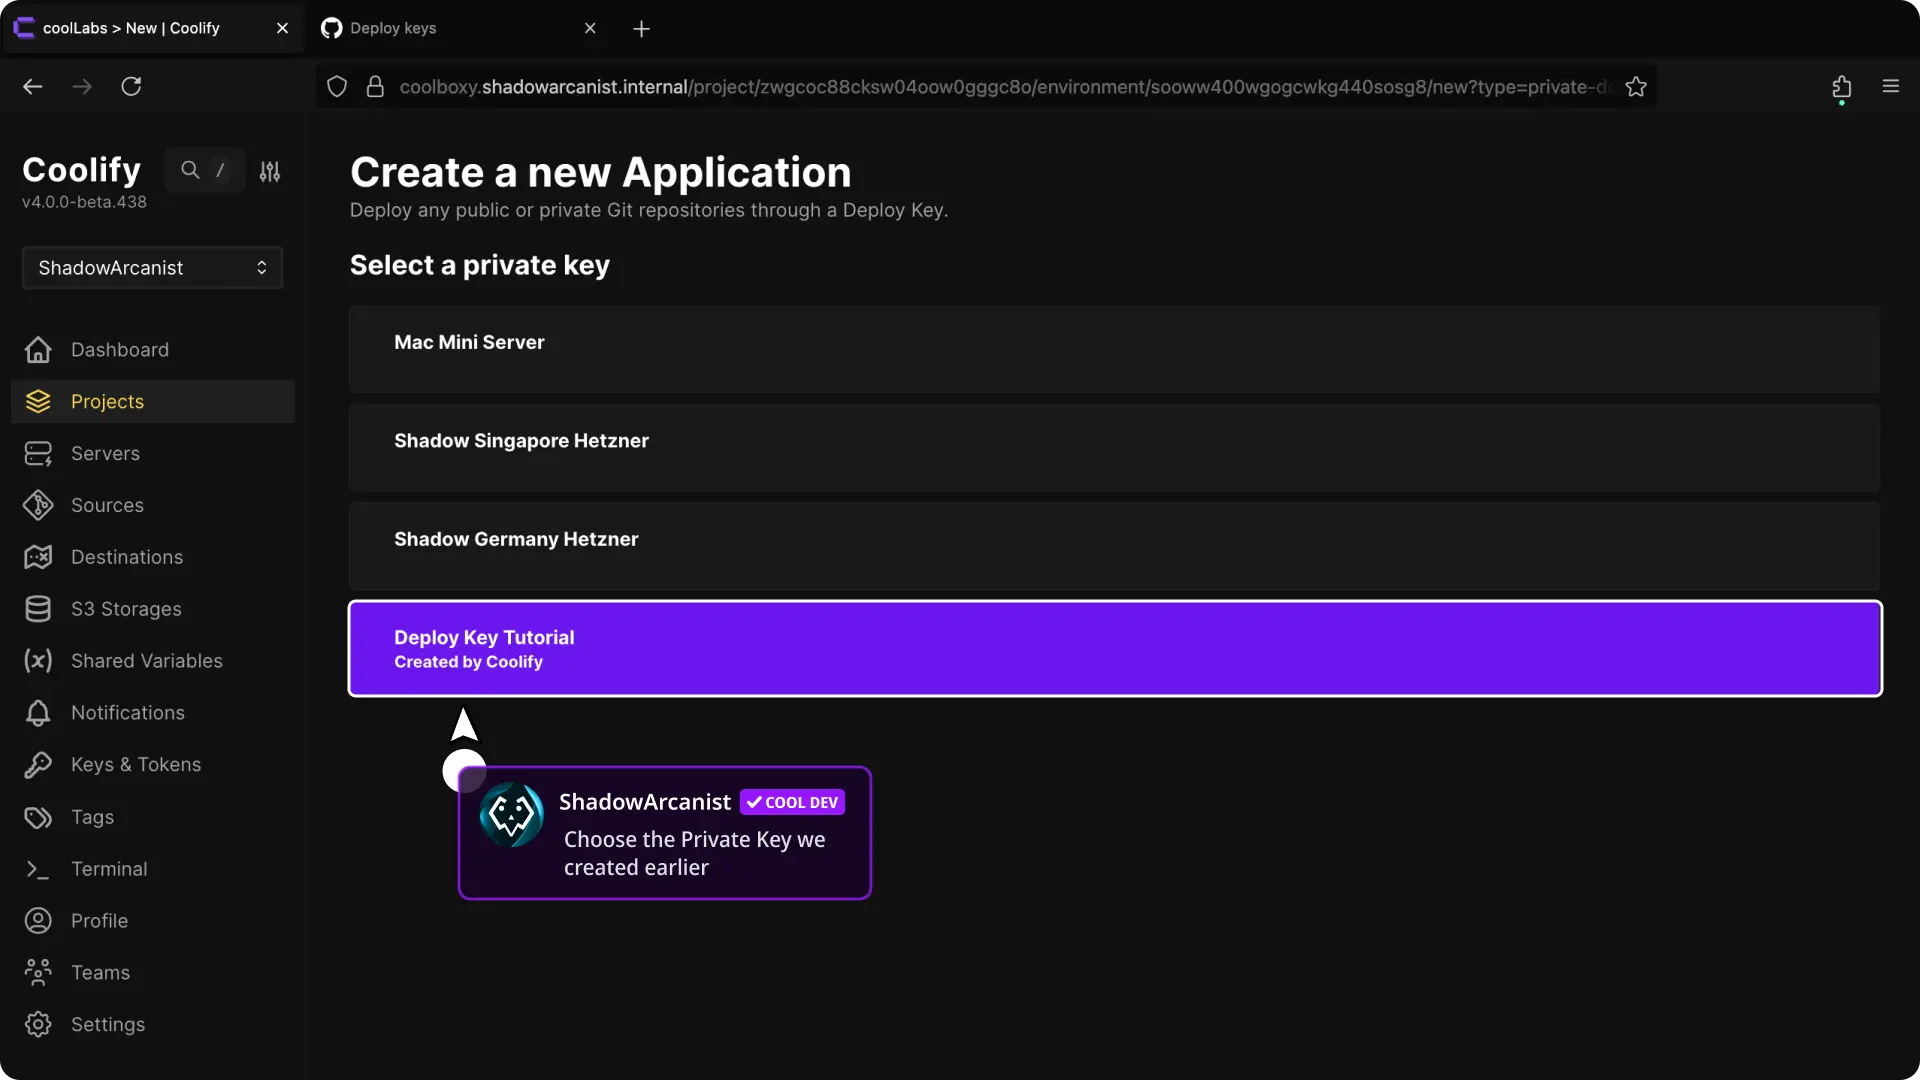
Select the private key you created in Coolify from the list of available private keys.
8. Configure the Application and Deploy
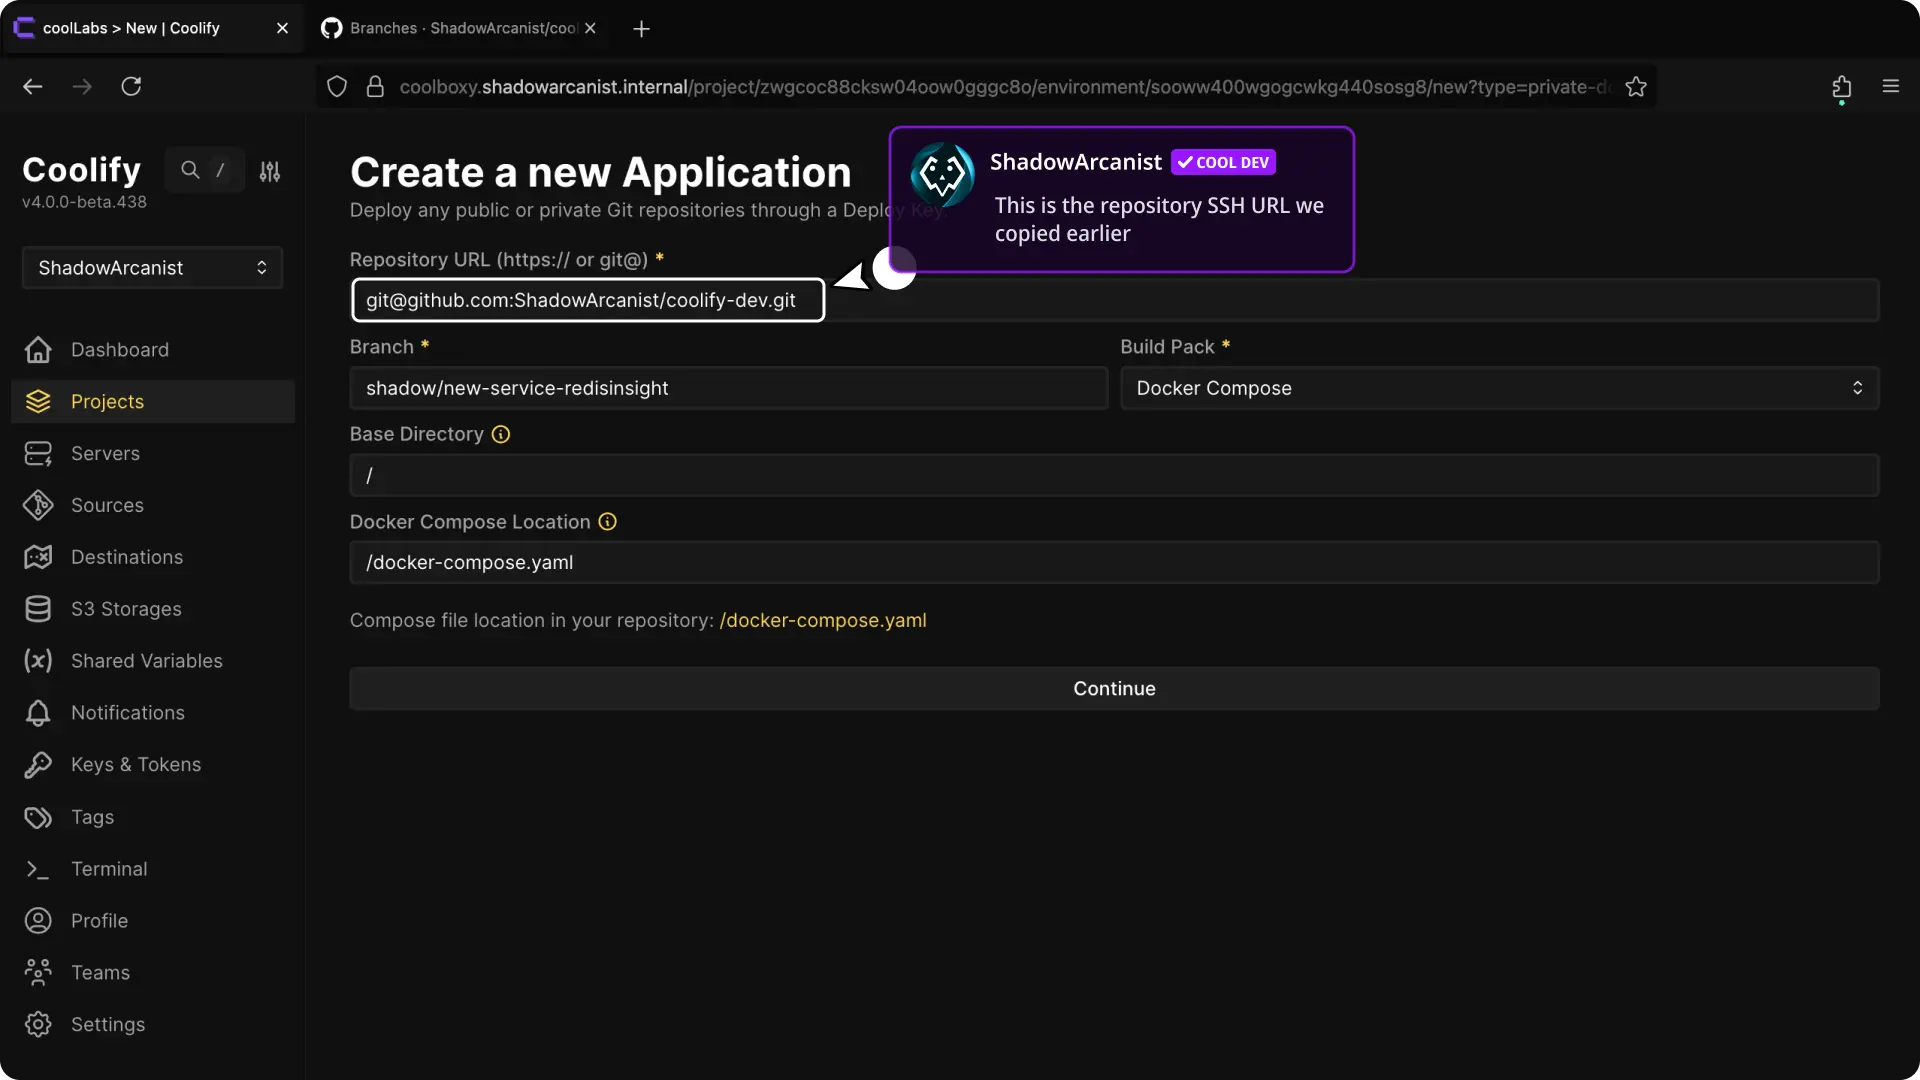
- Paste the SSH URL you copied from GitHub (e.g.,
[email protected]:ShadowArcanist/coolify-dev.git). - After entering the repository link, configure the buildpack, ports, and other settings. (Refer to our dedicated guide on applications for more details.)
Once configured, deploy your application.
That's it!