
Set up a GitHub App
A GitHub App gives Coolify access to one repository, selected repositories, or every repository in a personal account or organization.
Use a GitHub App when you want repository selection, automatic deployments, and pull-request events through one integration. Use a deploy key when you cannot install a GitHub App or need read-only access to one repository.
Choose an installation method
- Automated installation uses GitHub's manifest flow to configure the required permissions, webhook, credentials, and callback. Use this method for GitHub.com.
- Manual installation requires you to create the app, permissions, events, credentials, private key, and installation yourself. Use it for GitHub Enterprise or a custom permission setup.
Automated installation is recommended because it reduces the number of credentials and settings you must transfer manually.
The screenshots use these example values:
- GitHub App name in Coolify:
GitHub App Tutorial - GitHub App name on GitHub:
coolify-github-app-tutorial - Webhook endpoint:
https://coolboxy.shadowarcanist.internal
Replace them with your own name and public Coolify URL.
1. Create a GitHub App source in Coolify
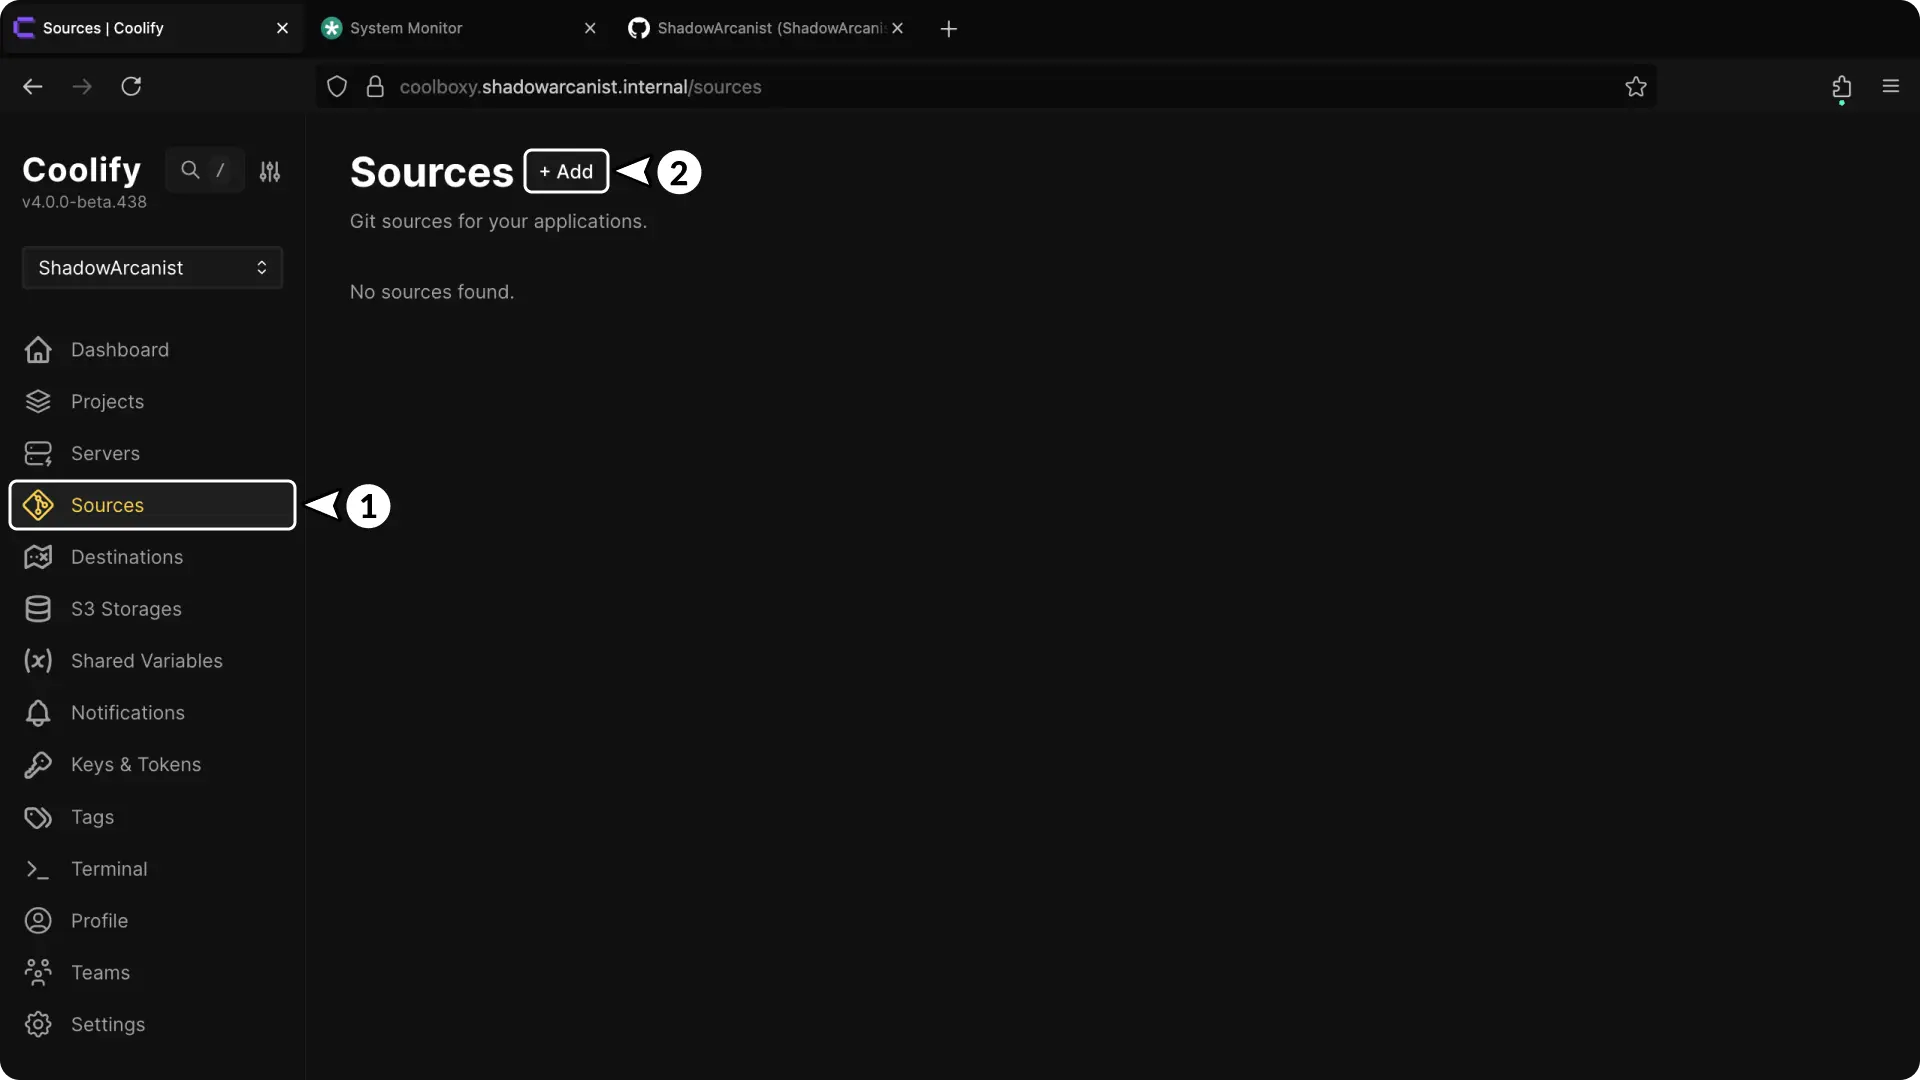
- Open Sources from the Coolify sidebar.
- Select + Add to create a source.
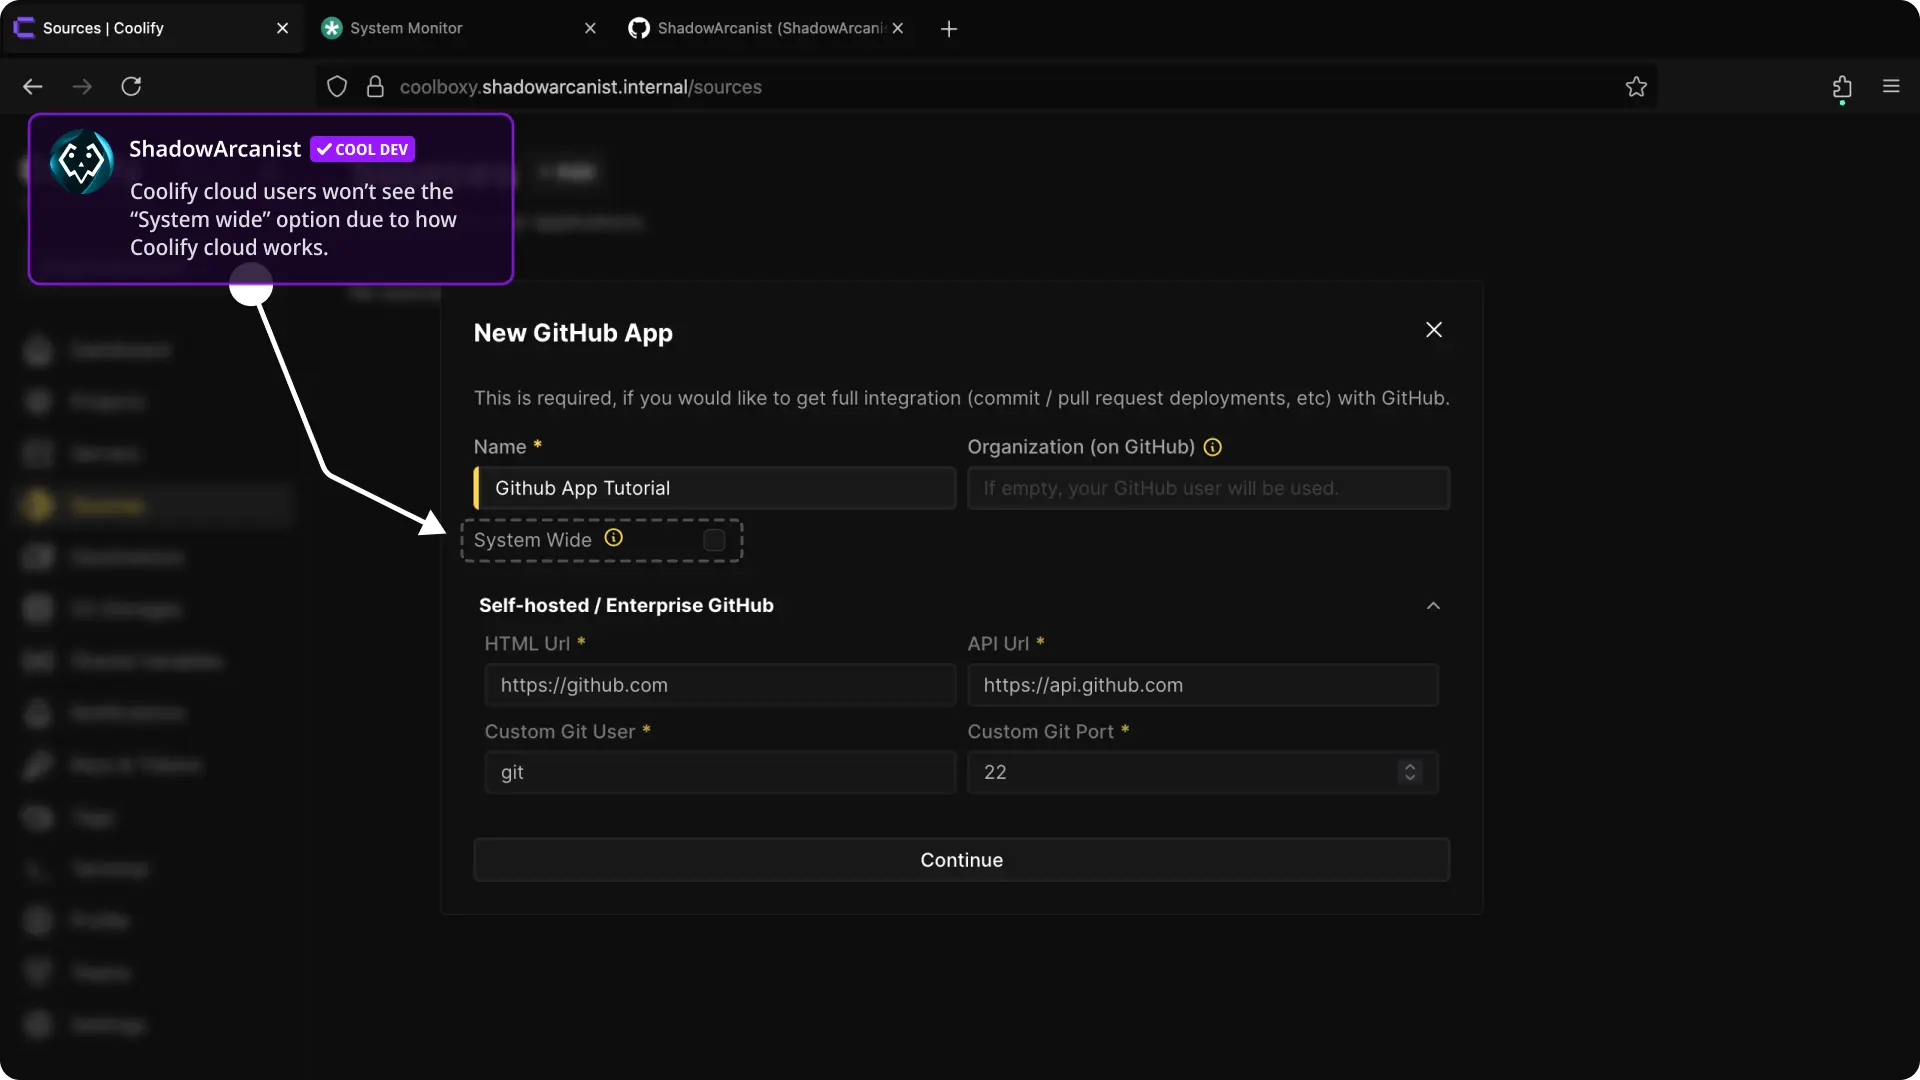
- Enter a name for the source.
- Enter the GitHub organization name when the app belongs to an organization. Leave Organization empty for a personal account.
- Select Continue.
For self-hosted GitHub Enterprise, expand Self-hosted / Enterprise GitHub and enter its HTML URL, API URL, Git user, and Git port.
On self-hosted Coolify, System Wide makes the GitHub App available to every team on the instance. Leave it disabled when only the current team should use the app.
Coolify Cloud does not offer this setting because a source cannot be shared with other Cloud customers.
2. Choose automated installation
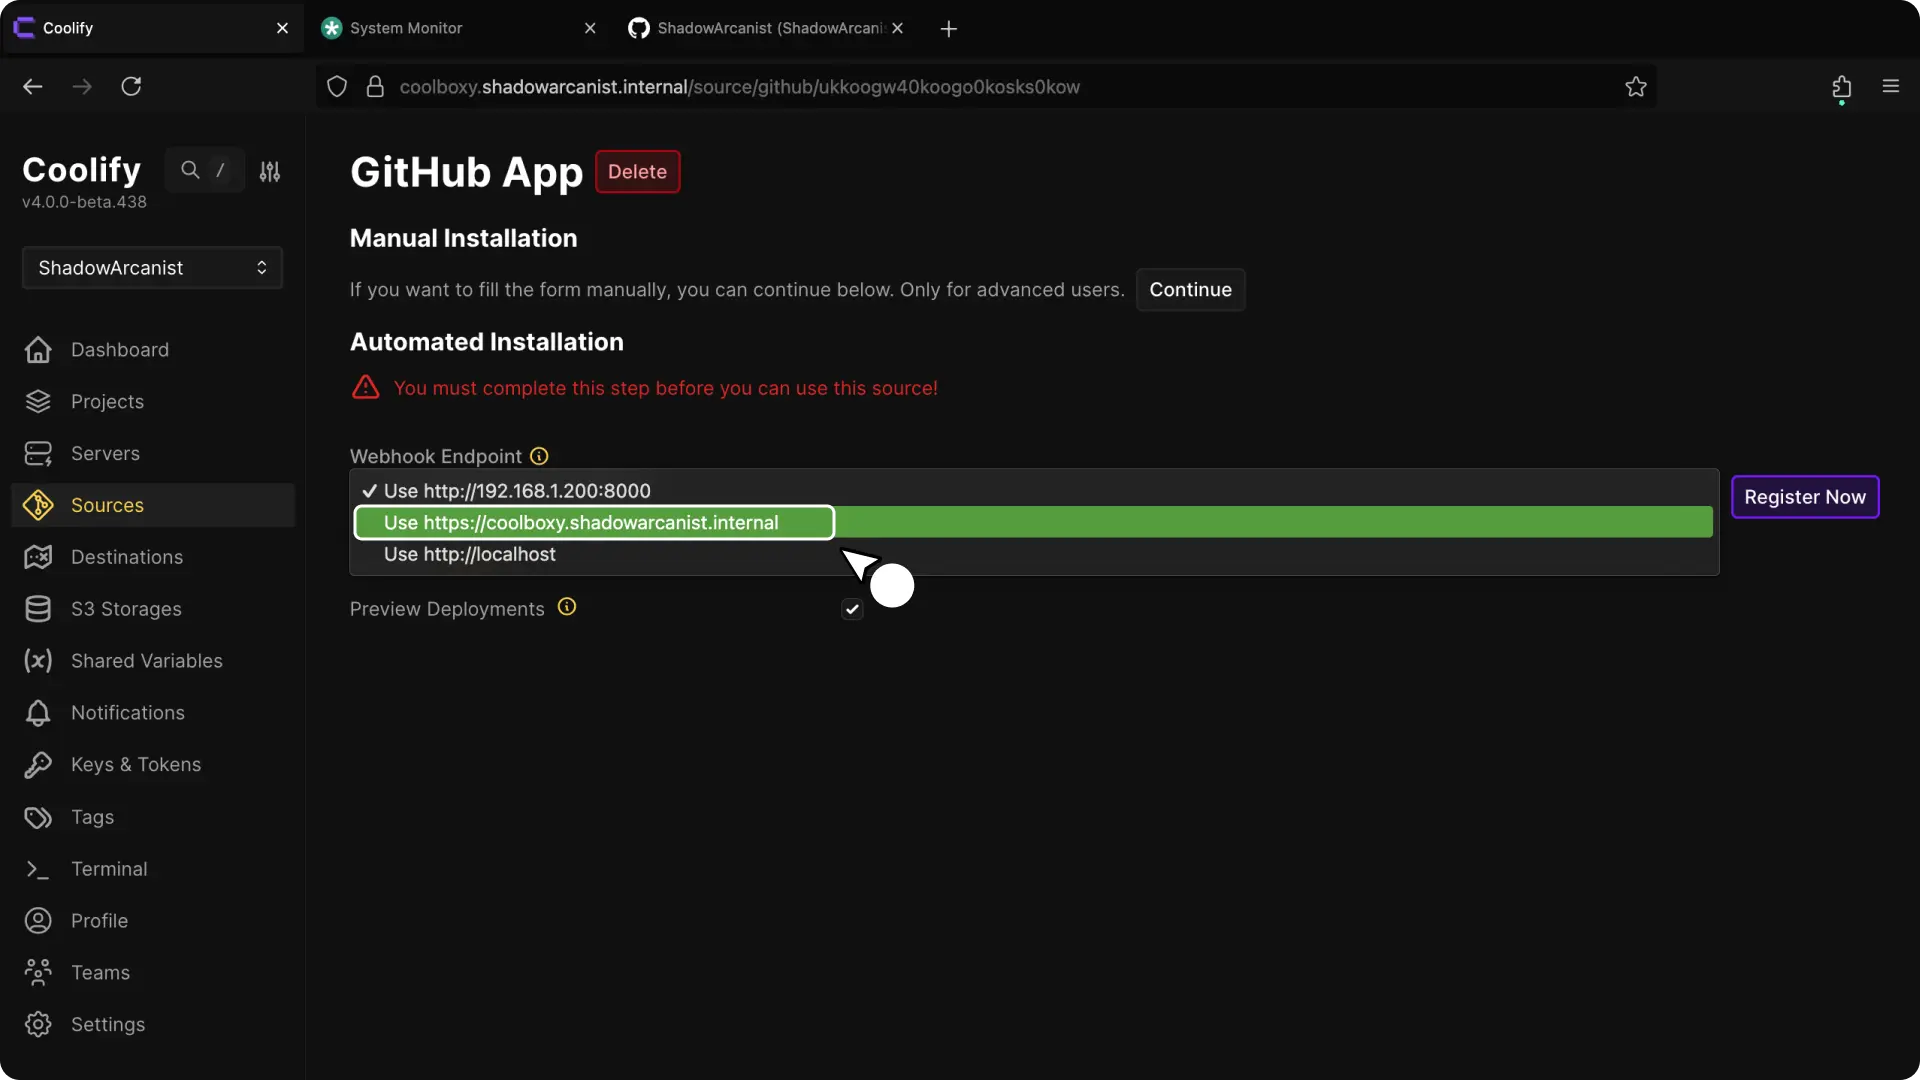
Choose Automated Installation.
Select the public endpoint GitHub should use for webhook events. Enable Use custom webhook endpoint when GitHub must call a different public URL, such as a domain exposed through a tunnel.
Enter only the base URL, such as https://coolify.example.com. Do not append /webhooks.
Repository access can work while automatic and preview deployments fail if GitHub cannot reach this endpoint.
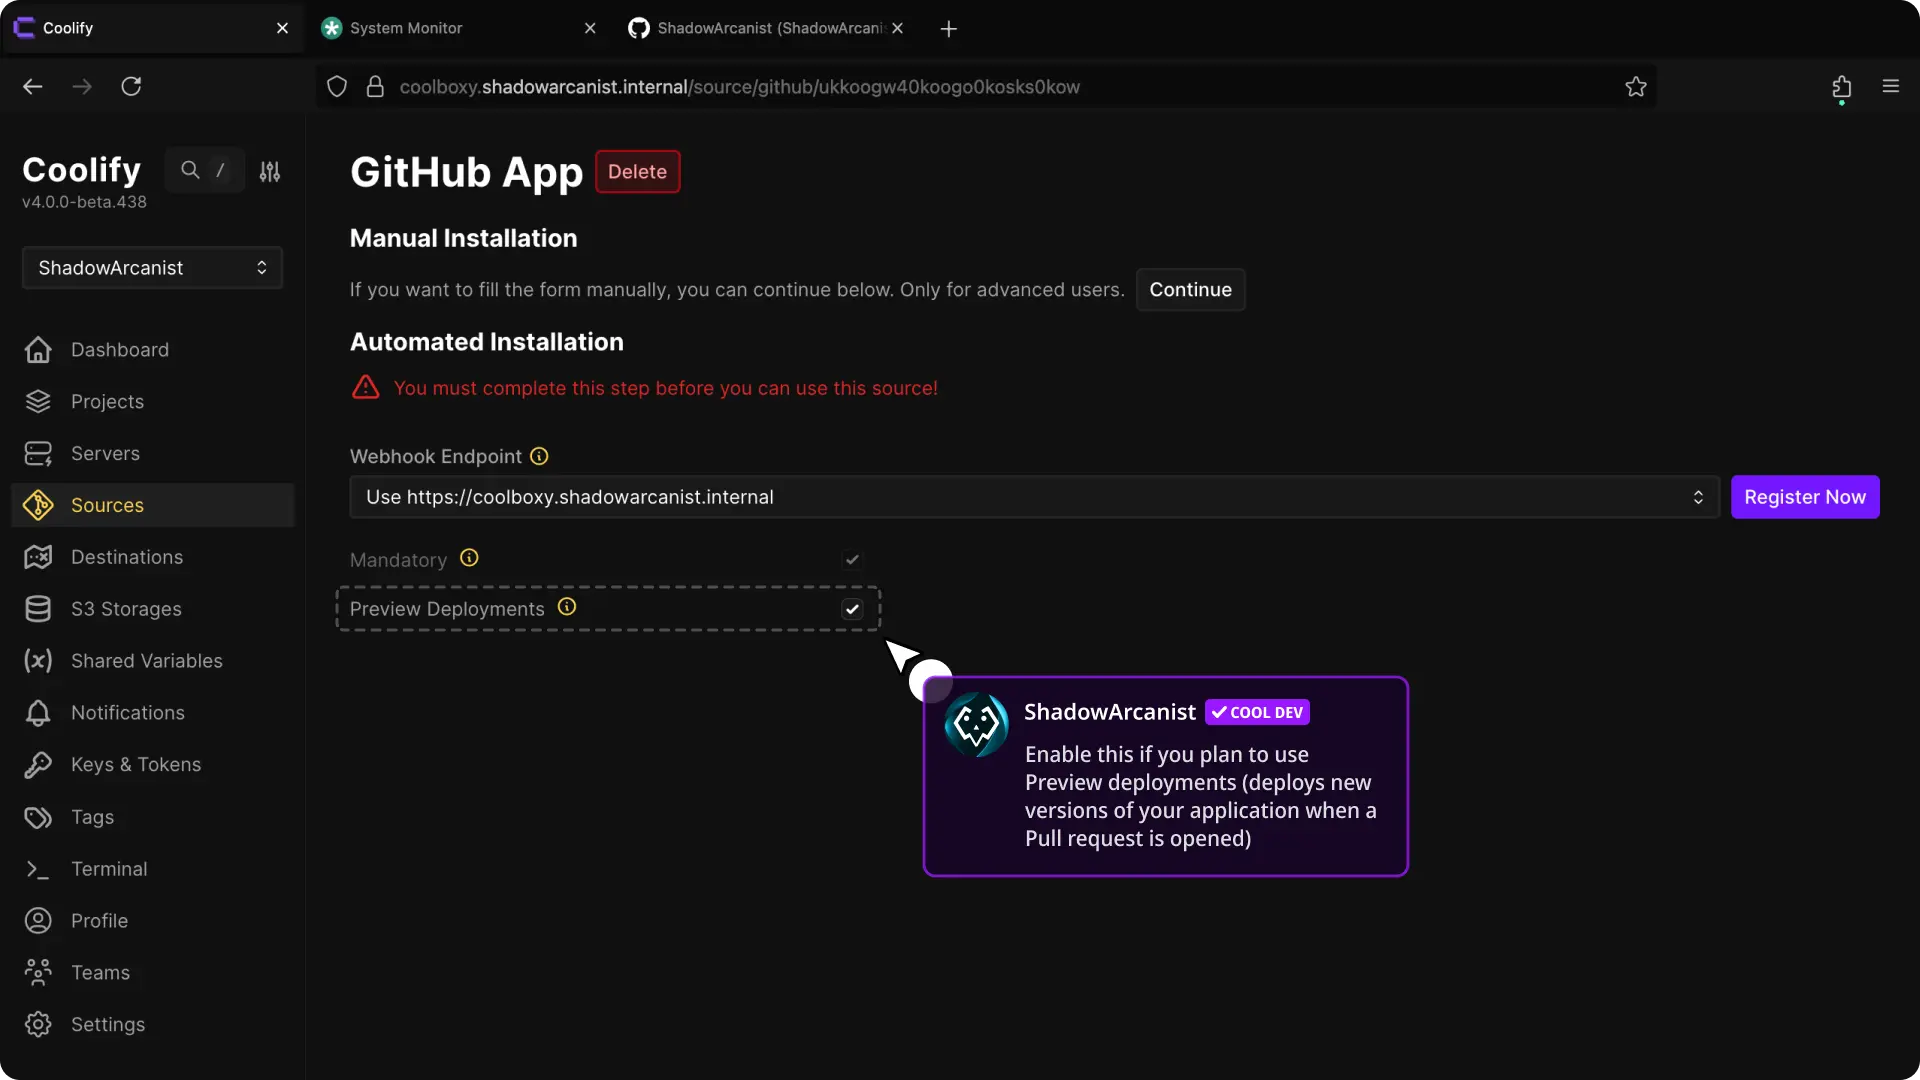
Keep Preview Deployments enabled when Coolify should add deployment information to pull requests. This grants read-and-write access to pull requests.
The mandatory permissions grant read access to repository contents, metadata, and email addresses.
Select Register Now.
3. Register the app on GitHub
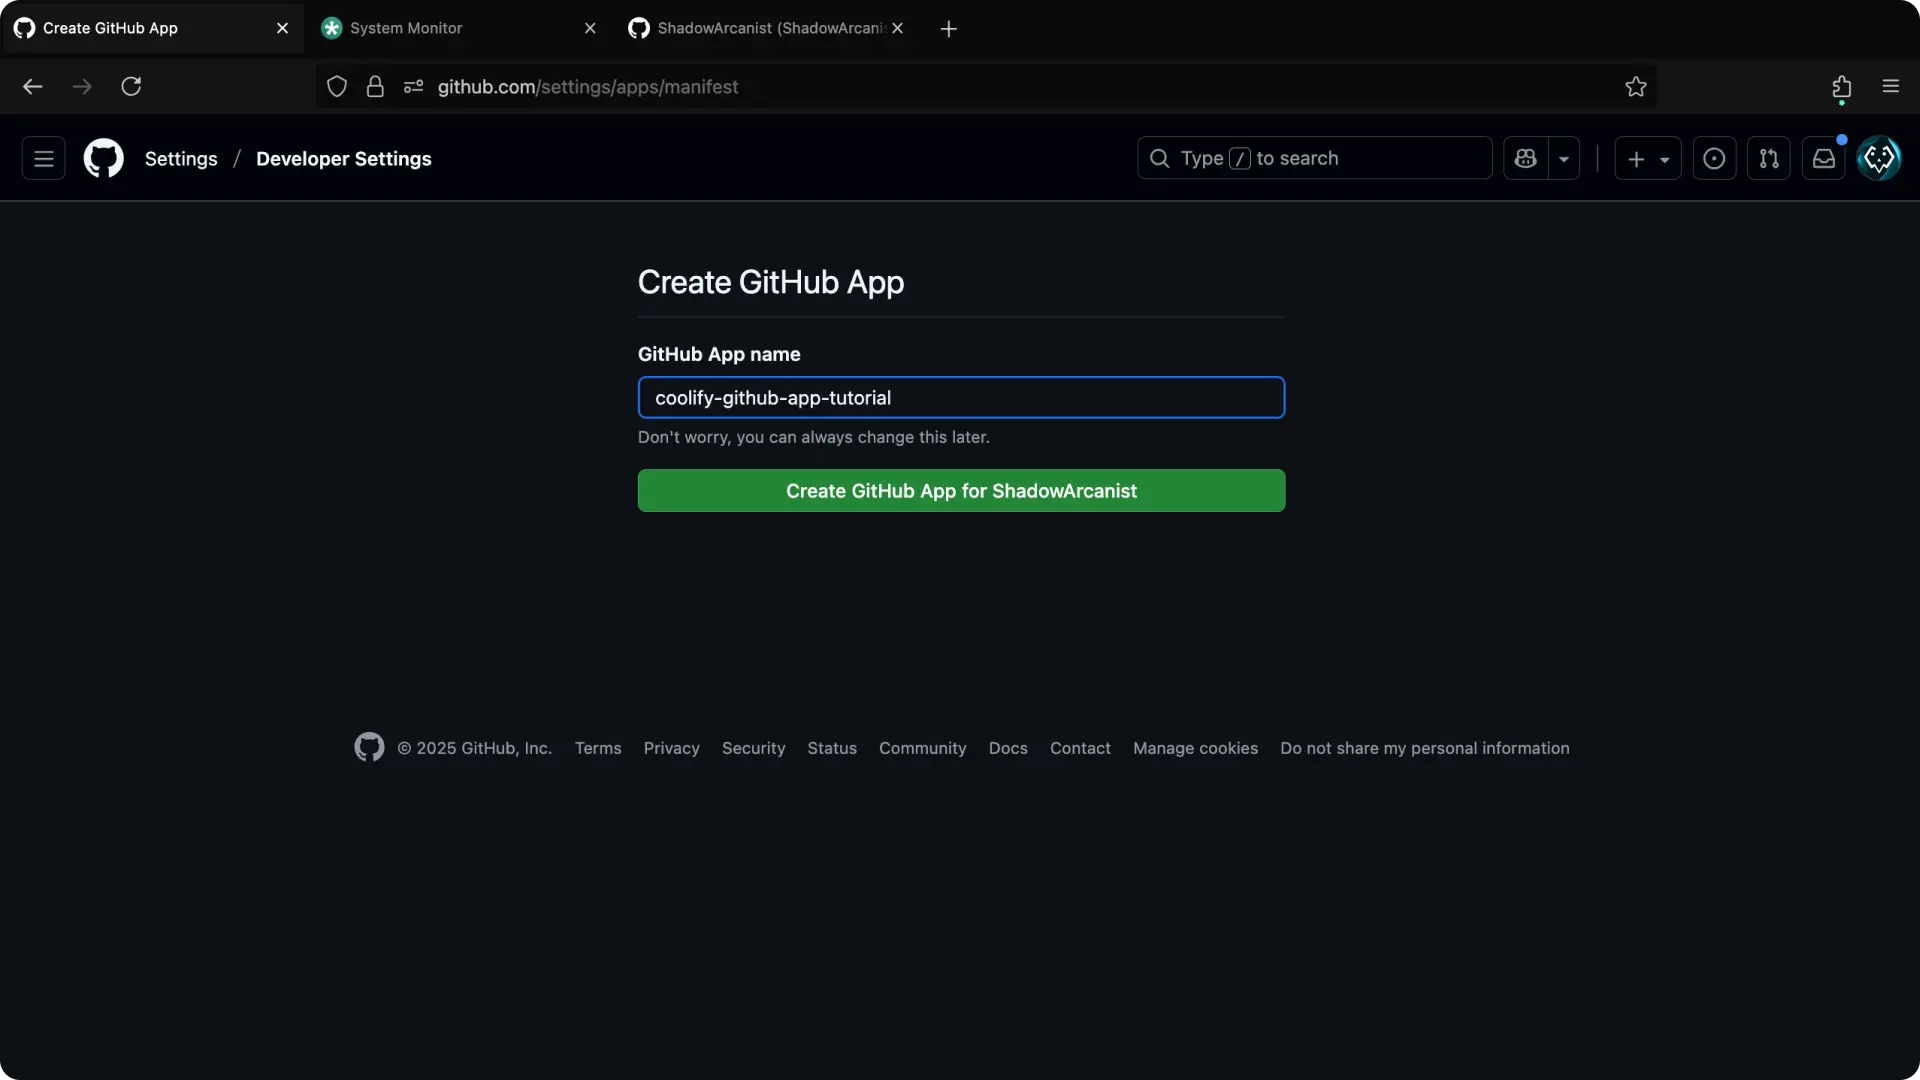
- Enter a unique GitHub App name.
- Select Create GitHub App.
GitHub returns you to Coolify after creating the app. Coolify stores the generated App ID, client credentials, webhook secret, and private key.
4. Install repository access
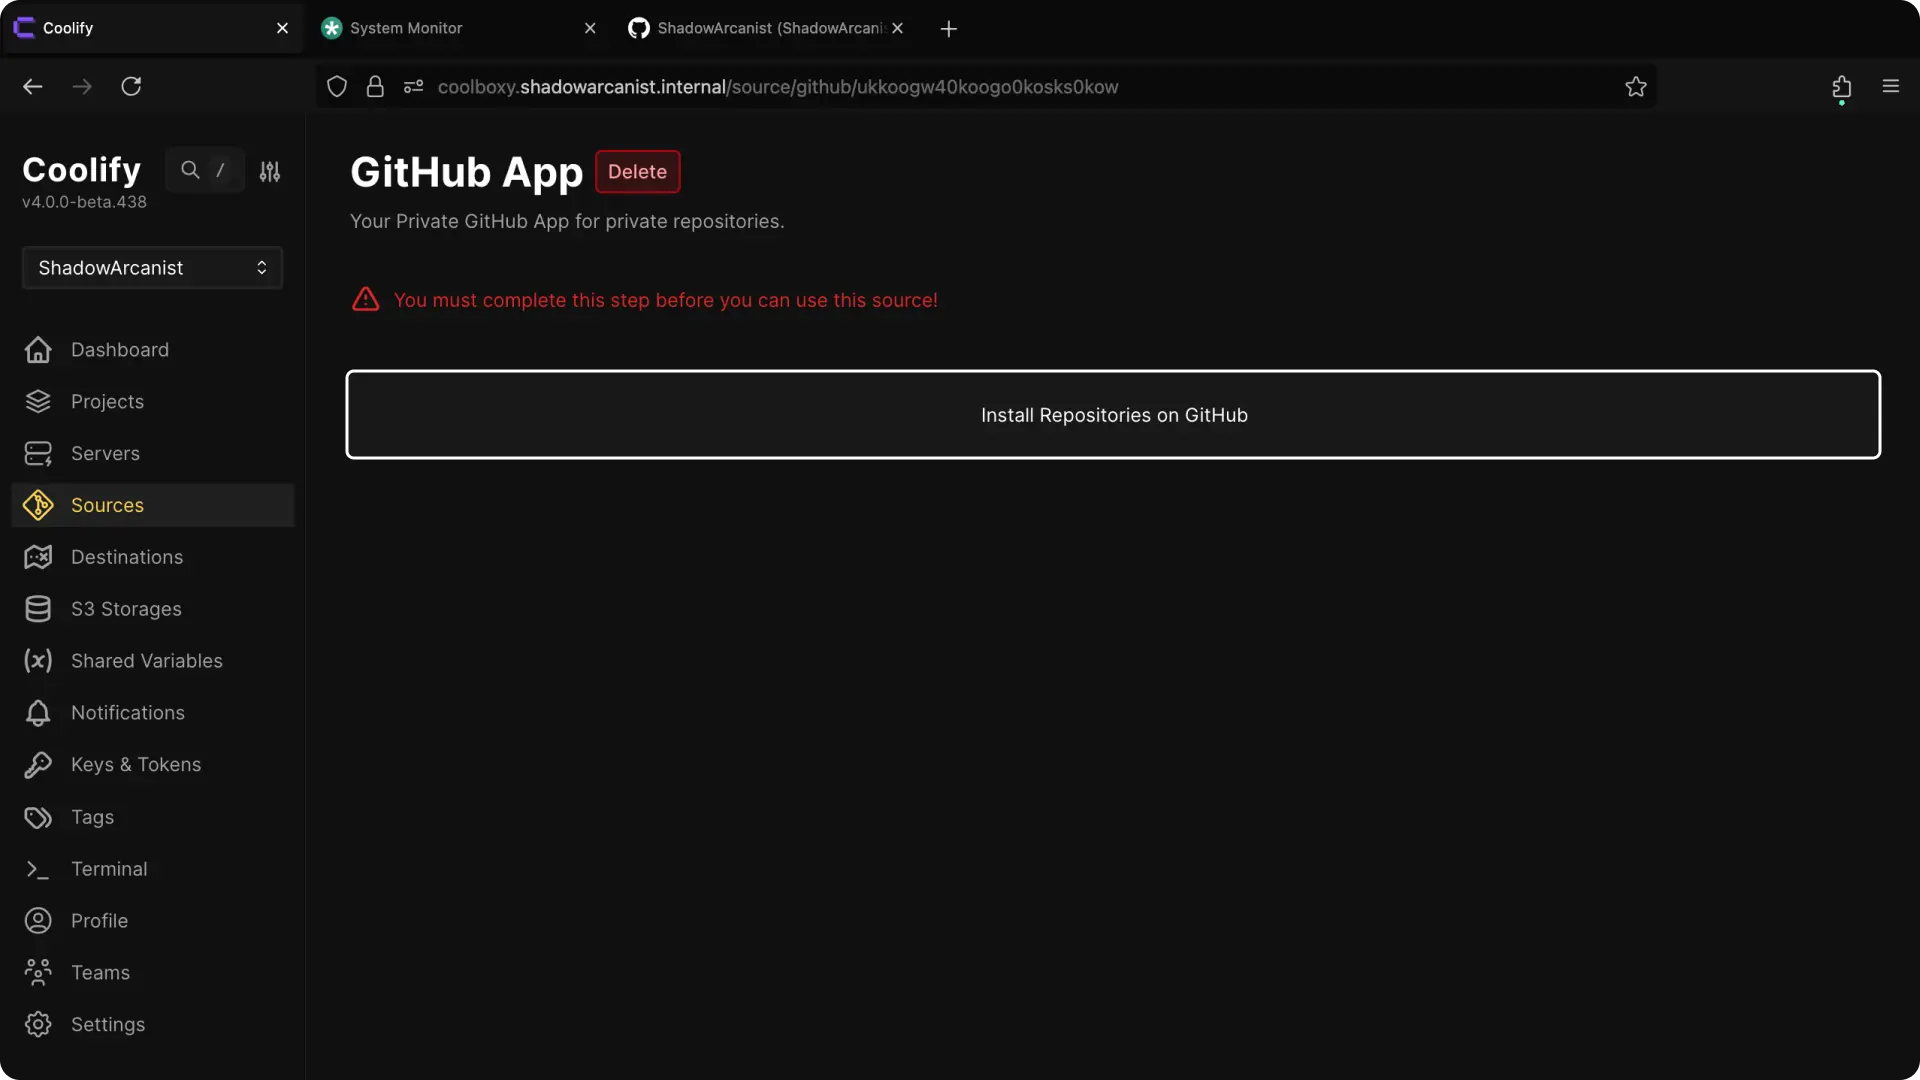
Select Install Repositories on GitHub.
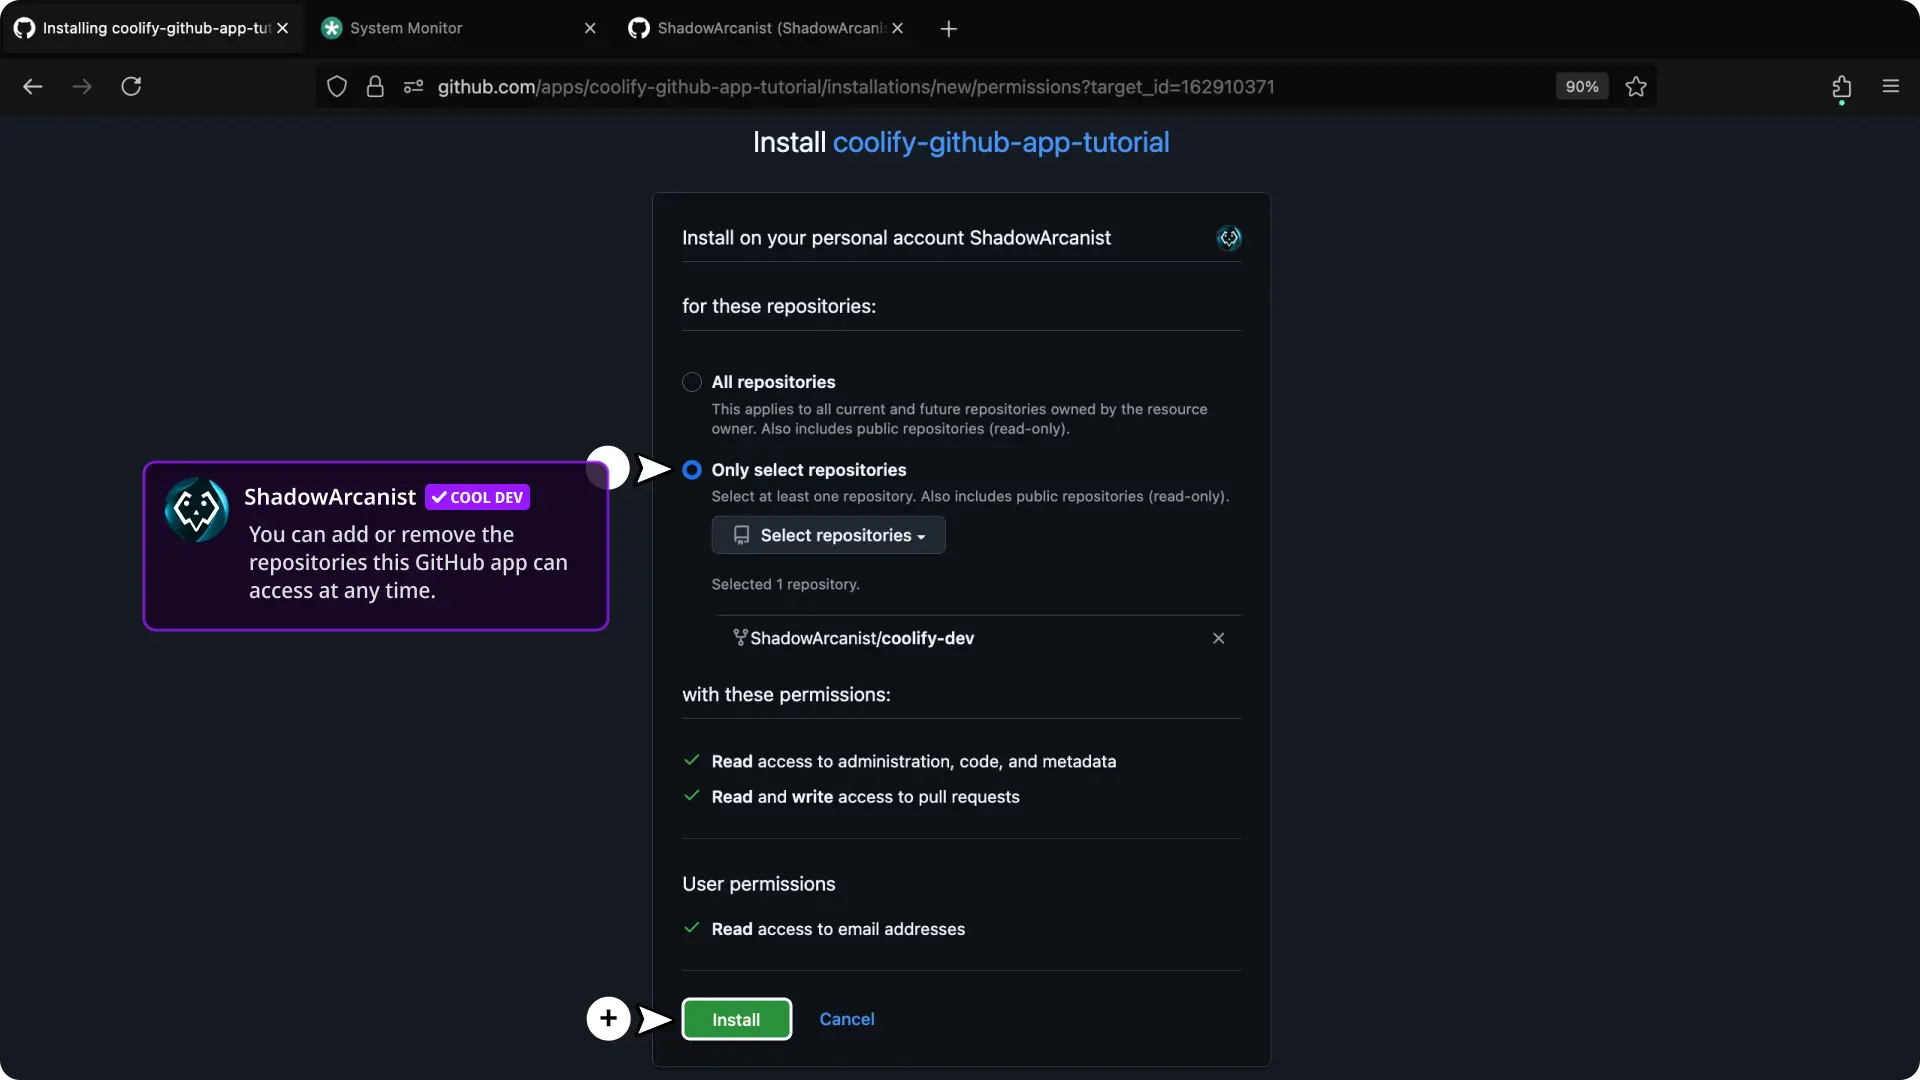
Choose All repositories or Only select repositories, then select Install.
Use selected repositories when the app does not need account-wide access.
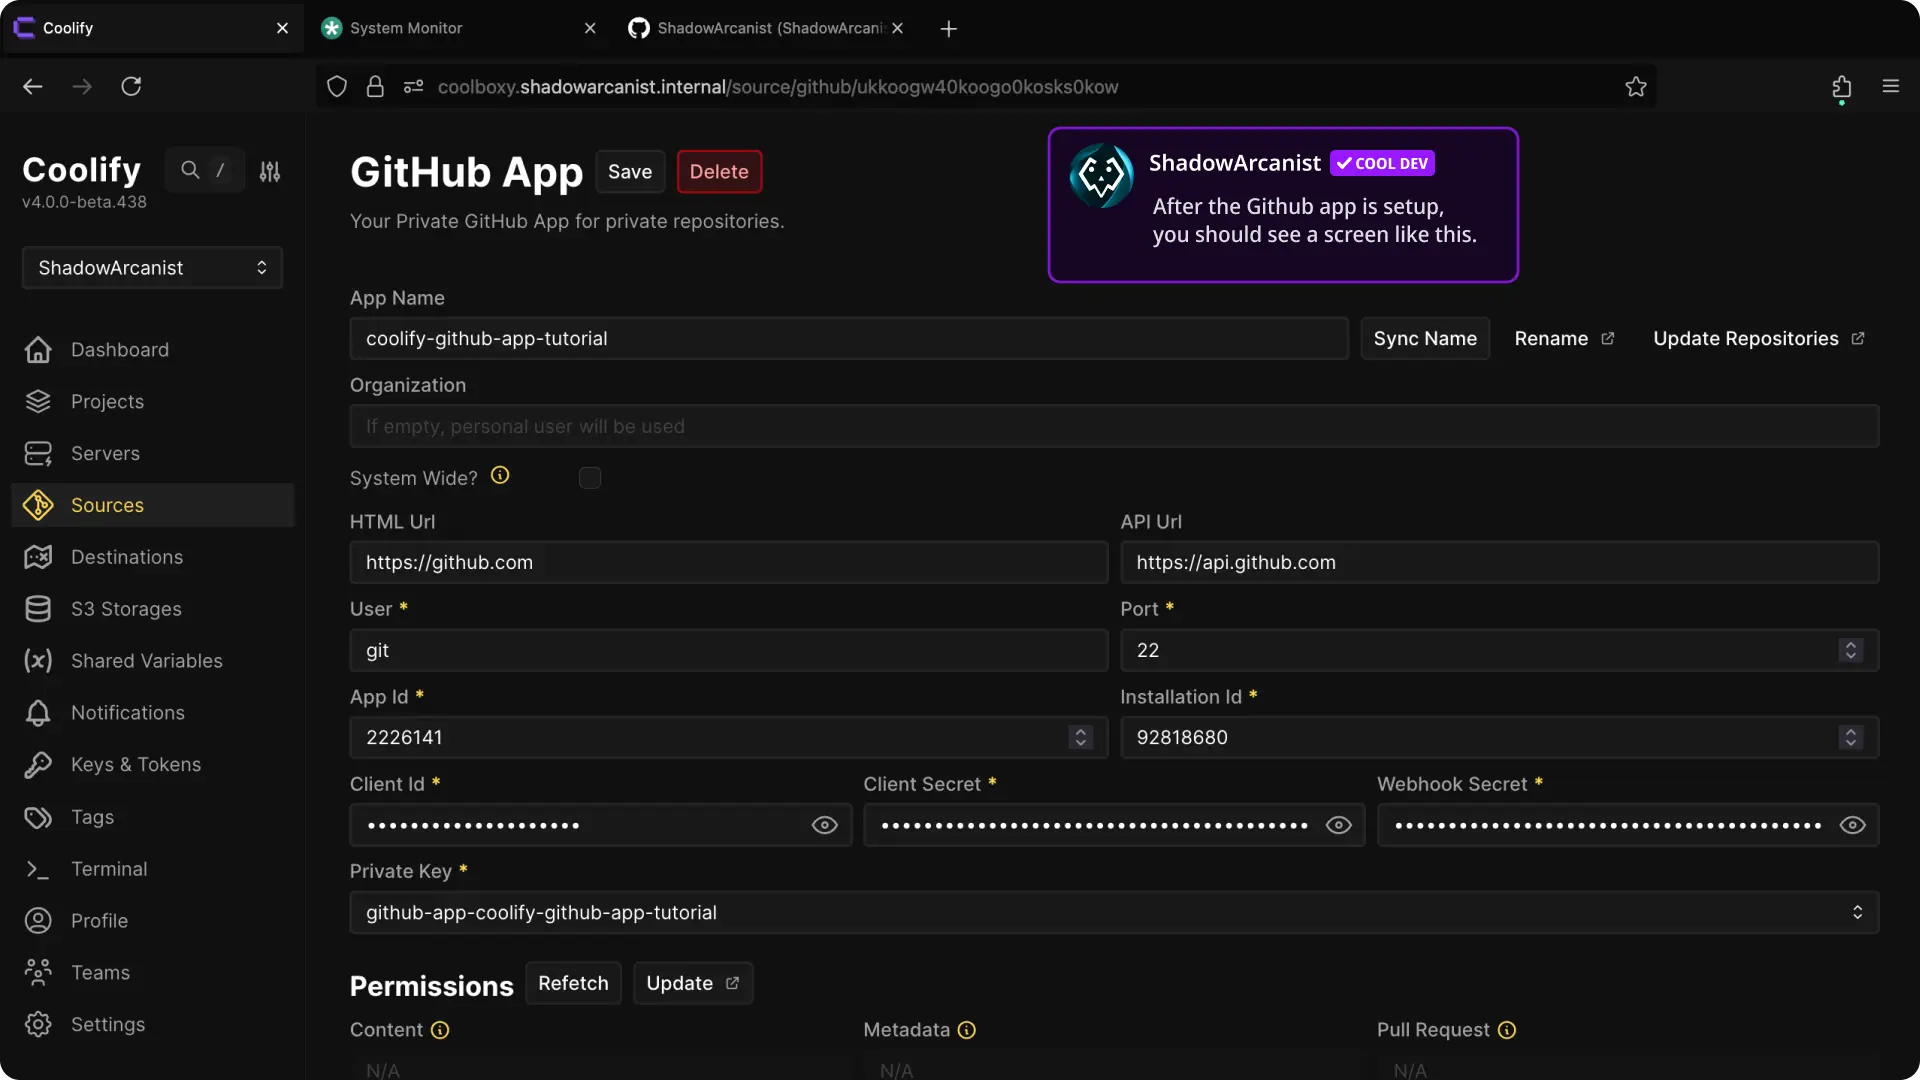
After GitHub returns to Coolify, confirm that the source shows an installation and repository-management actions.
5. Create an application
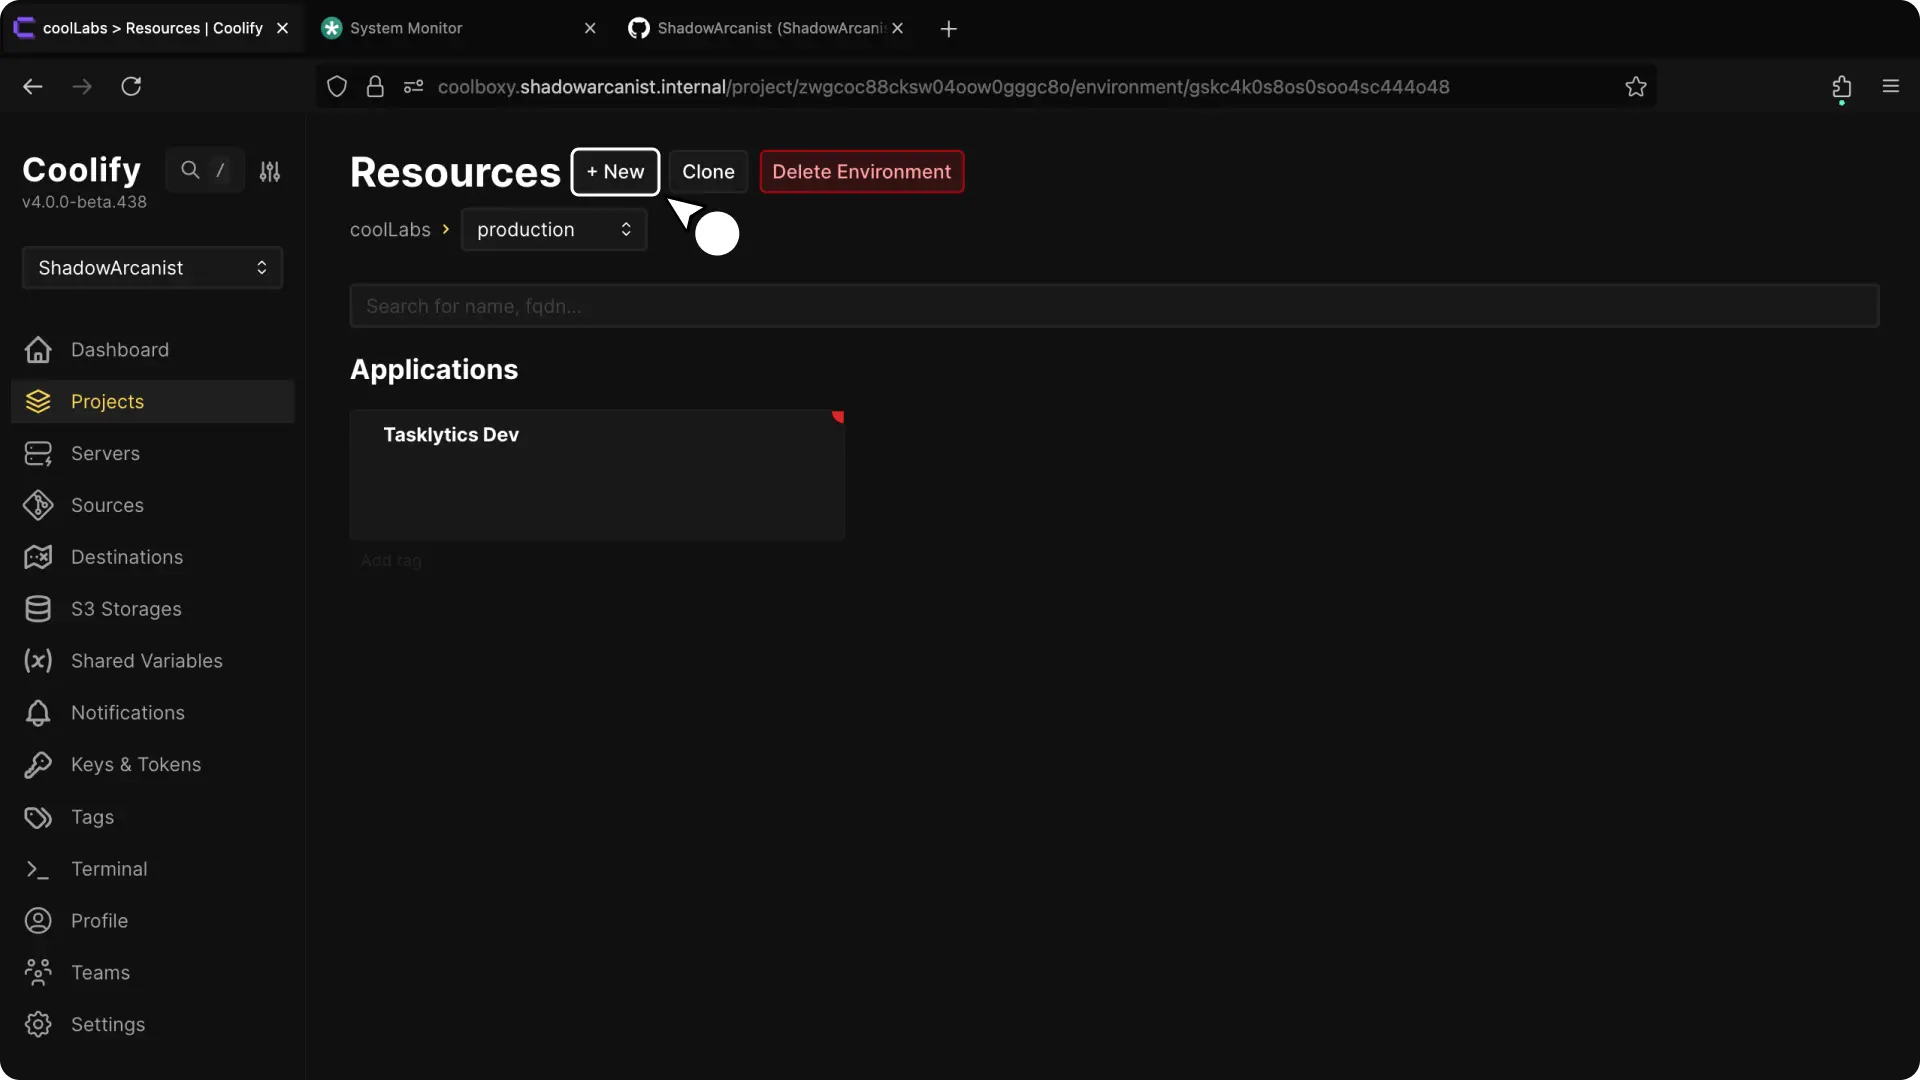
- Open the required project and environment.
- Select + New.
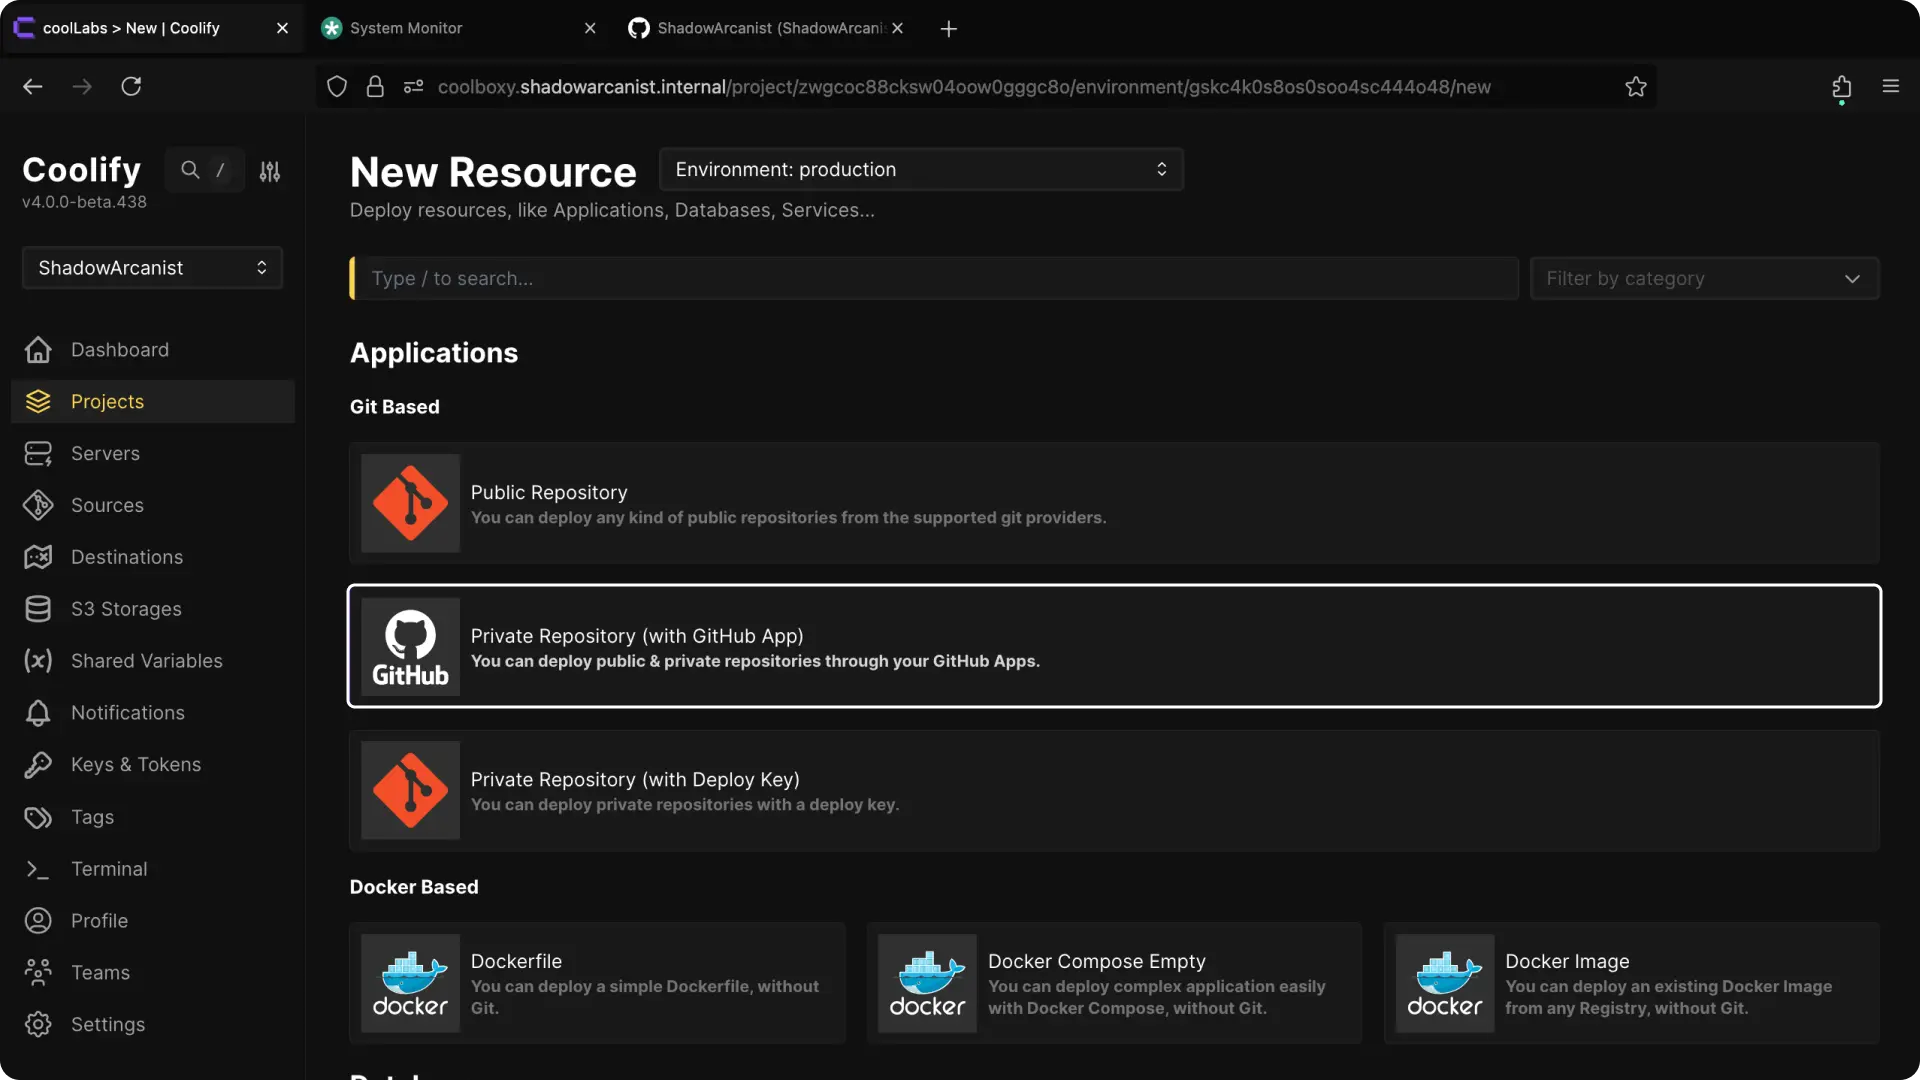
- Select Private Repository (with GitHub App).
6. Choose the deployment server
A self-hosted installation starts with a localhost server. Coolify selects it automatically when no other deployment server is available.
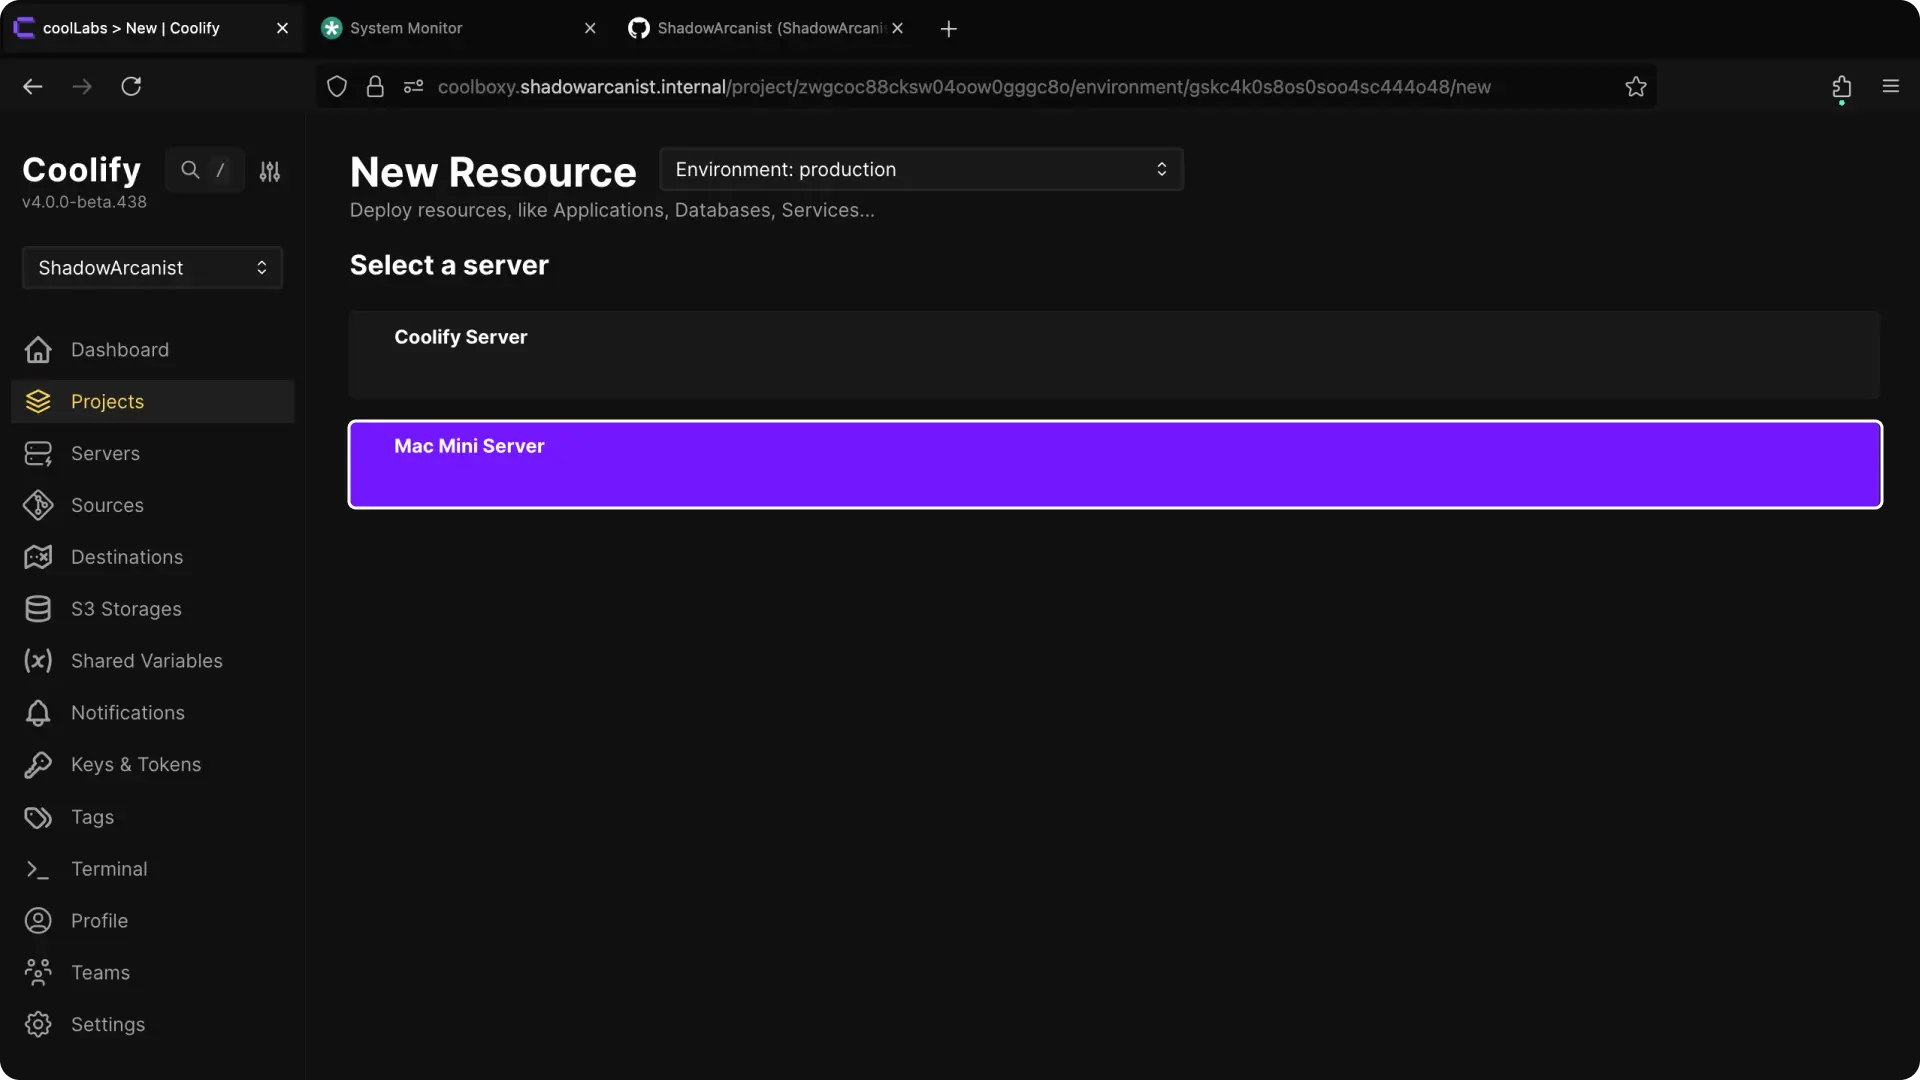
Choose the server where the application should run.
7. Choose the GitHub App
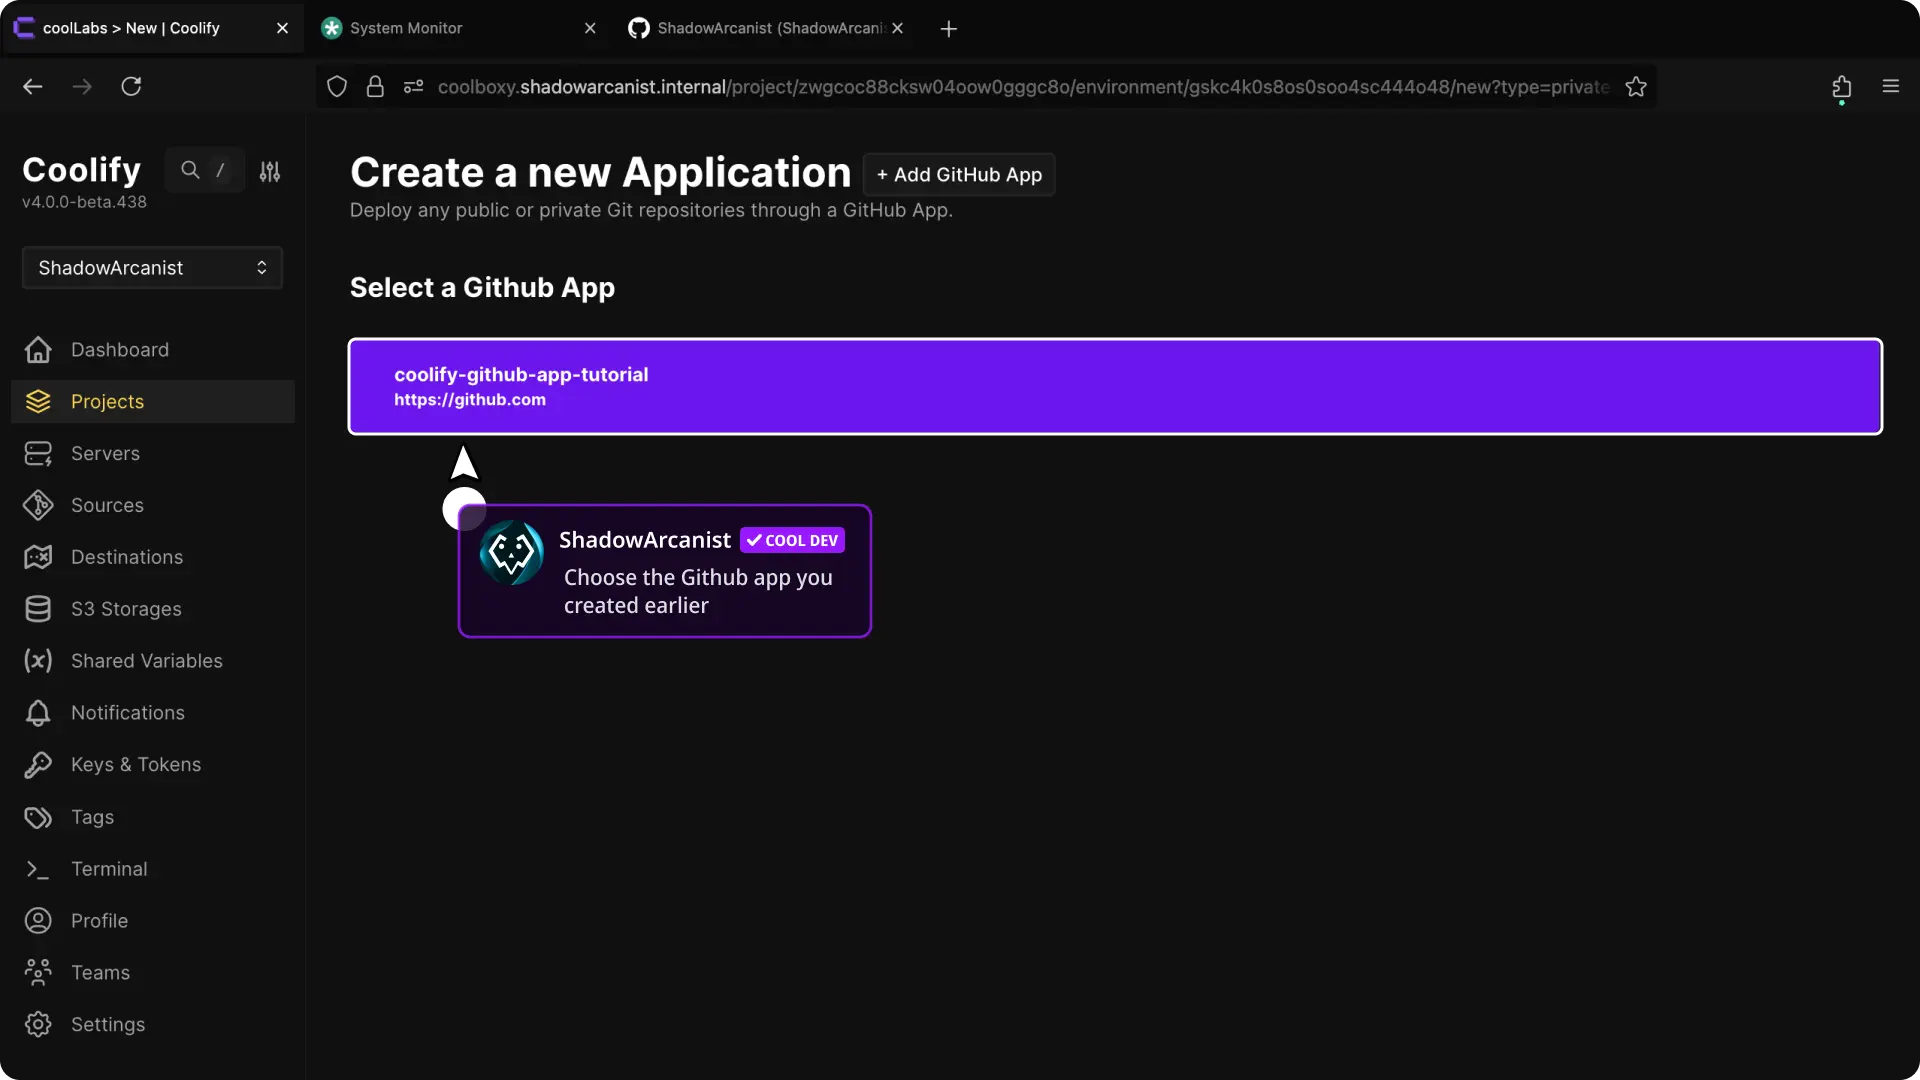
Select the GitHub App source you created.
8. Configure and deploy the application
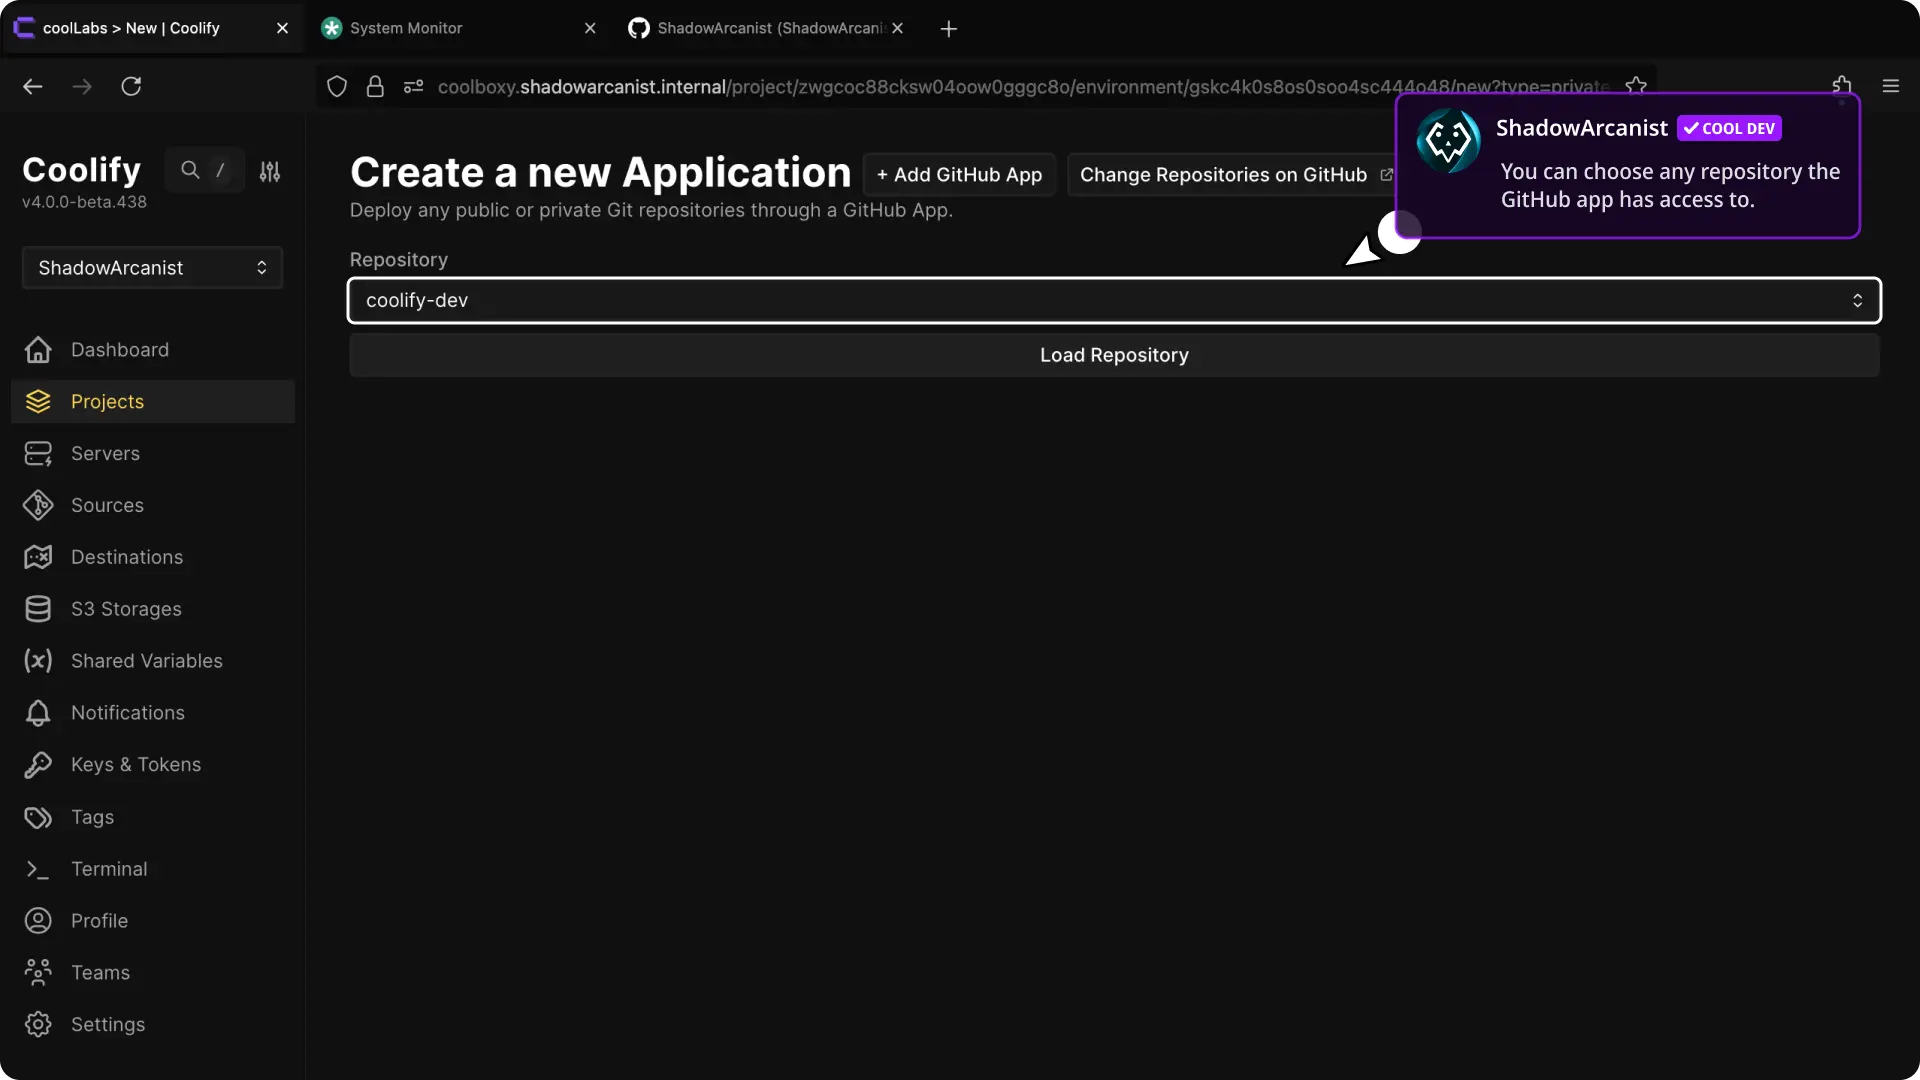
Choose a repository and select Load Repository.
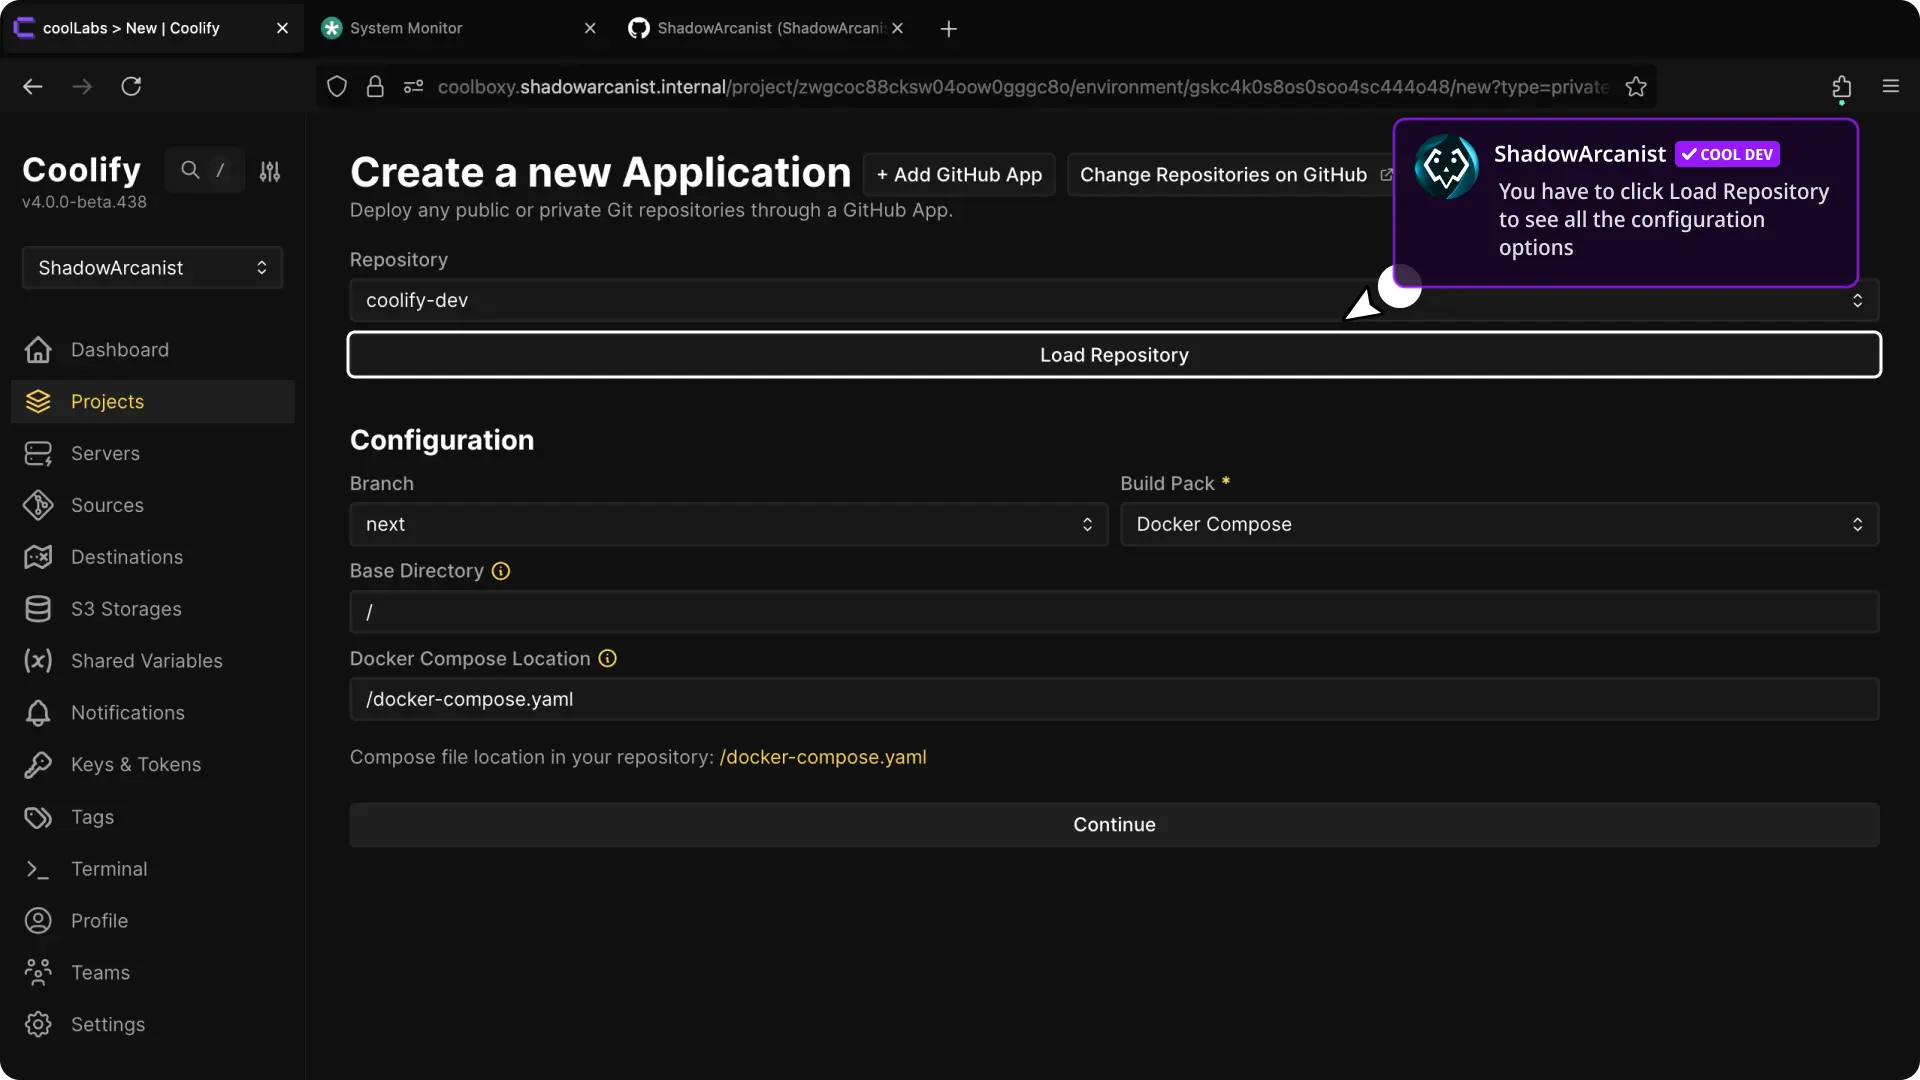
Choose the branch, Build Pack, base directory, internal port, and any required build settings. Read Build applications when you need help choosing a build method.
Select Continue, configure the application domain and variables, then deploy it.
Open Deployments and confirm that Coolify clones the selected repository and commit.
Change repository access
Open Sources, select the GitHub App, then select Update Repositories. Change the installation's repository access on GitHub and return to Coolify.
Refresh the repository list before creating another application. Removing repository access prevents new clones and webhook deployments for applications that use that repository.