
Use a non-root server user
Coolify can connect to a server using an account other than root. This feature is experimental and still requires the account to run commands with passwordless sudo.
The user created in this guide can run any command as root without entering a password. Use a dedicated account and SSH key only for Coolify.
This guide uses cooluser as the username. Replace cooluser with the username you want to use.
Configure the non-root user
Sign in as root
Connect to the server as root using SSH or the server console.
Keep this session open until Coolify successfully validates the new account.
Create the user
Run the command for the server's operating system.
useradd --create-home --user-group --shell /bin/bash cooluserConfirm that the account exists:
id cooluserThe command should print the user's ID and group information.
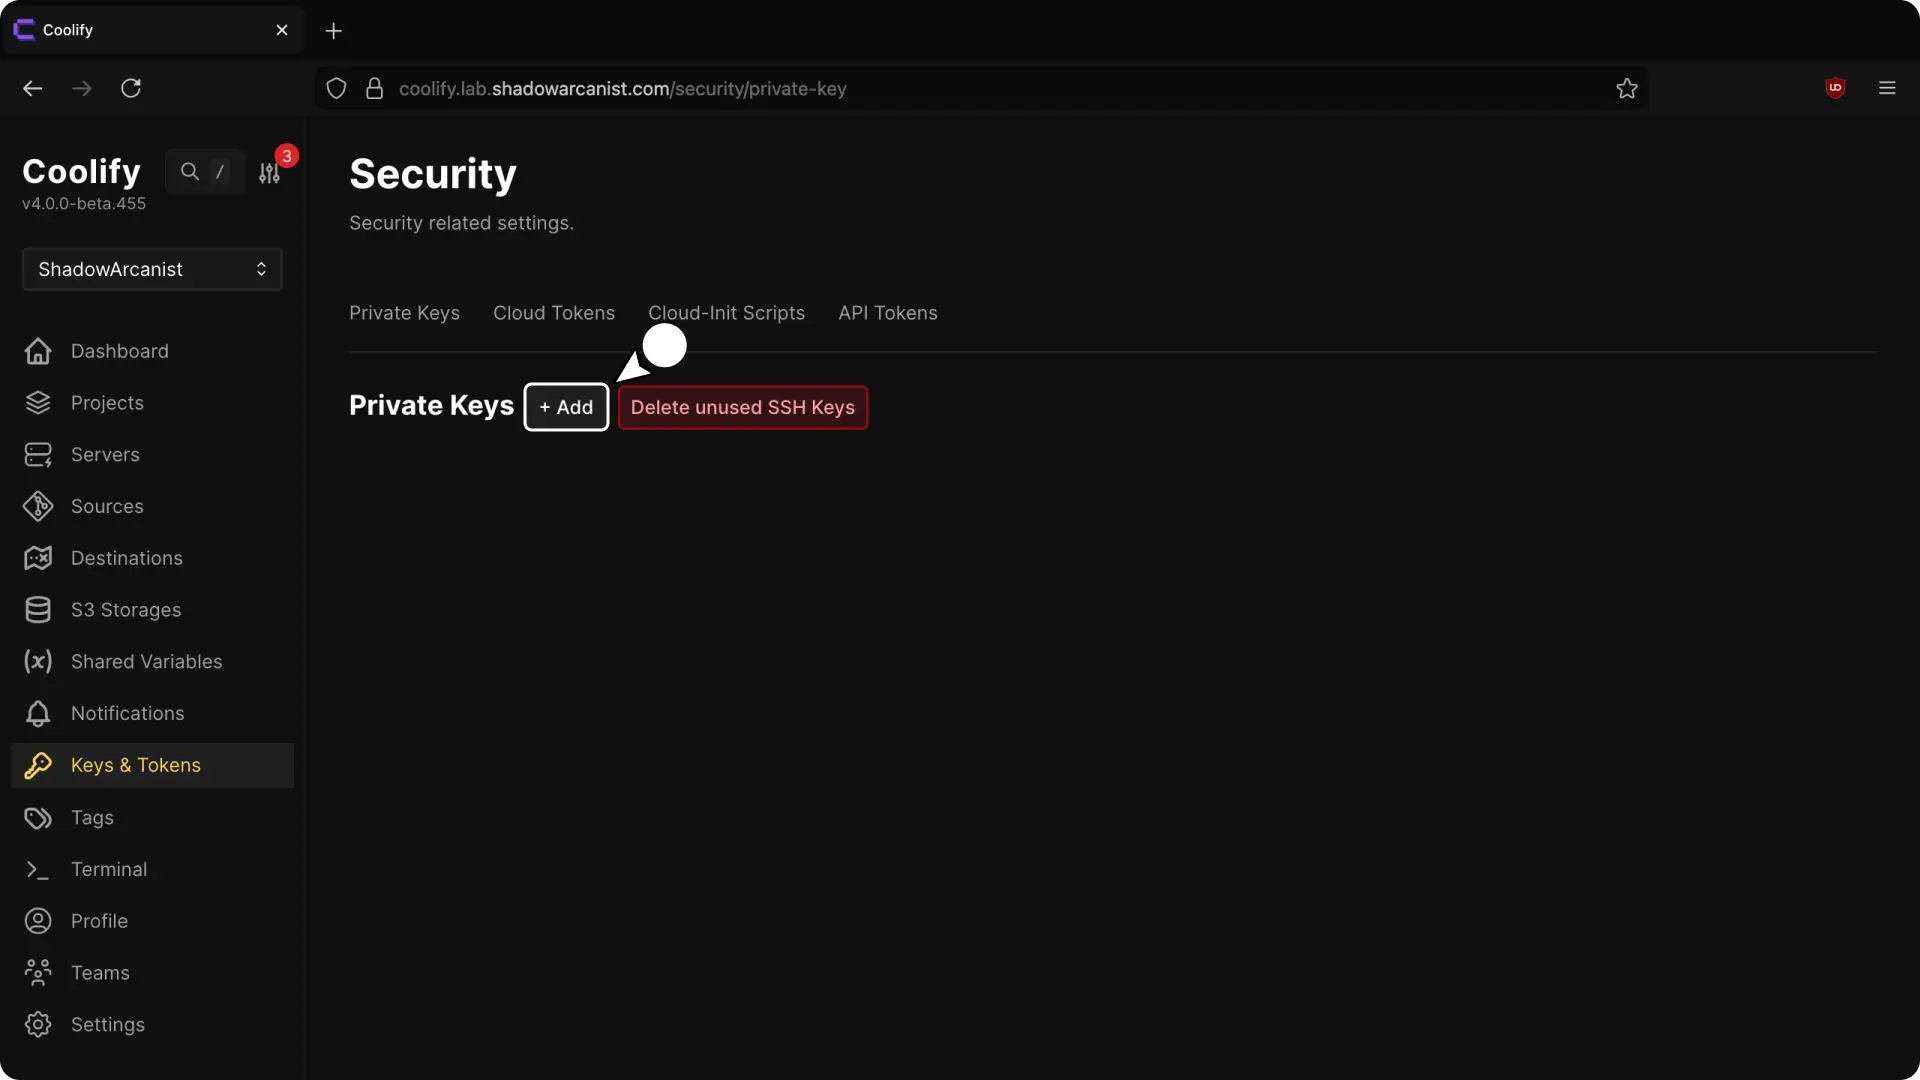
Generate the SSH key
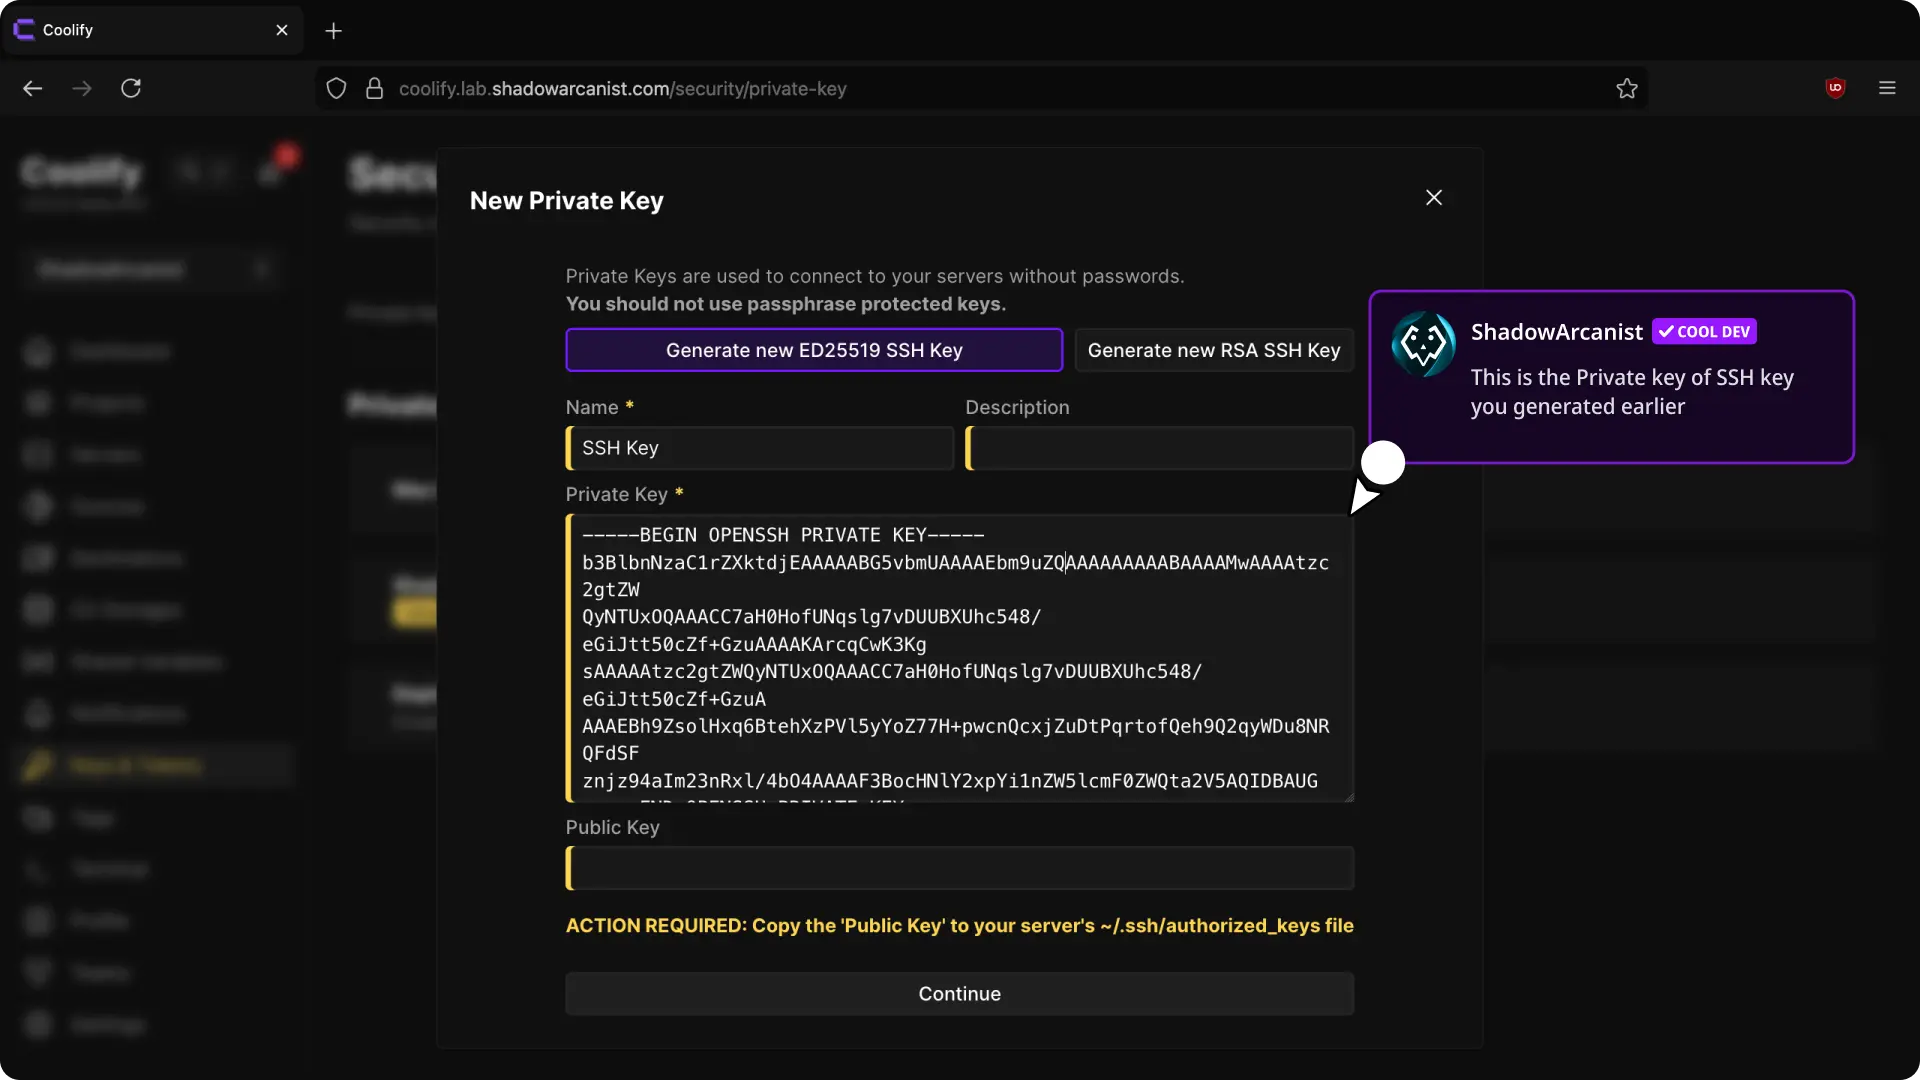
- Select Generate new ED25519 SSH Key.
- Enter a name such as
cooluser-key. - Copy the complete value shown in Public Key.
- Select Continue to save the key.
Do not add a passphrase to the private key. Coolify must use it without an interactive prompt.
Add the key to the new user
Back in the root session on the server, run:
install -d -m 700 -o cooluser -g cooluser /home/cooluser/.ssh
nano /home/cooluser/.ssh/authorized_keys
Paste the public key on a new line and save the file. Then run:
chown cooluser:cooluser /home/cooluser/.ssh/authorized_keys
chmod 600 /home/cooluser/.ssh/authorized_keys
Allow passwordless sudo
Make sure the sudo command is installed, then run these commands as root:
echo 'cooluser ALL=(ALL) NOPASSWD: ALL' > /etc/sudoers.d/cooluser
chmod 440 /etc/sudoers.d/cooluser
Check that the new user can use sudo without a password:
su - cooluser -c 'sudo -n whoami'The command should print root without asking for a password.
Prepare the Coolify data directory
Coolify stores application, database, service, proxy, and certificate files under /data/coolify on the server.
Create the directory and give the non-root user ownership:
mkdir -p /data/coolify
chown -R cooluser:cooluser /data/coolify
chmod -R o-rwx /data/coolify
The cooluser user can now manage files under /data/coolify. Coolify applies the same ownership pattern when it creates additional directories for a non-root server user.
Continue to Add Server
Follow Connect the server to add and validate the server.
When you complete the server form:
- Enter
cooluserin User. - Select the private key whose public key you added to
/home/cooluser/.ssh/authorized_keys. - Skip the key-creation steps in that guide because the key is already configured.
After validation, the server's General page should report Server is reachable and validated.
If validation fails: