
Build servers
A build server builds application images on a separate machine. The completed image is pushed to a container registry, then the deployment server pulls and runs it.
By default, Coolify builds an application on the same server where the application will be deployed. Add a build server when builds use too much CPU, memory, or disk space on the deployment server.
What you need
Before you start, make sure you have:
- a fresh remote server that is not running applications, databases, or services
- Docker Engine on the build server, or permission for Coolify to install it
- a container registry where Coolify can push the completed image
- the registry repository for the application, such as
ghcr.io/example/my-app - access to the application's source repository
The build server should use the same CPU architecture as the deployment server.
A server marked as a build server cannot be selected as a deployment destination. Do not enable this setting on a server that runs applications, databases, or services.
Configure a build server
Choose whether you are adding a new server or using a server that is already connected to Coolify.
Prepare the SSH key
Complete Create and authorize an SSH key before opening the server form.
Open the Servers page
- Open the Coolify dashboard.
- Select Servers in the sidebar.
- Select + Add.
- Select Manual.
Add the build server
- Enter the server name, IP address or domain, SSH port, user, and private key.
- Enable Use it as a build server?.
- Select Continue.
Coolify adds the server and opens its General page.
Validate the build server
- Select Validate Server & Install Docker Engine.
- Keep the page open while Coolify validates the SSH connection and prepares Docker.
- Wait for the page to show Server is reachable and validated.
When more than one usable build server is available, Coolify selects one at random for each build.
Sign in to the container registry
Connect to the build server
Connect with the same SSH user configured on the server's General page:
ssh <user>@<build-server-ip>Replace <user> and <build-server-ip> with the values used by your server.
If the server uses an SSH port other than 22, run:
ssh -p <ssh-port> <user>@<build-server-ip>Log in to the registry
docker login <registry-domain>Replace <registry-domain> with the registry hostname, such as ghcr.io. Enter the registry username and access token when prompted.
The login creates ~/.docker/config.json for the current SSH user. Coolify requires this file on the build server.
If the registry repository is private, log in to the registry on the deployment server as well so it can pull the completed image.
Configure an application to use the build server
Open the application General page
- Open Projects in the Coolify sidebar.
- Select the project and environment.
- Select the application that should use the build server.
- Open General.
Enter the Docker image
Enter the full registry repository in Docker Image, for example ghcr.io/example/my-app.
Select Save after entering the image. Coolify cannot deploy with a build server until Docker Image is set.
Enable the build server
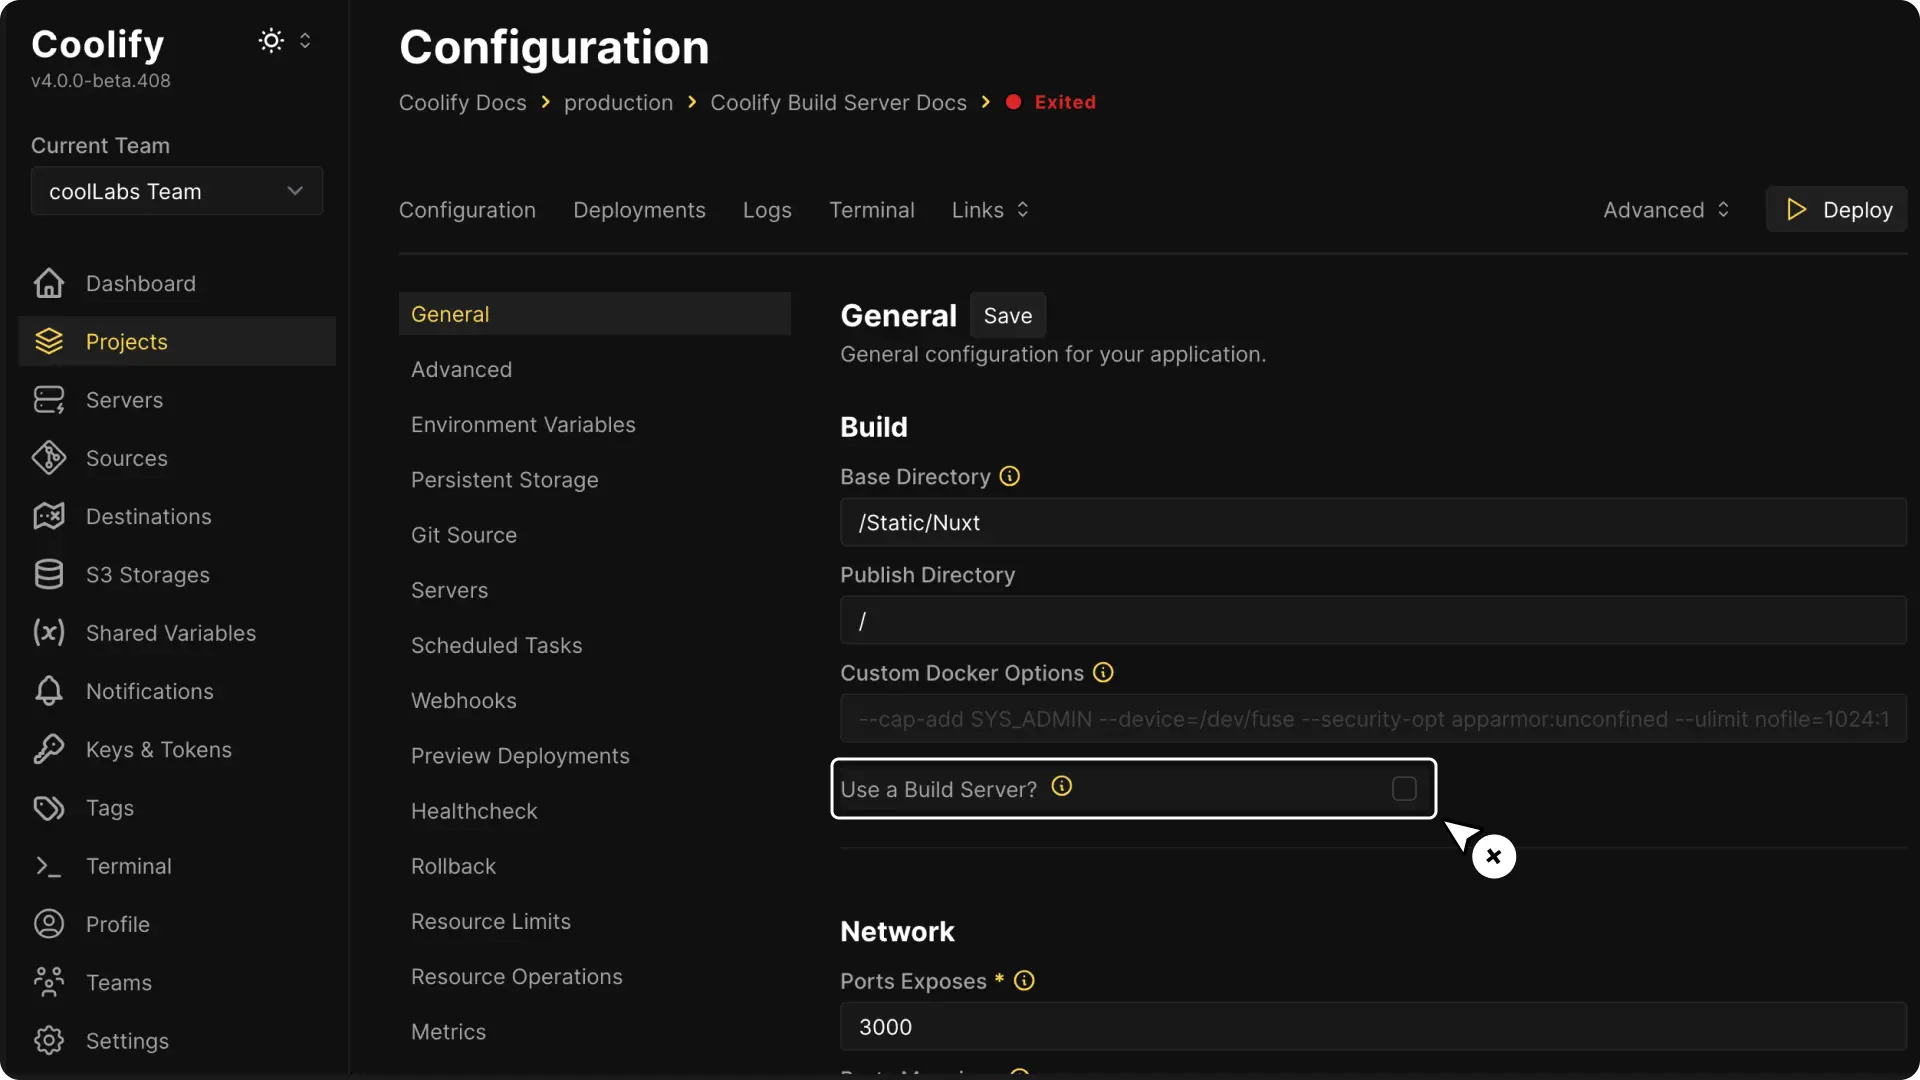
- Find Use a Build Server?.
- Enable the setting.
The setting saves immediately. It is not available for Docker Compose applications.
Deploy the application
Start a new deployment and open the deployment logs.
When Coolify selects a build server, the log shows:
Found a suitable build server (<server-name>).Wait for the deployment to finish, then confirm:
- the completed image appears in the container registry
- the application runs on its deployment server
- the application opens from its configured domain
If no usable build server is available, Coolify reports No suitable build server found. Using the deployment server. and performs the build on the deployment server.