
Configure Amazon S3 Storage
Connect a private Amazon S3 bucket to Coolify so it can store backup files. This guide creates bucket-scoped IAM credentials and validates the storage connection in Coolify.
Replace these example values with your own values while following the guide:
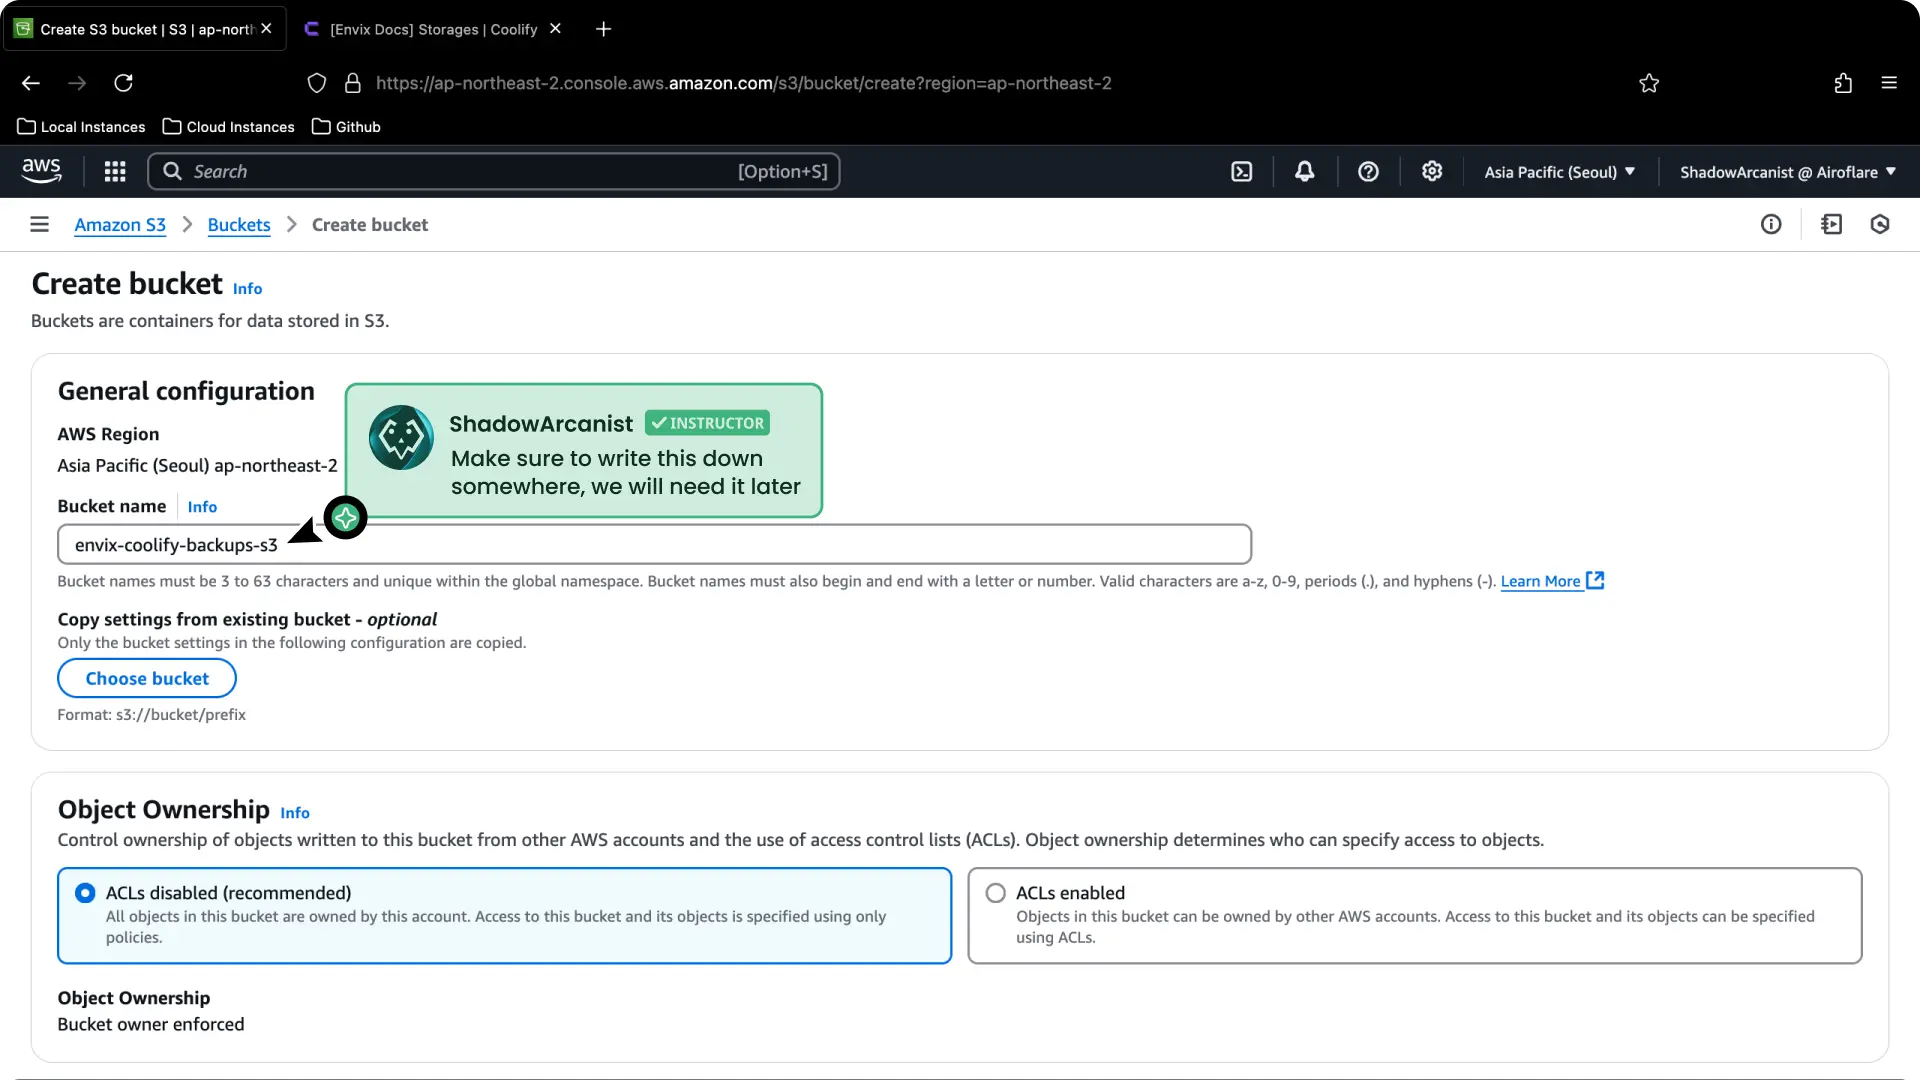
- S3 Bucket Name:
envix-coolify-backups-s3 - IAM Policy Name:
EnvixCoolifyBackupS3Access - IAM Username:
EnvixCoolifyBackupS3User - Endpoint:
https://s3.ap-northeast-2.amazonaws.com
Set up Amazon S3
Create an S3 bucket
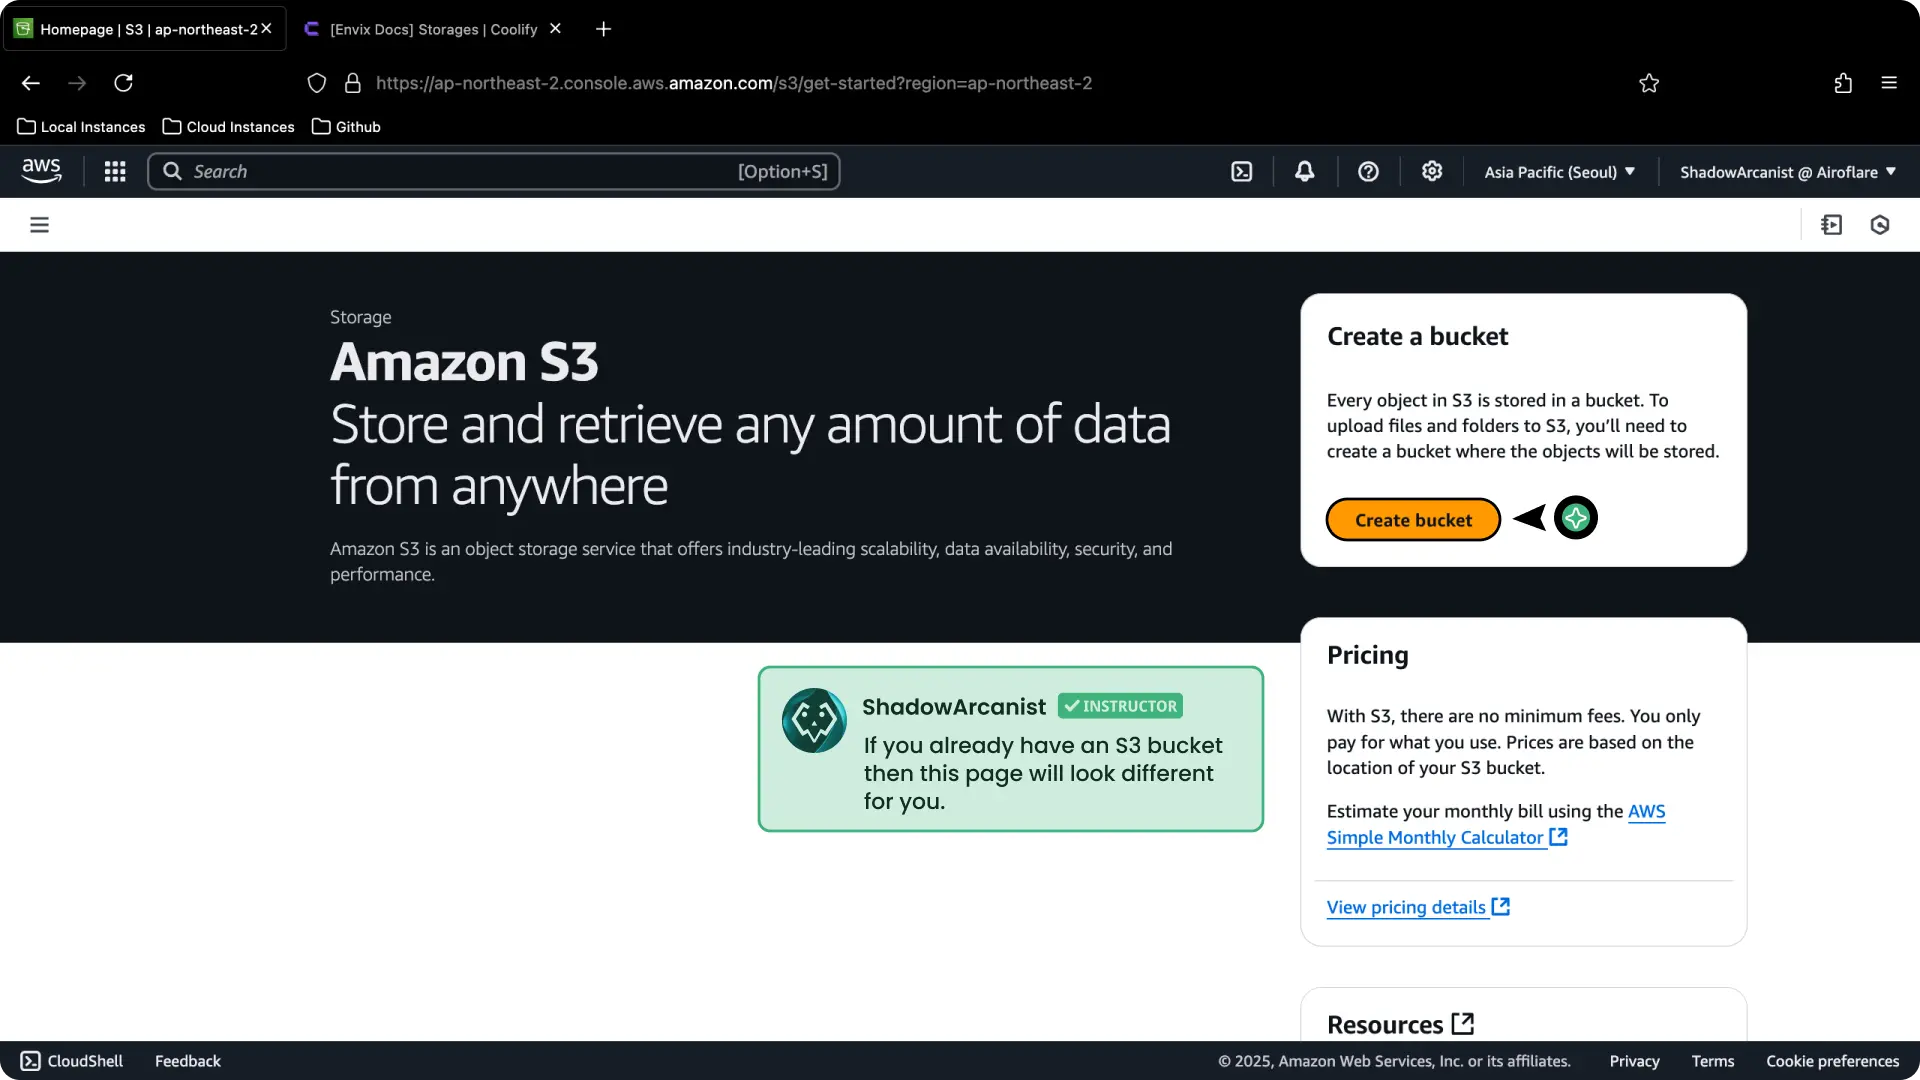
Open the Amazon S3 console and select Create bucket.
Enter the bucket name and choose its AWS Region, object ownership, and other settings.
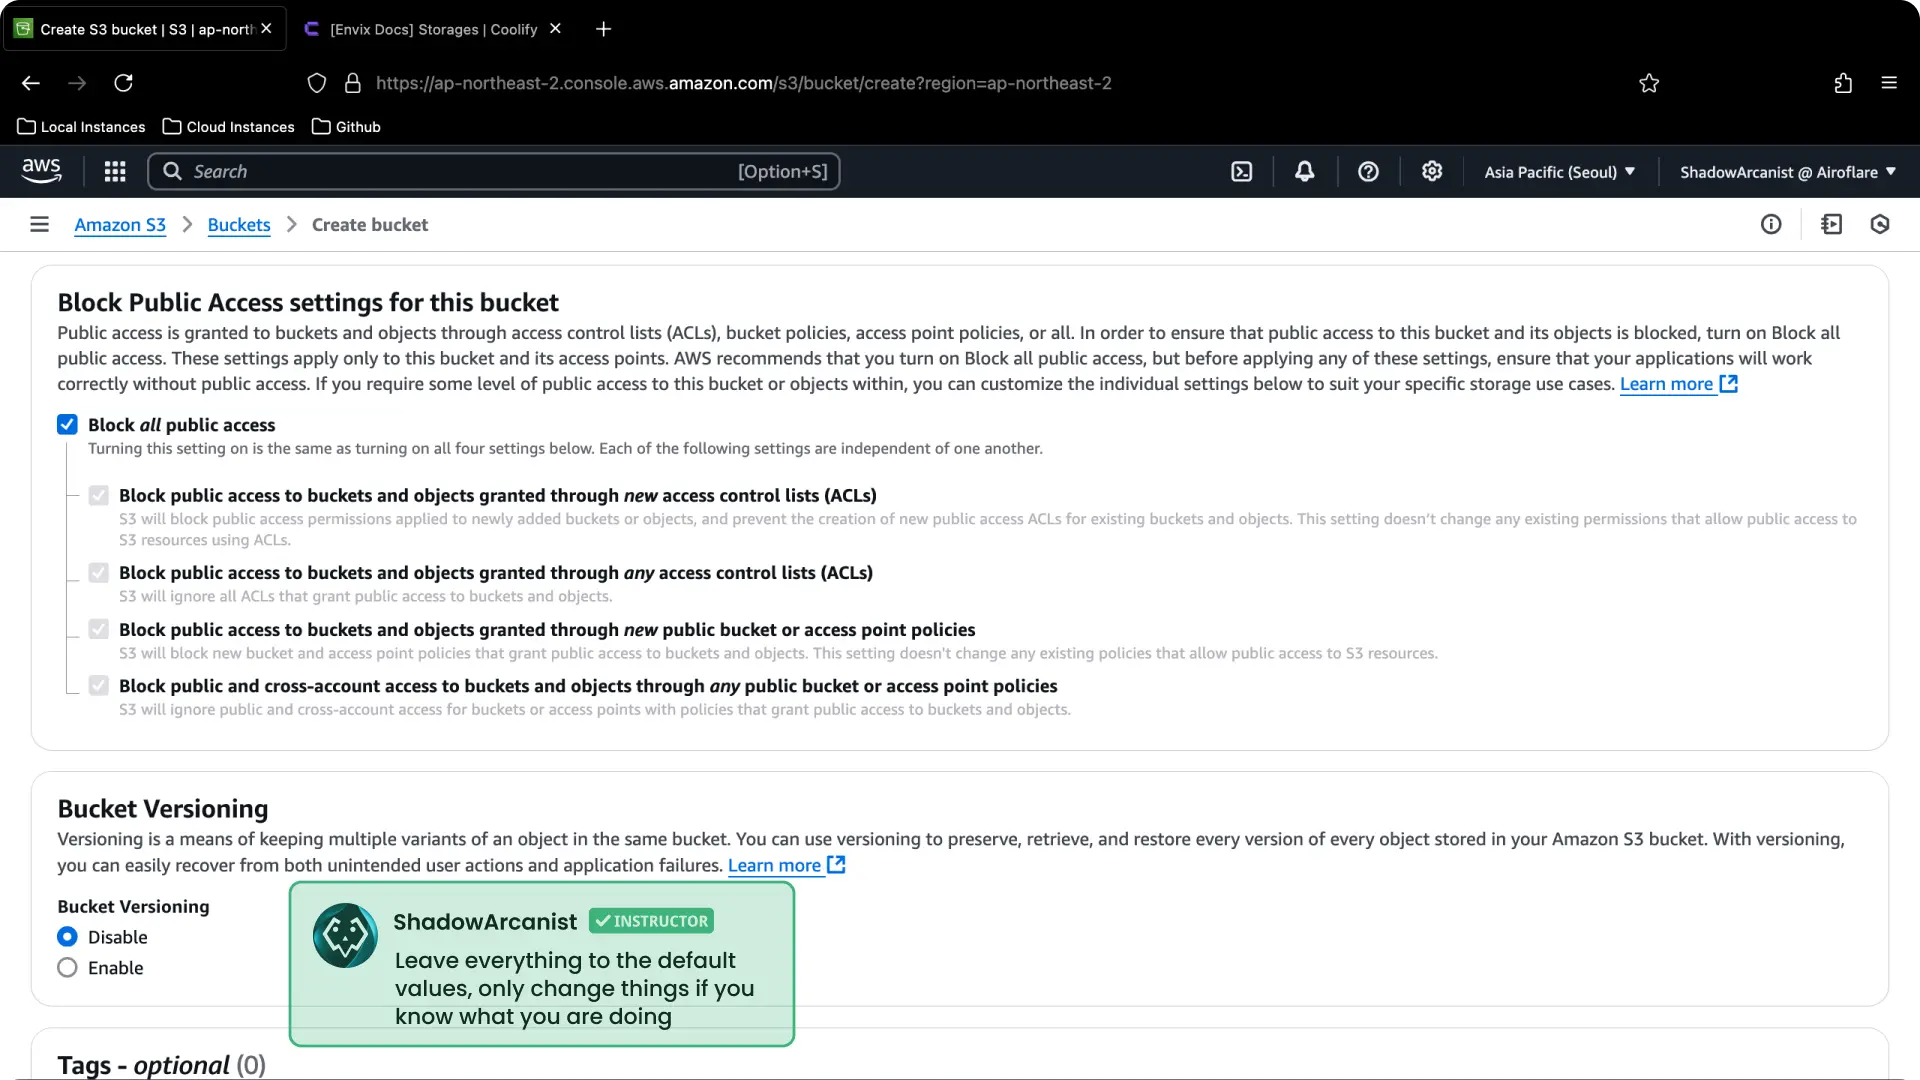
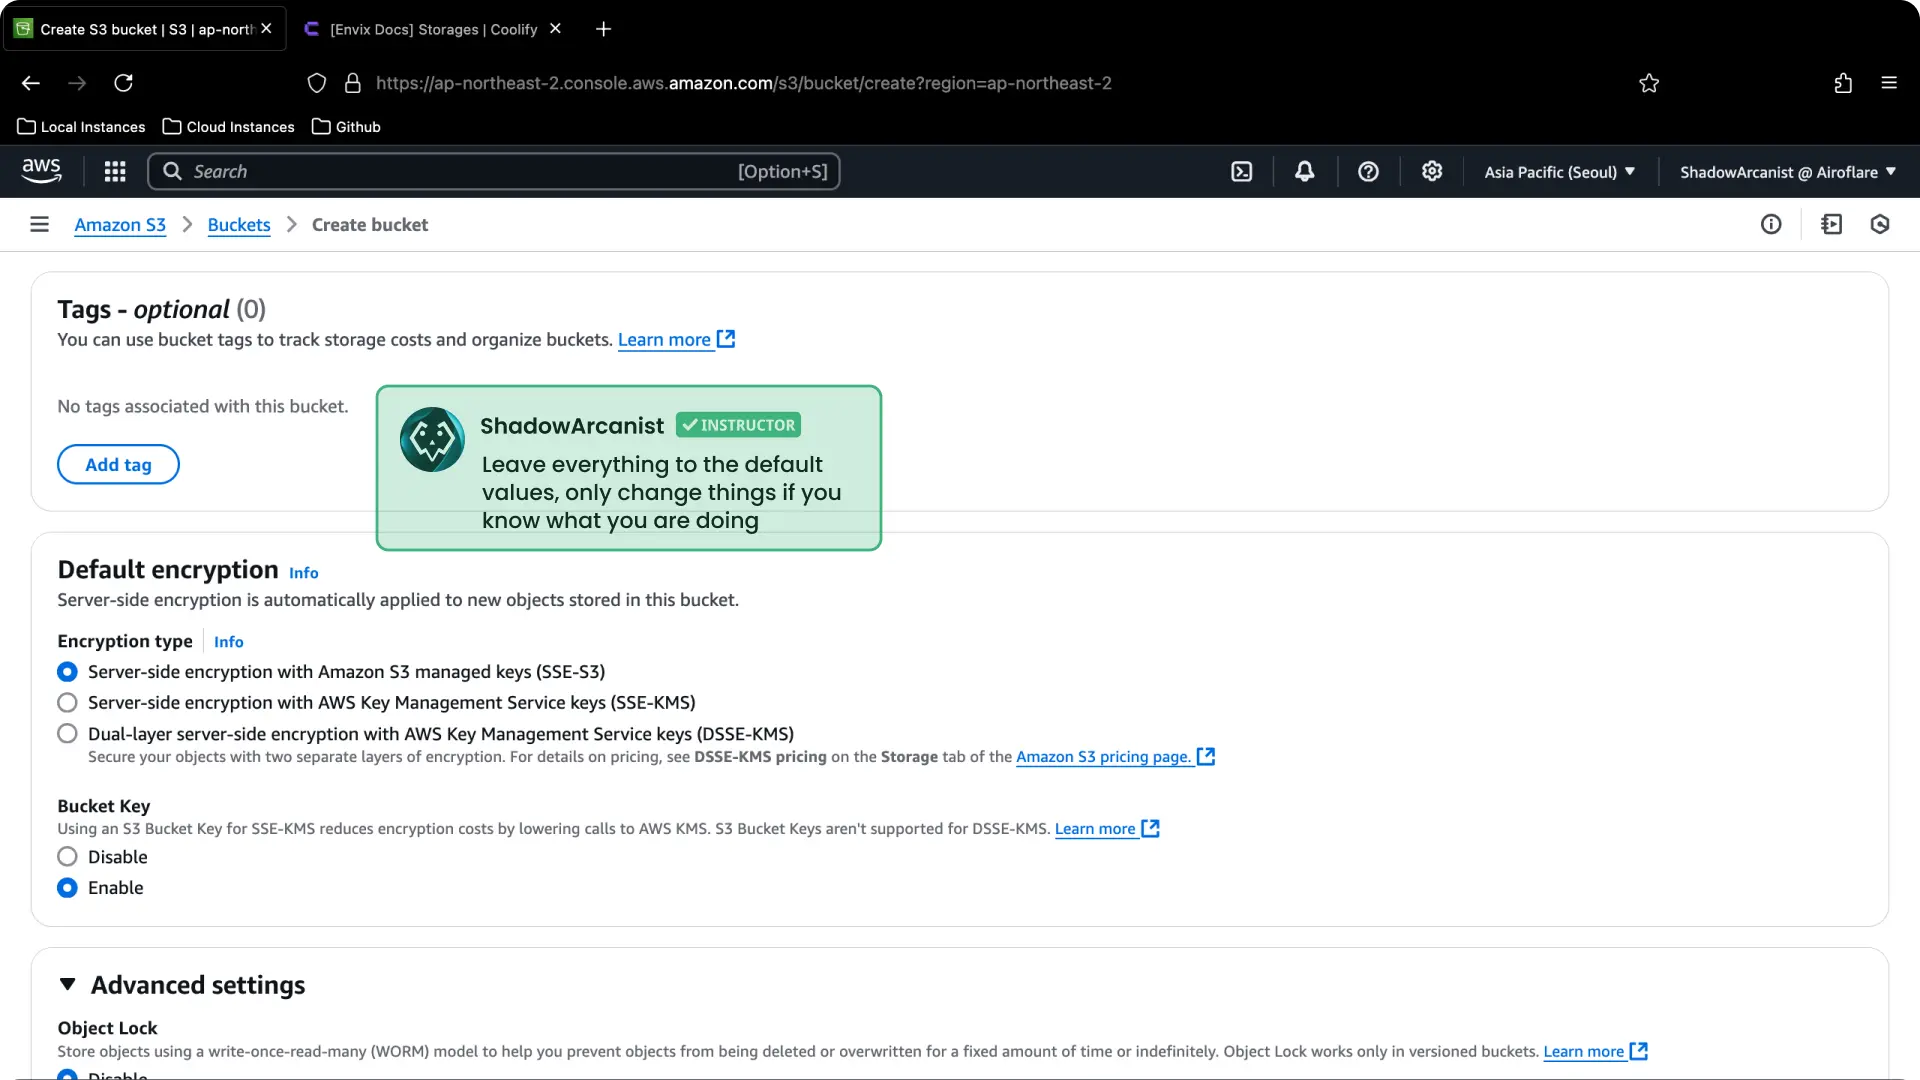
The default settings work for a standard private backup bucket. Change encryption, versioning, object ownership, or public access only when your AWS requirements call for it.
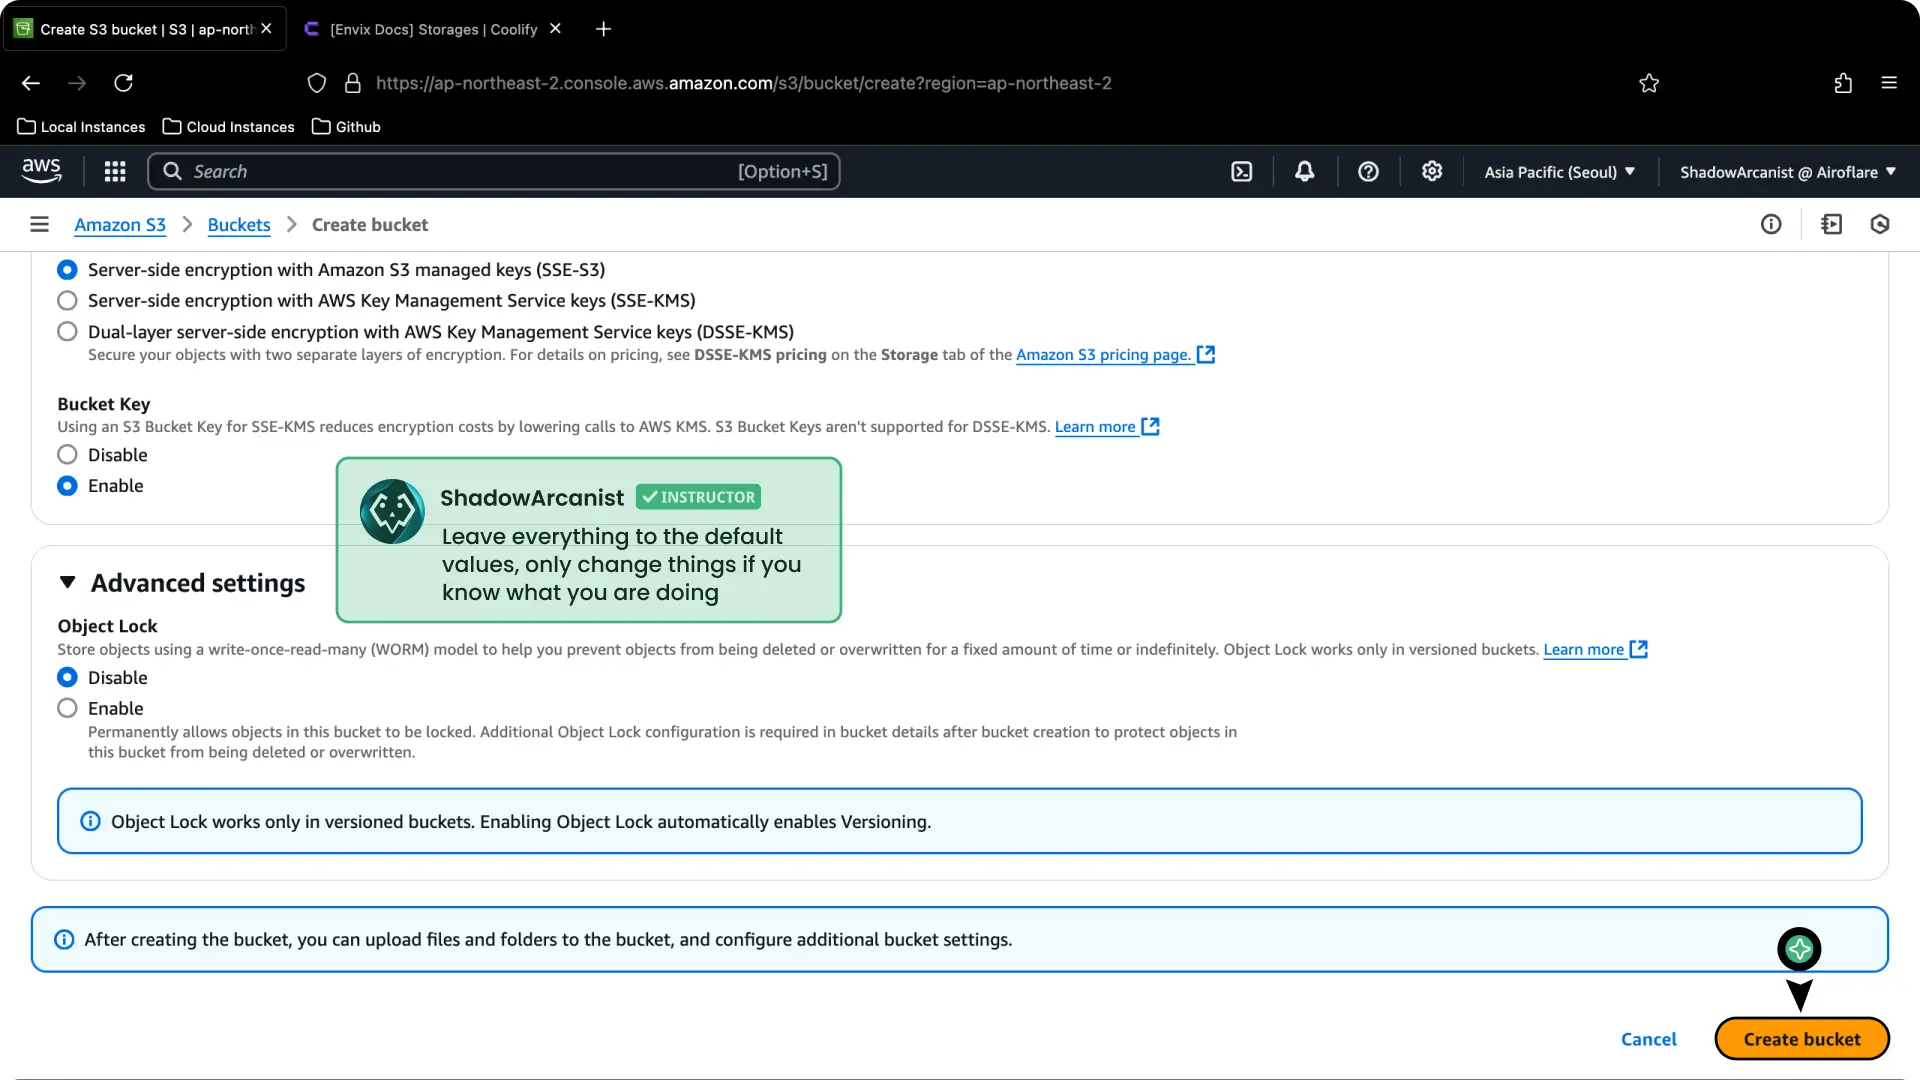
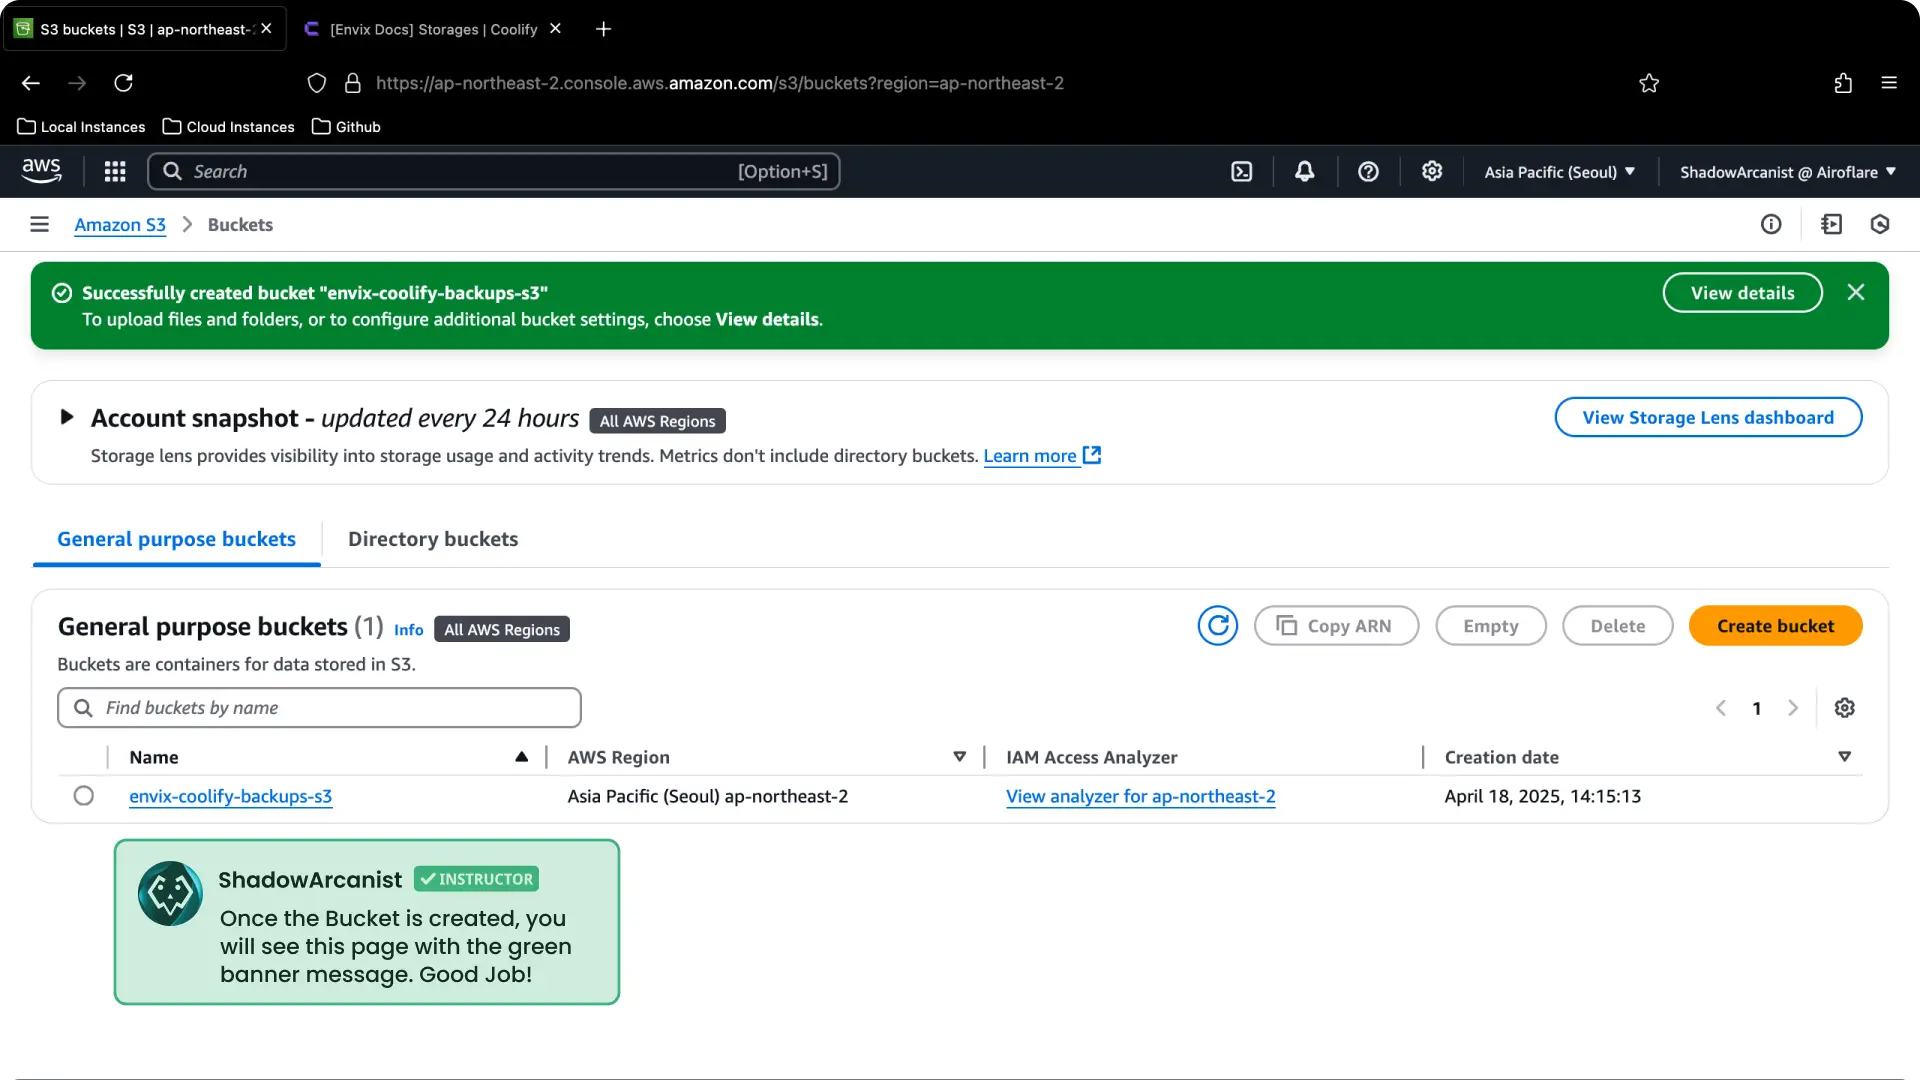
Select Create bucket. After AWS creates the bucket, it appears in the bucket list.
Create an IAM policy
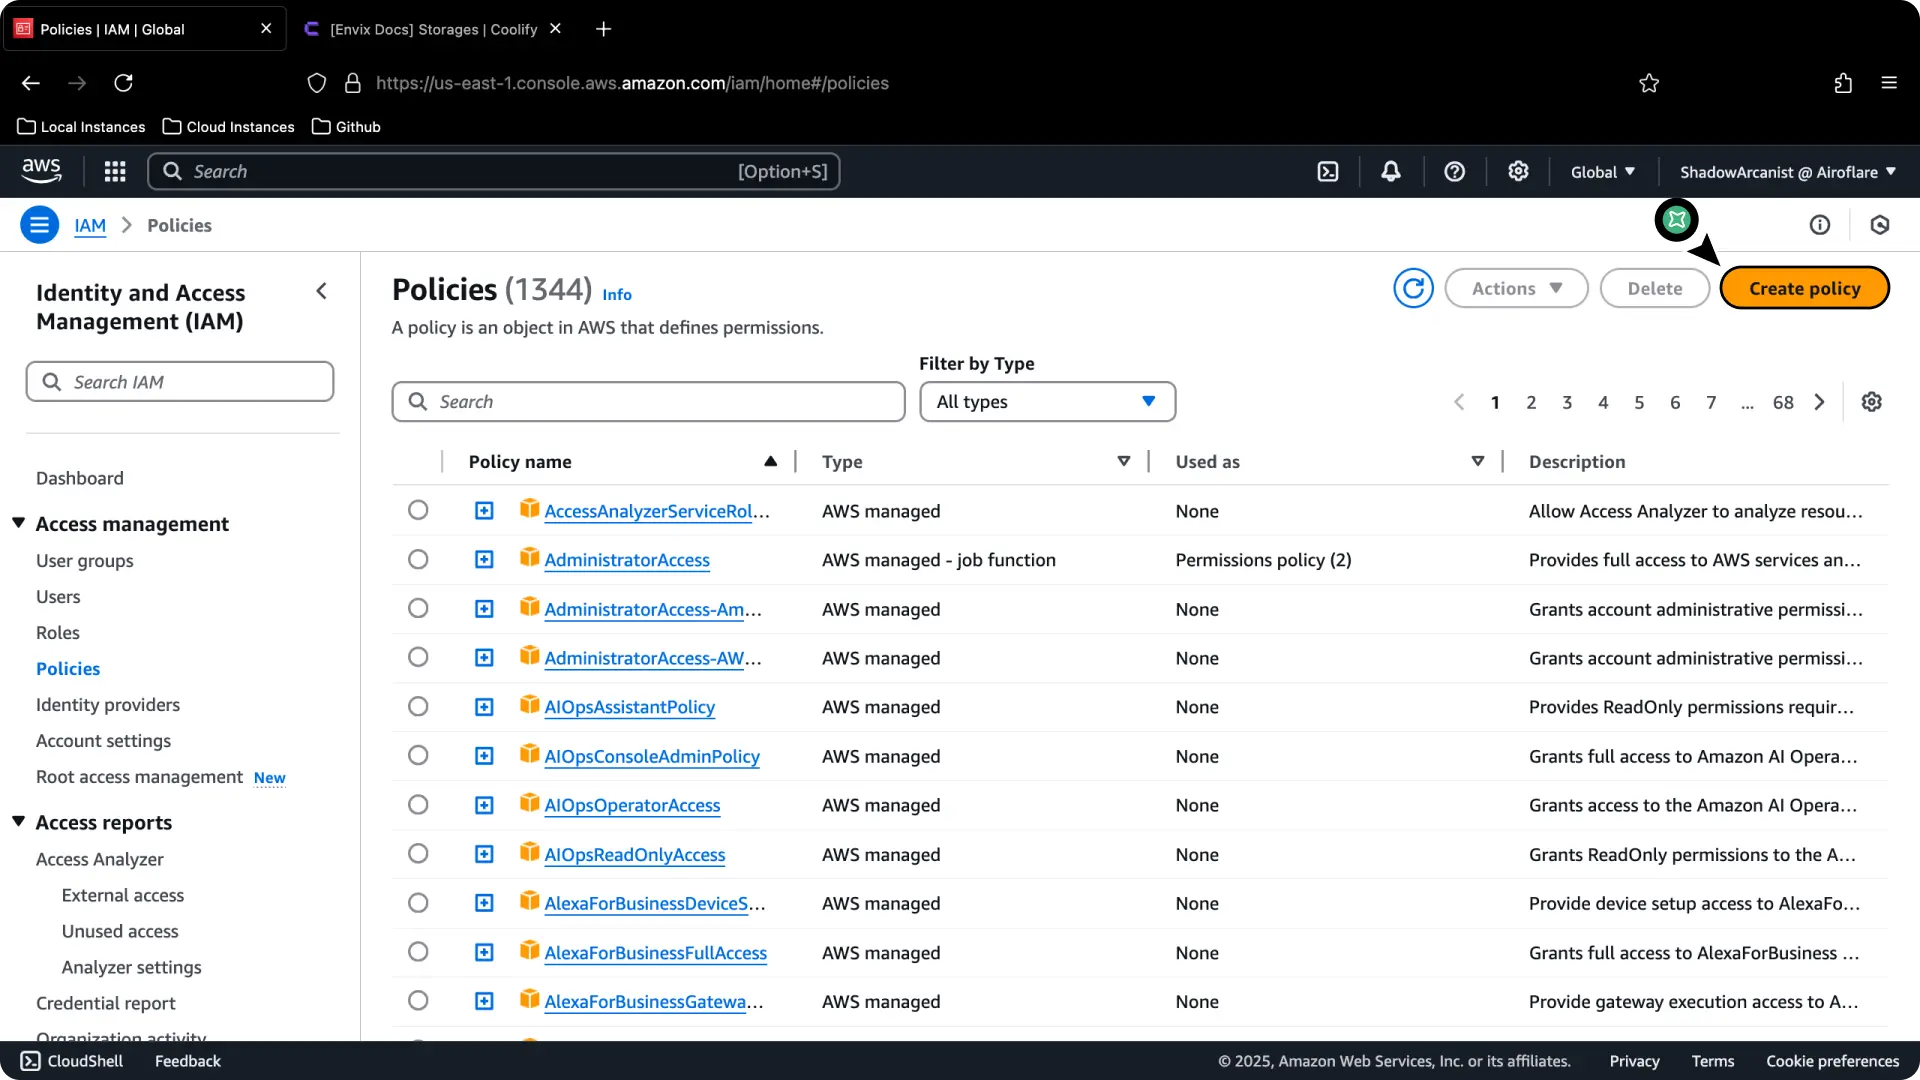
Open IAM Policies and select Create policy.
Choose the JSON policy editor.
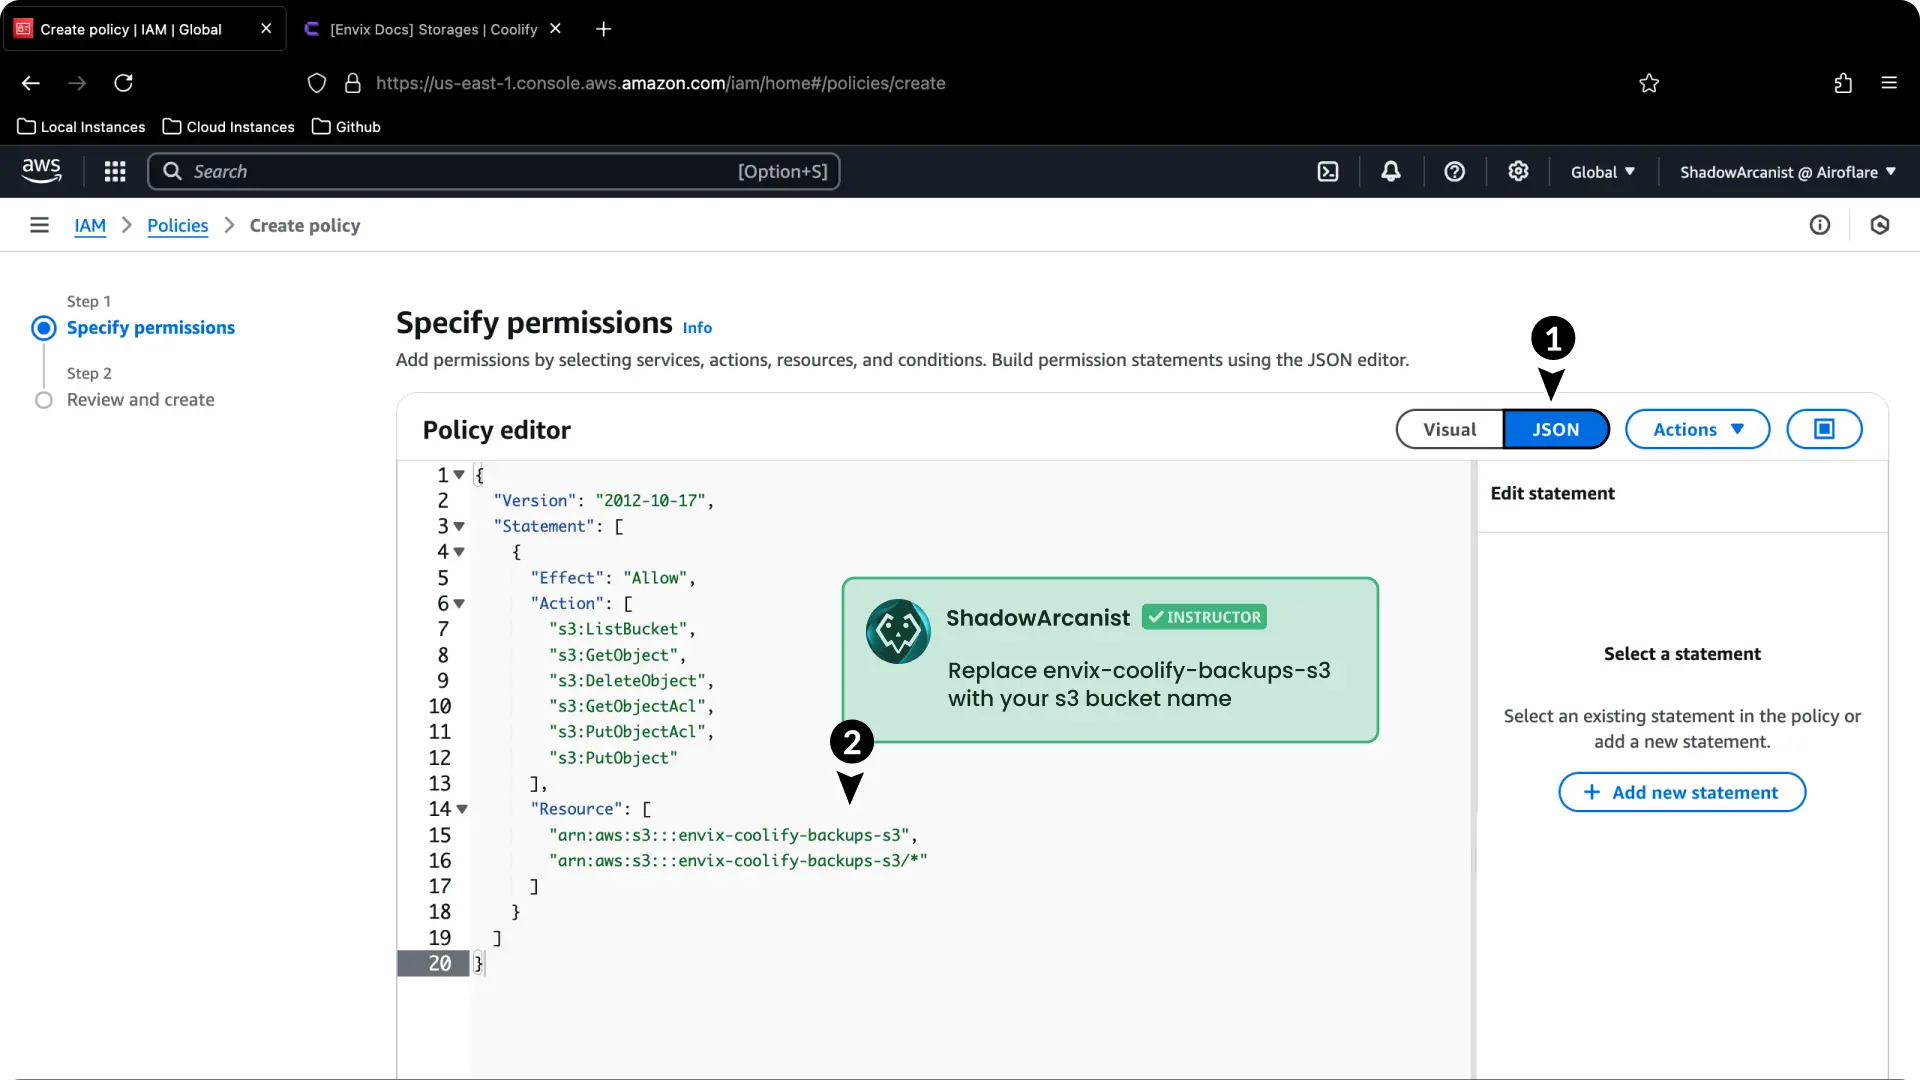
Paste this policy into the editor:
{
  "Version": "2012-10-17",
  "Statement": [
    {
      "Effect": "Allow",
      "Action": [
        "s3:ListBucket",
        "s3:GetObject",
        "s3:DeleteObject",
        "s3:GetObjectAcl",
        "s3:PutObjectAcl",
        "s3:PutObject"
      ],
      "Resource": [
        "arn:aws:s3:::envix-coolify-backups-s3",
        "arn:aws:s3:::envix-coolify-backups-s3/*"
      ]
    }
  ]
}
Replace envix-coolify-backups-s3 in both resource values with the bucket name created in the previous step.
Continue to the policy details and enter the policy name.
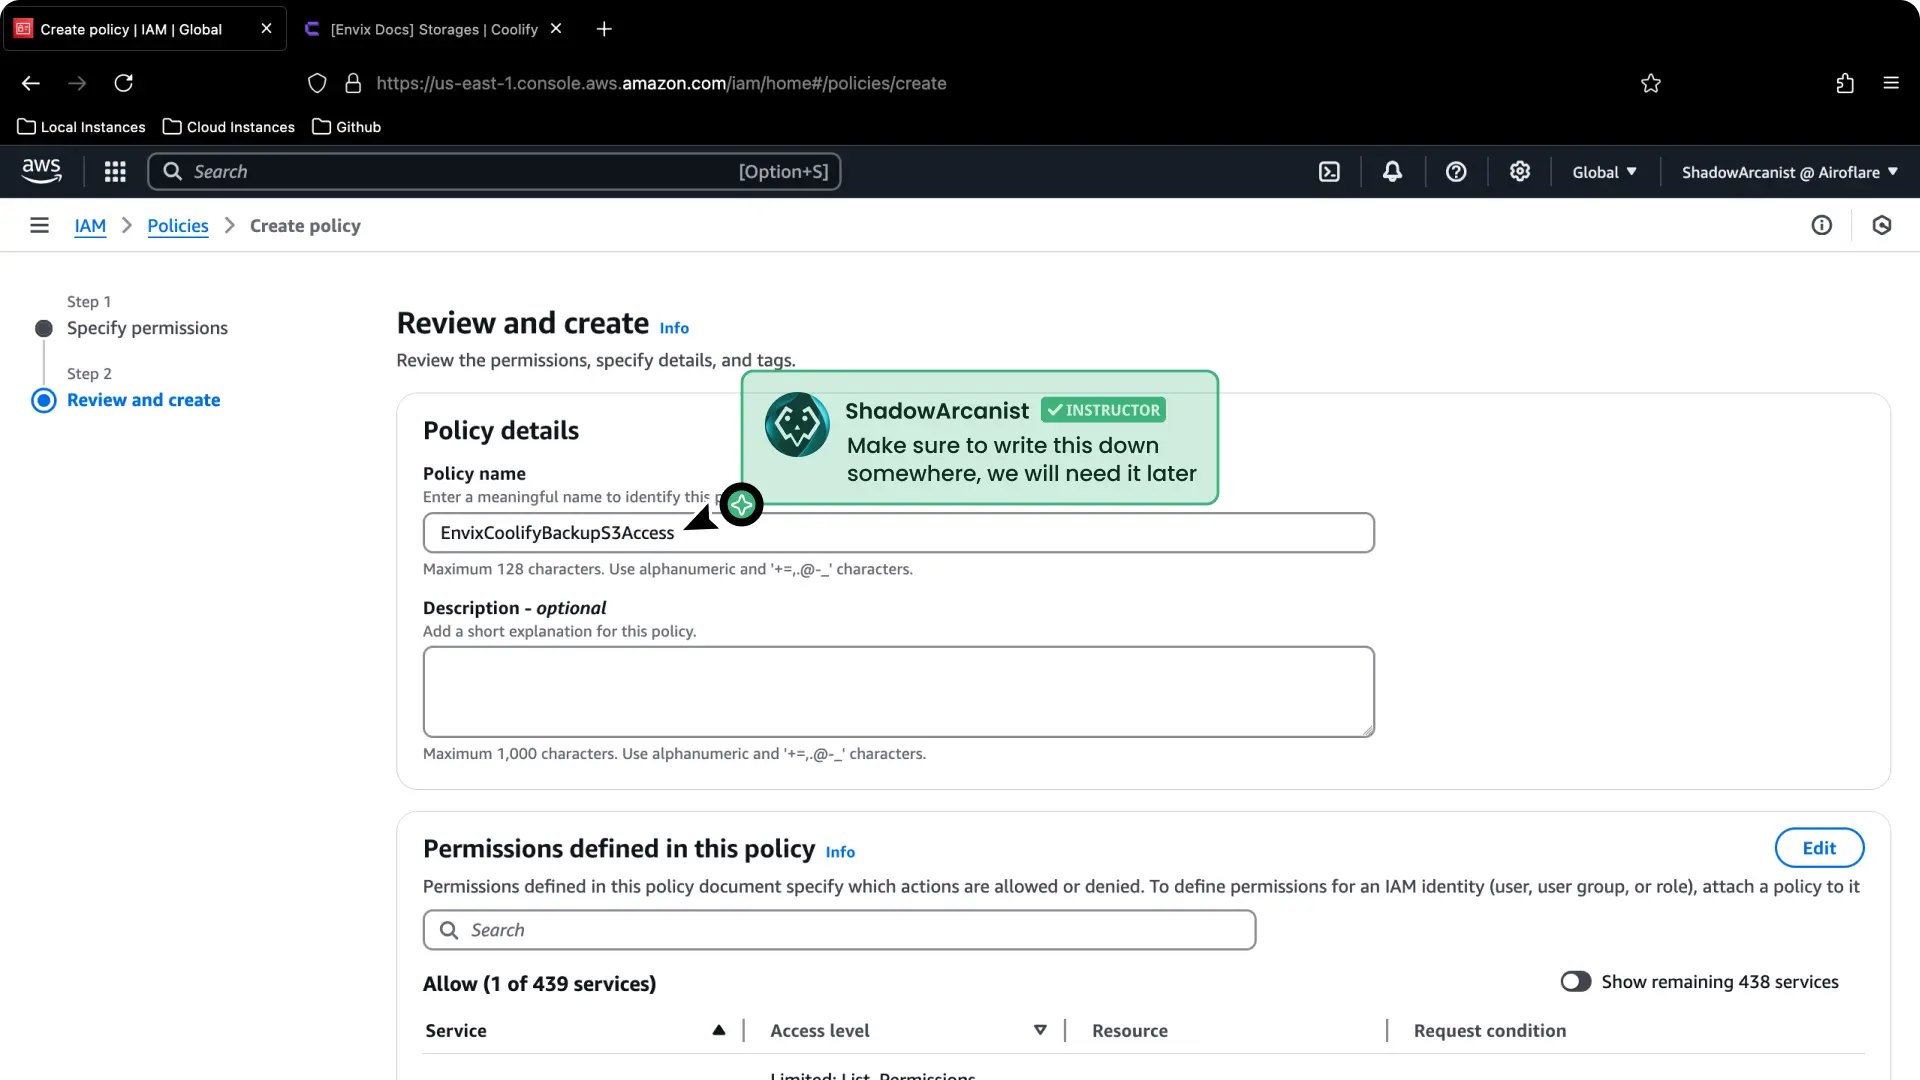
Create the policy. AWS opens the policy page after creation.
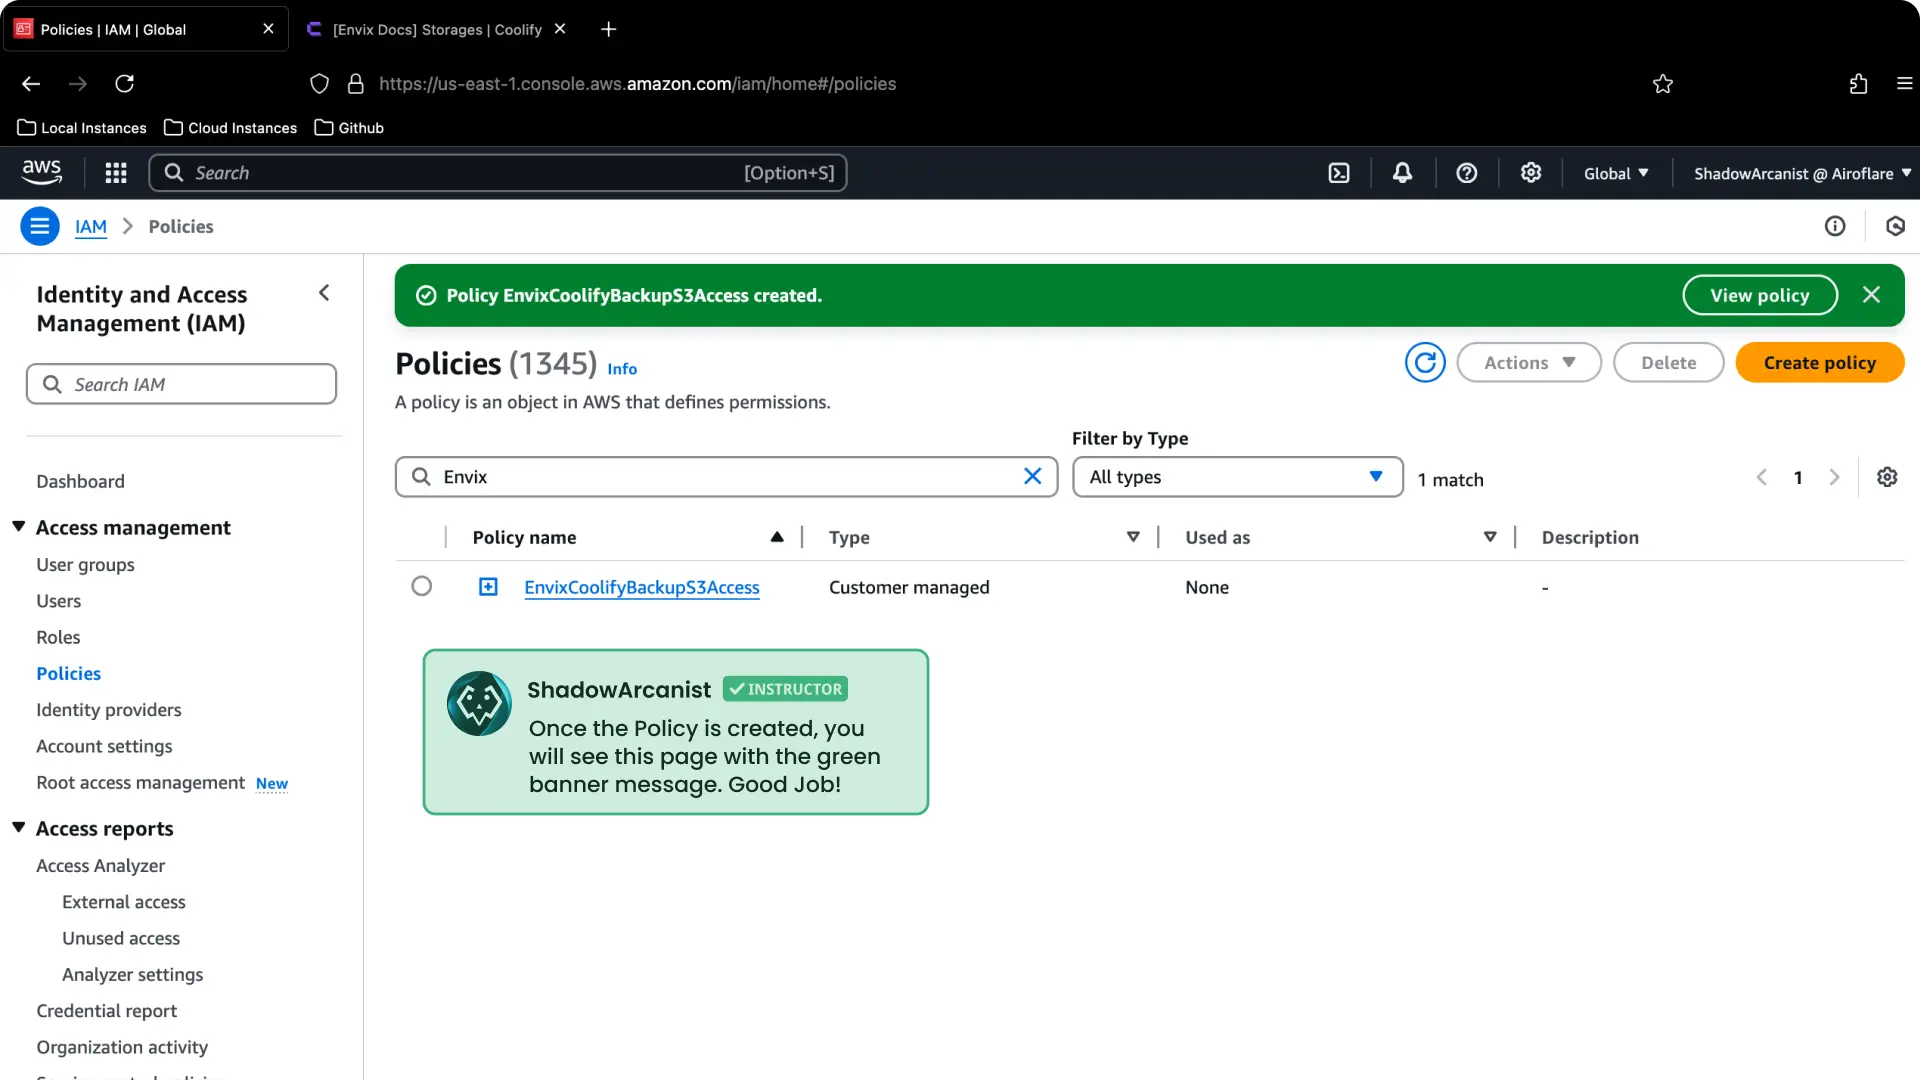
If the policy does not appear immediately in a list, search for the exact policy name you entered.
Create an IAM user
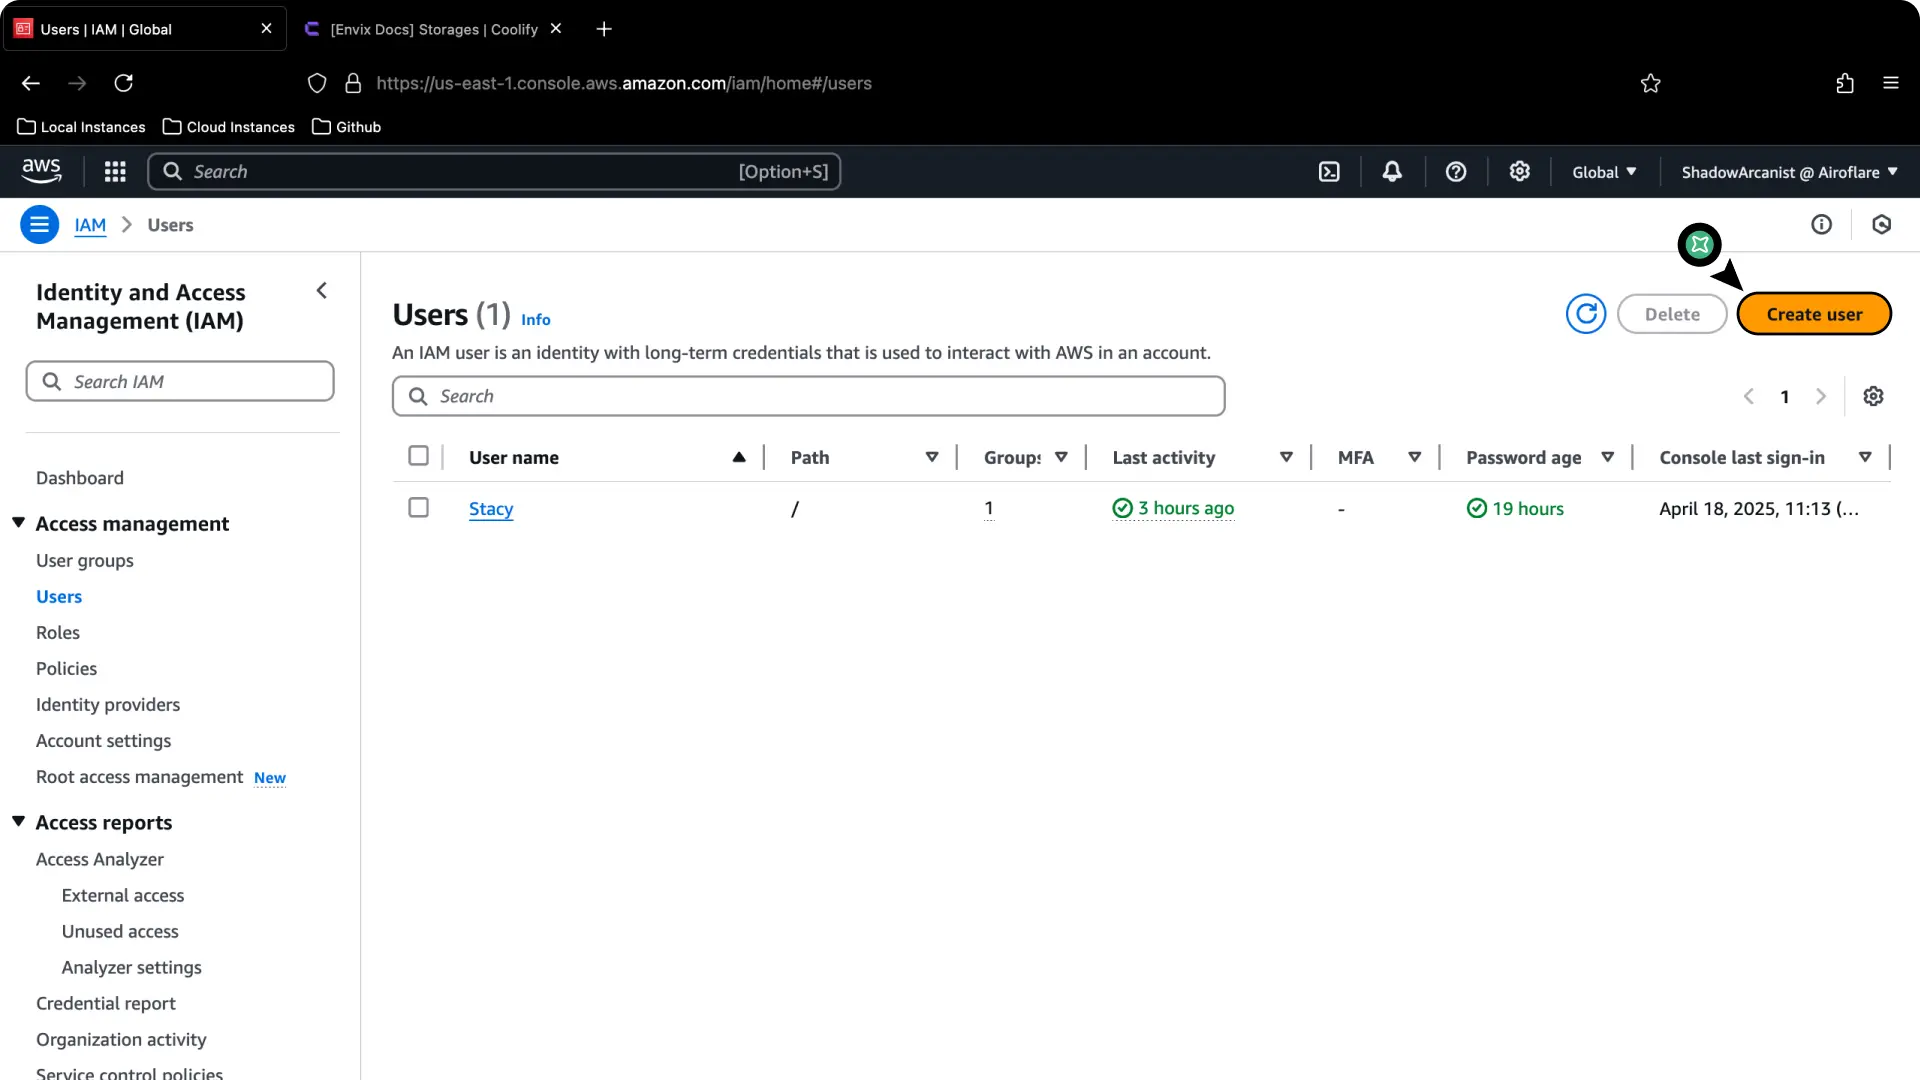
Open IAM Users and select Create user.
Enter the IAM username.
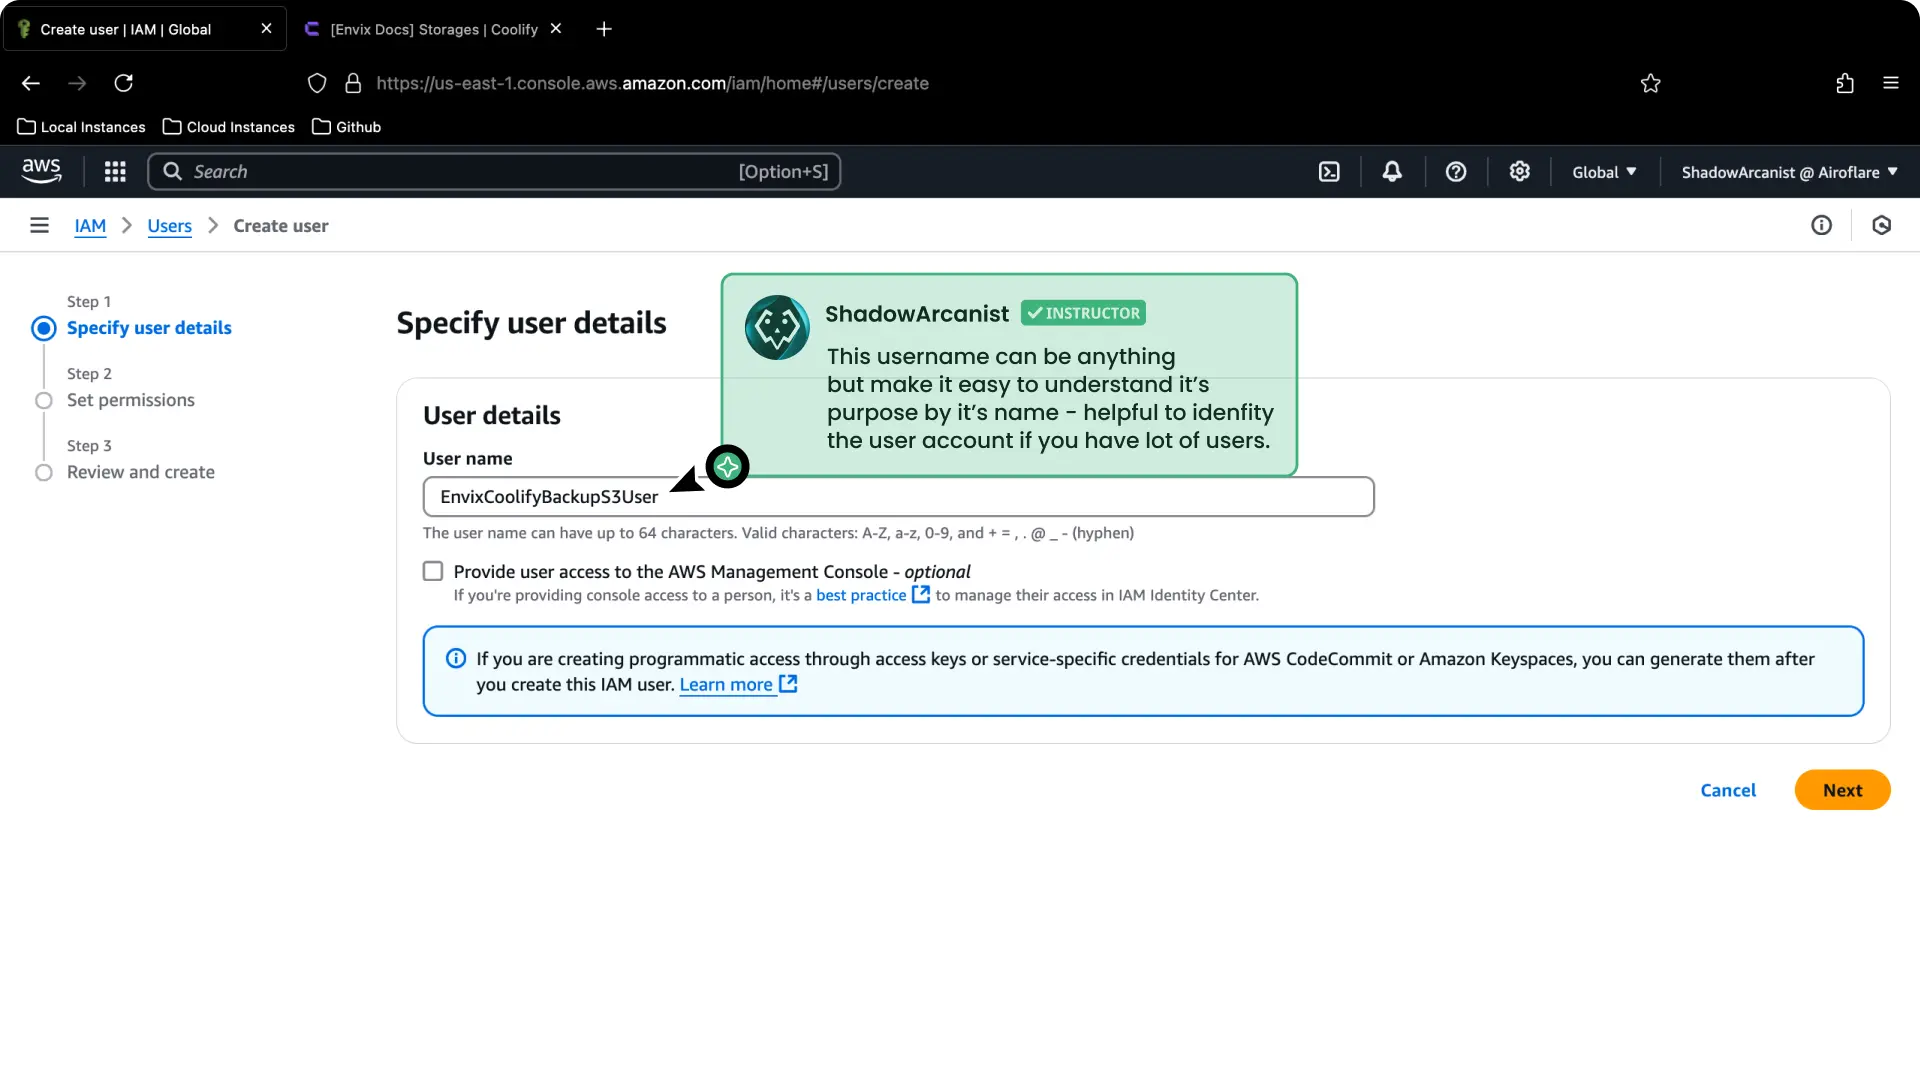
Select Next after entering the name.
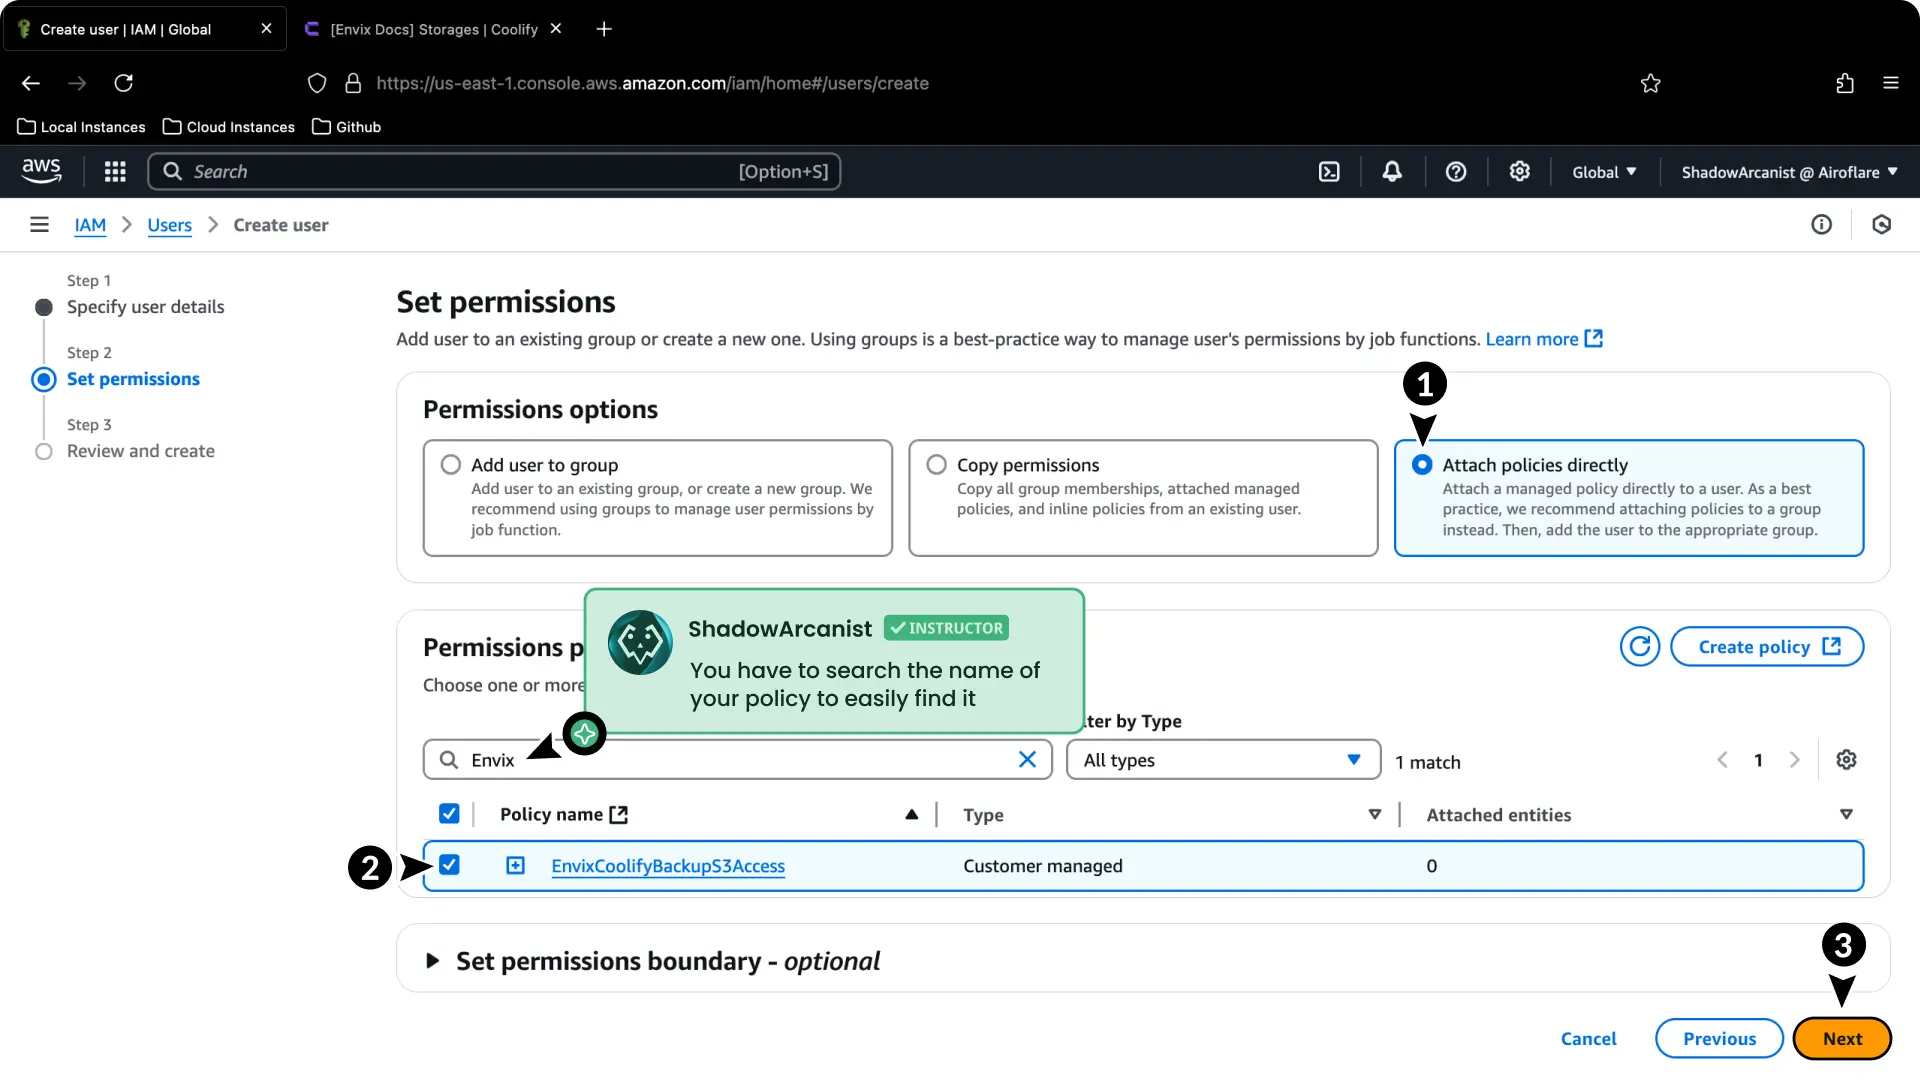
- Select Attach policies directly.
- Select the policy created in the previous step.
- Select Next.
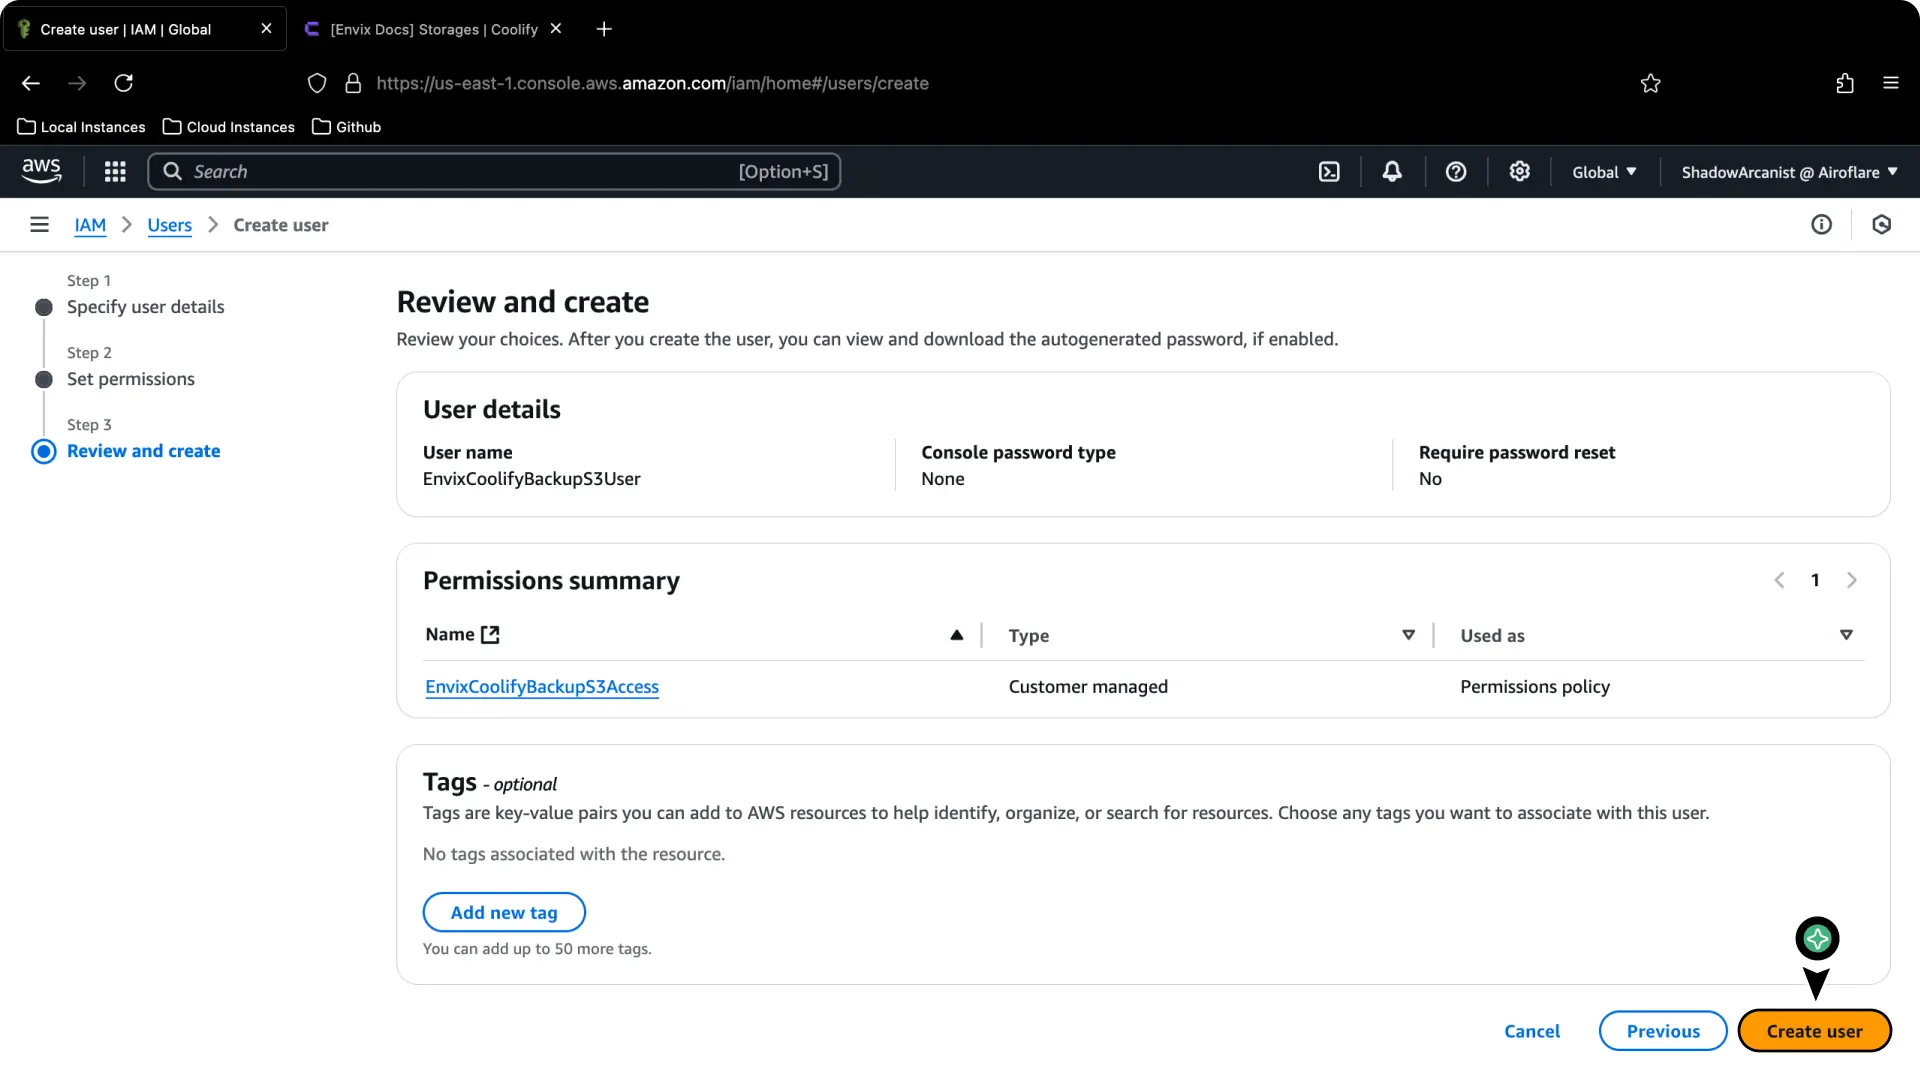
Review the user and select Create user.
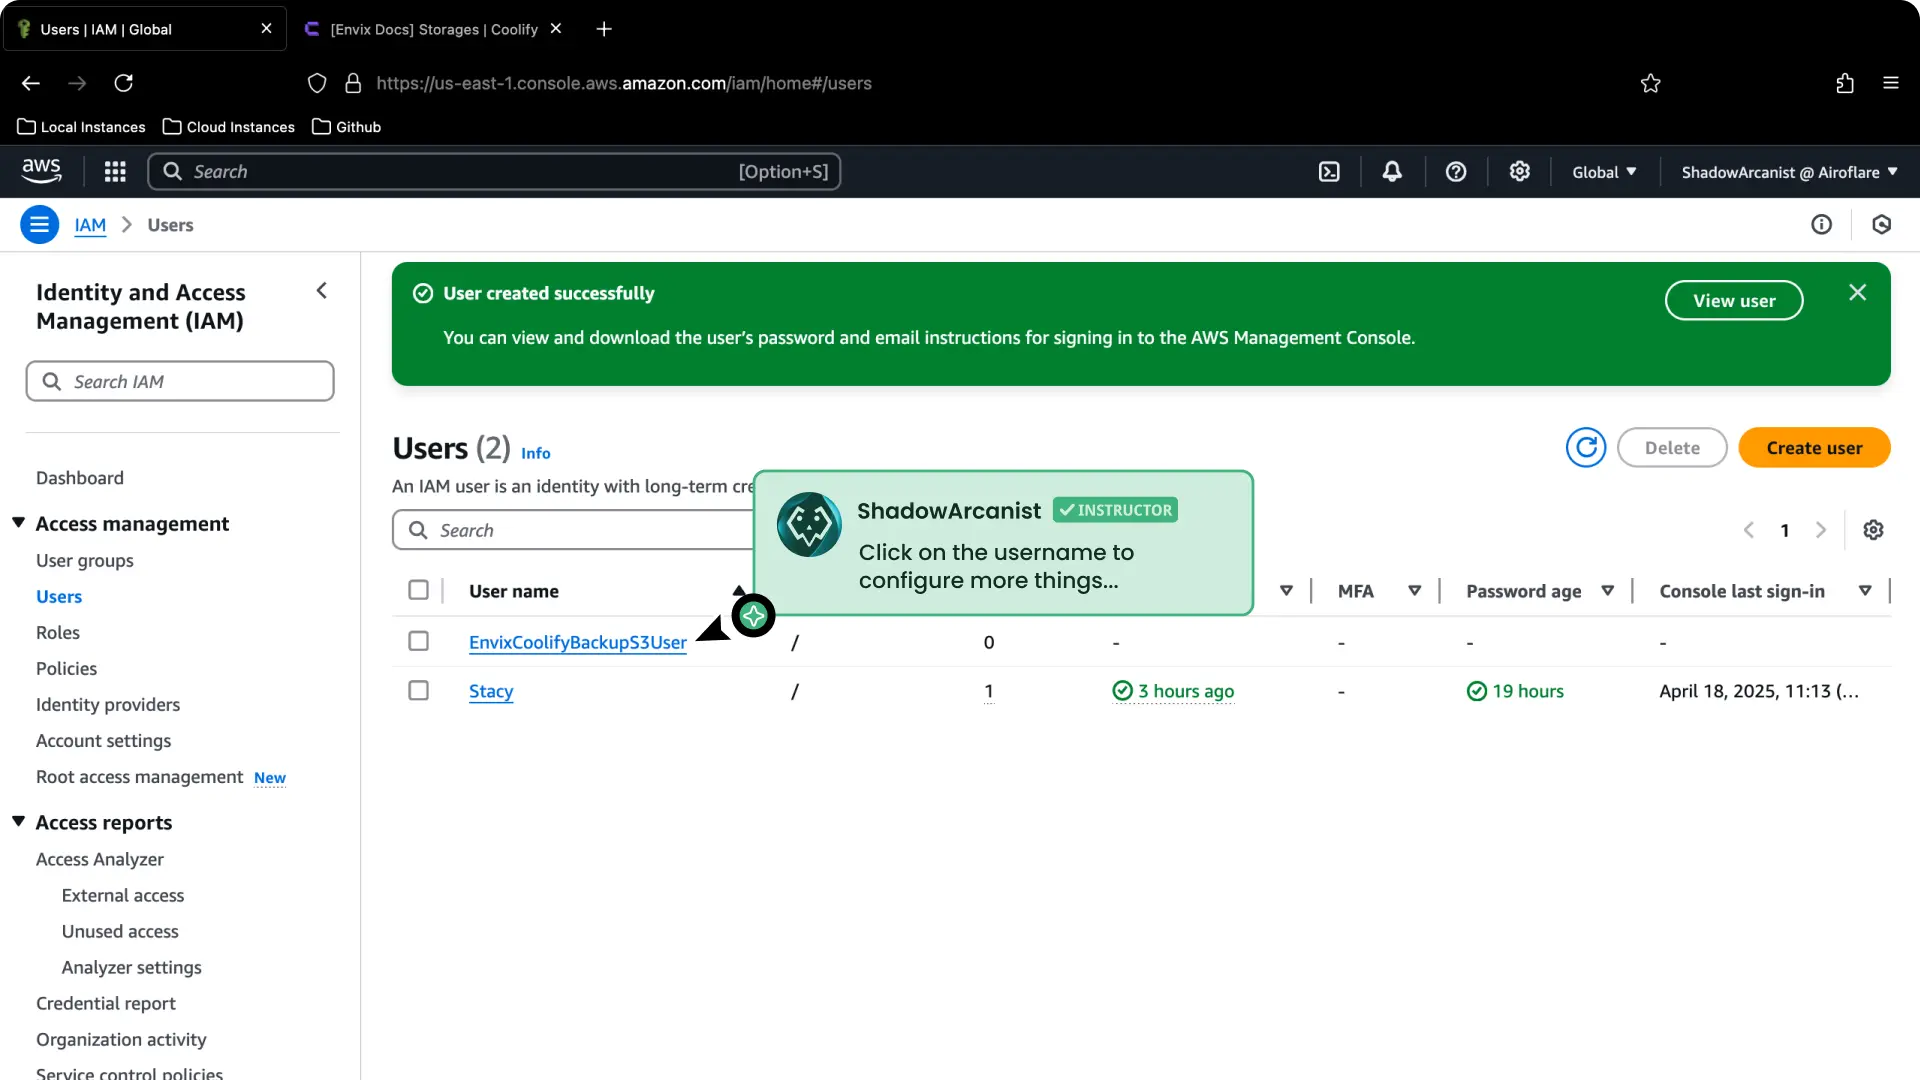
Select the username to create its access key.
Create an access key
On the IAM user page, open Security credentials.
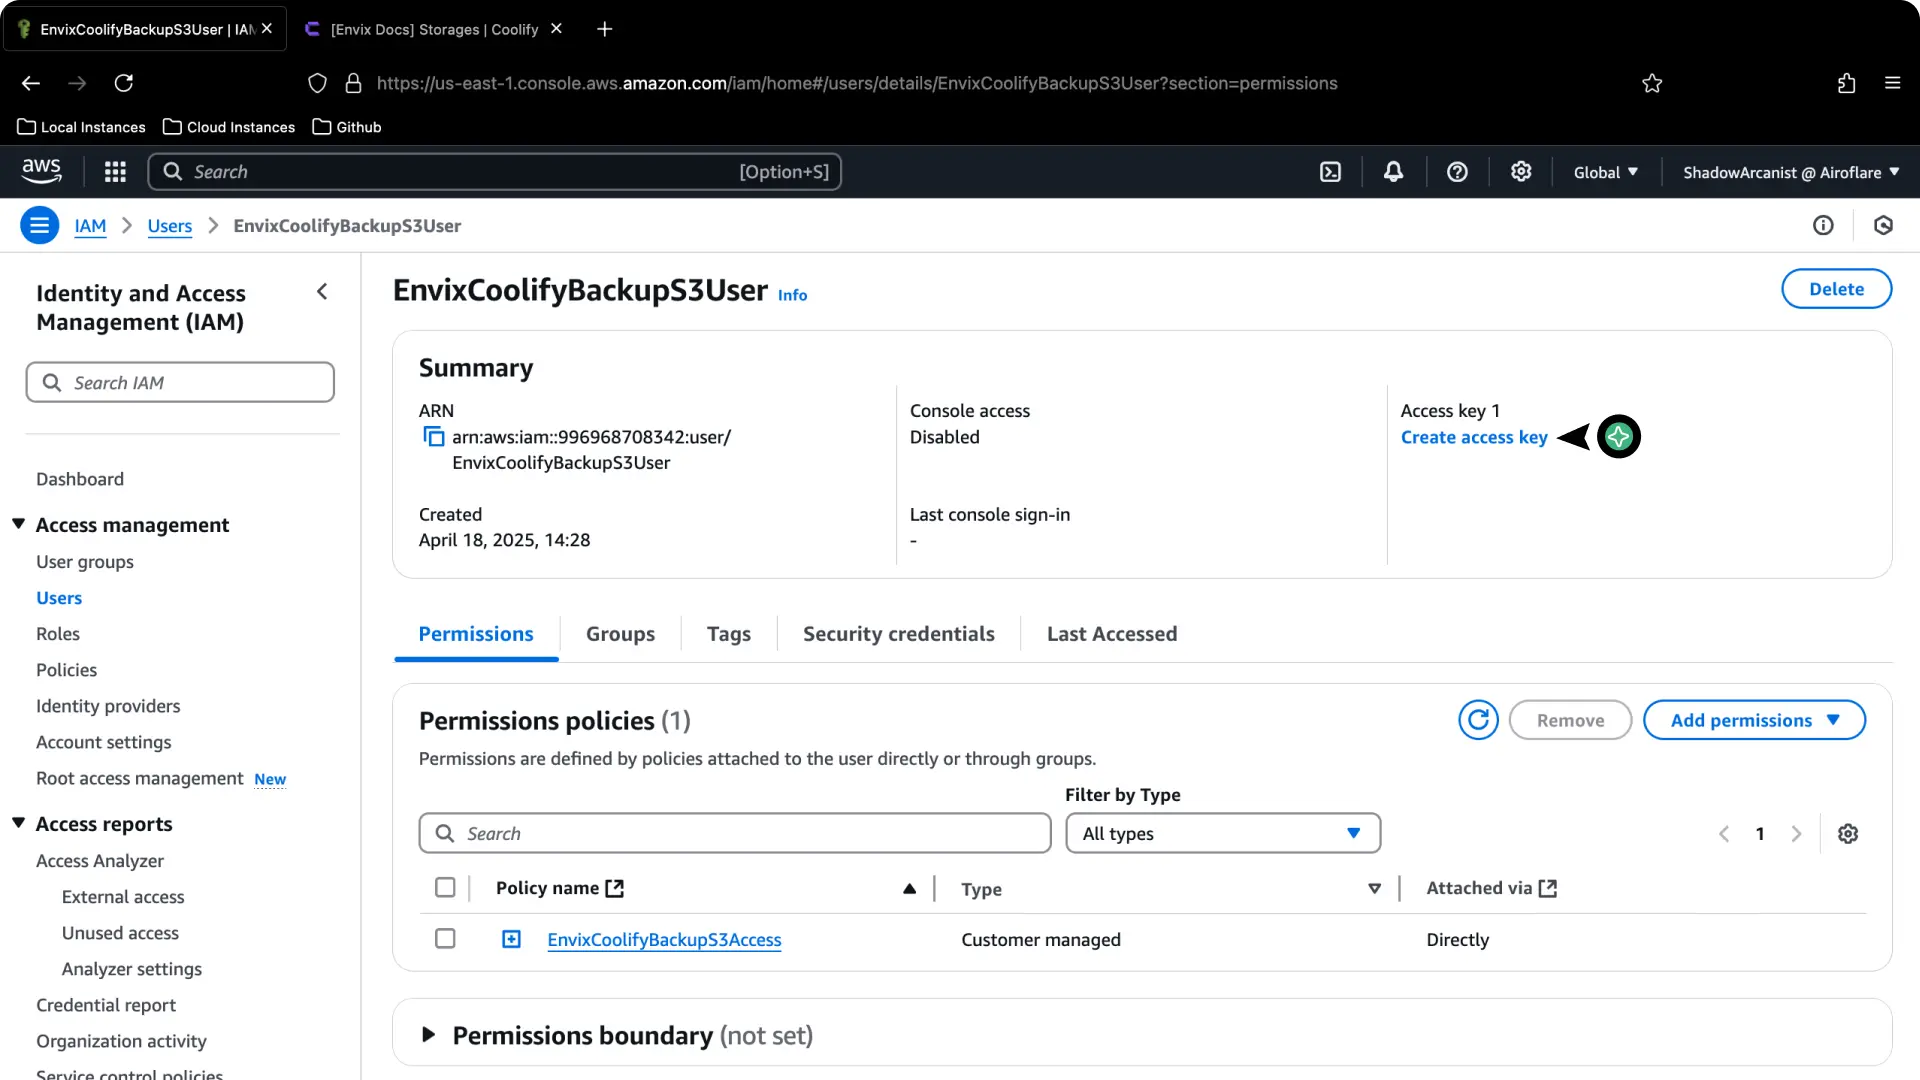
Under Access keys, select Create access key.
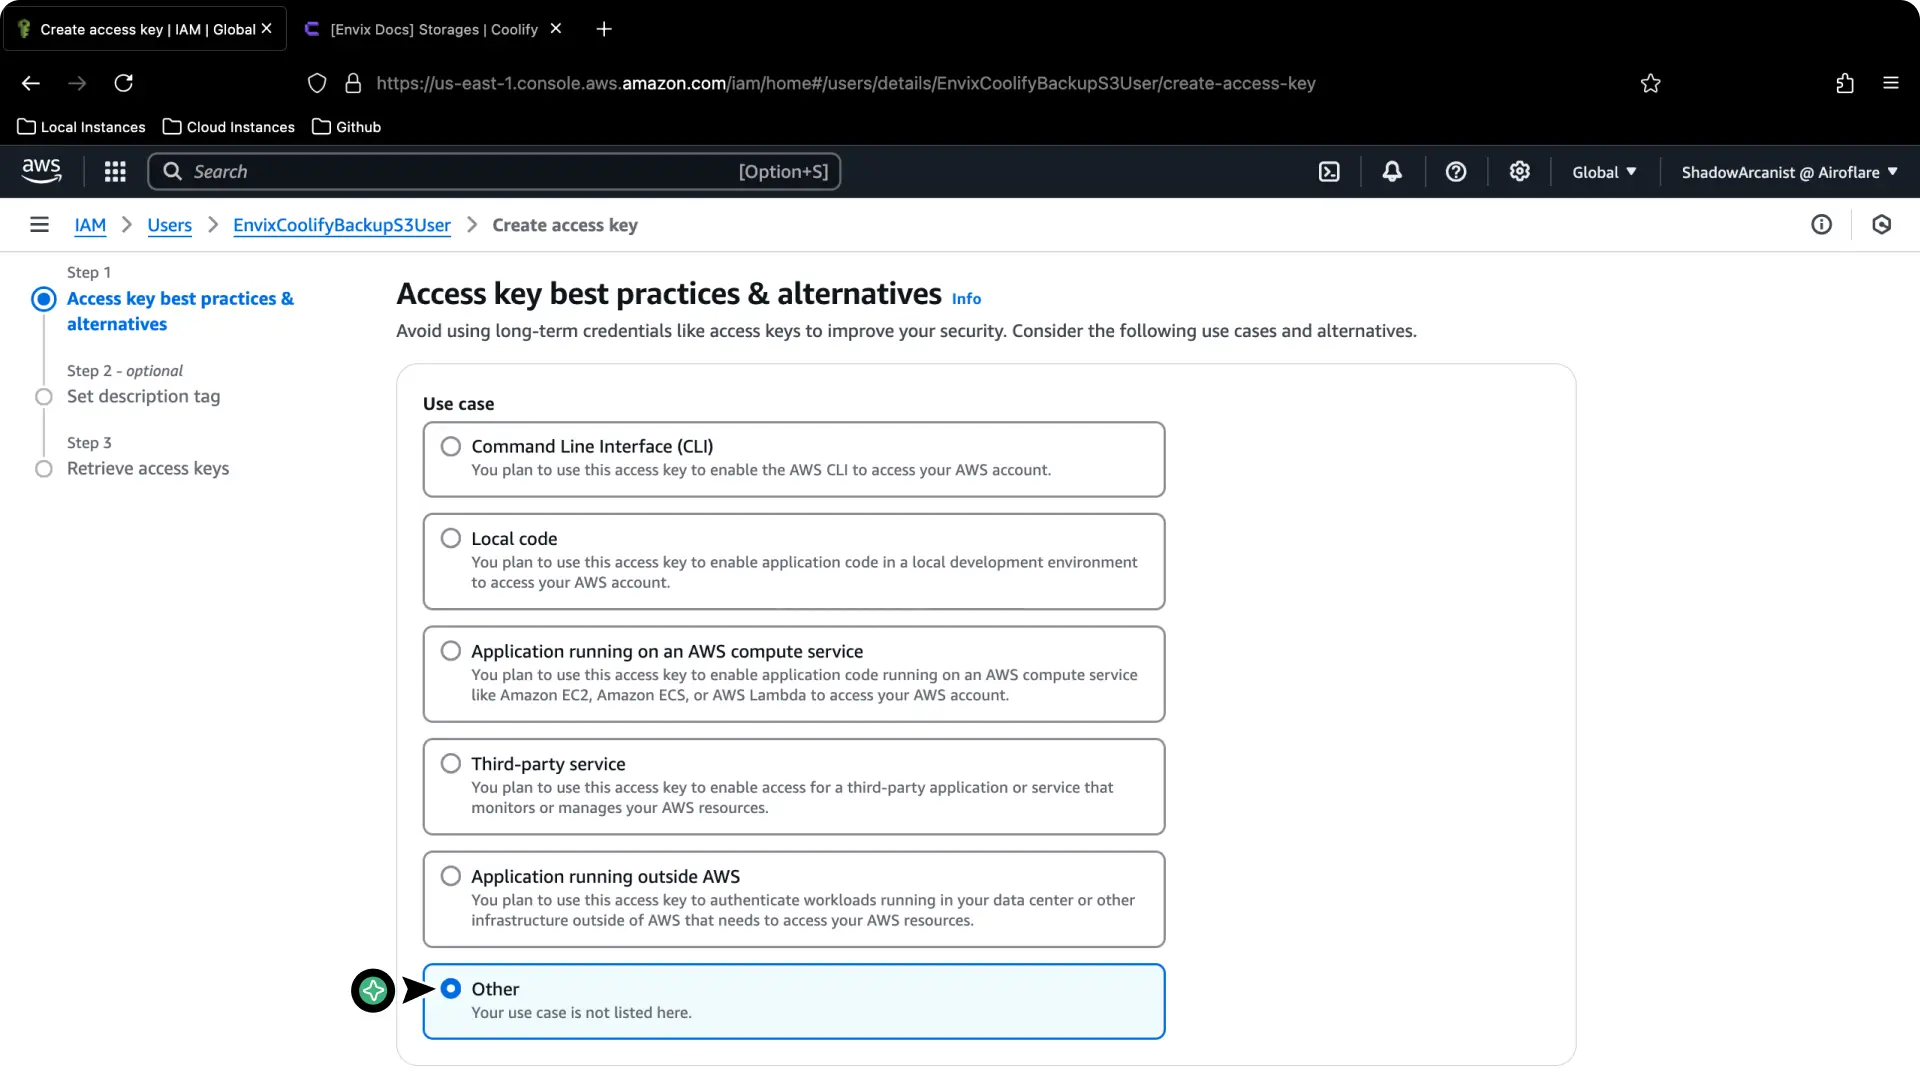
Choose Other, then continue.
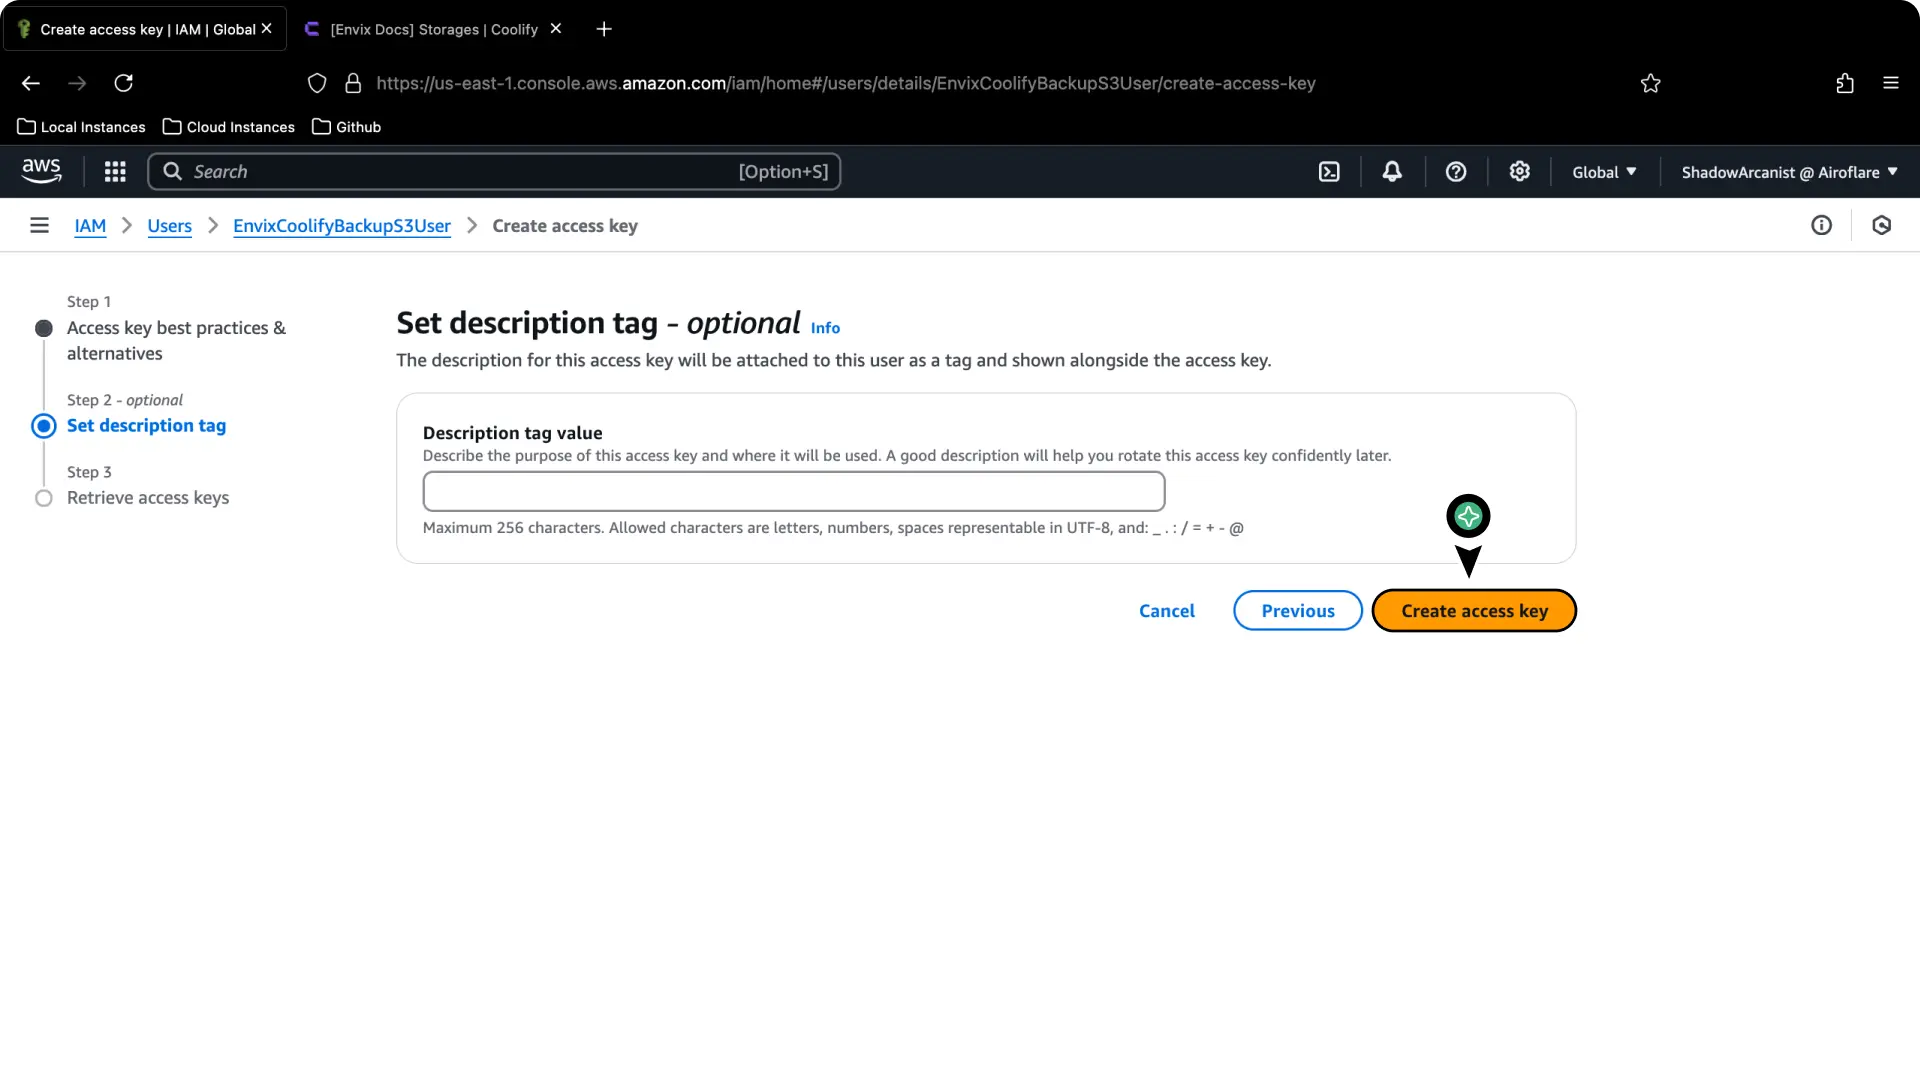
Select Create access key.
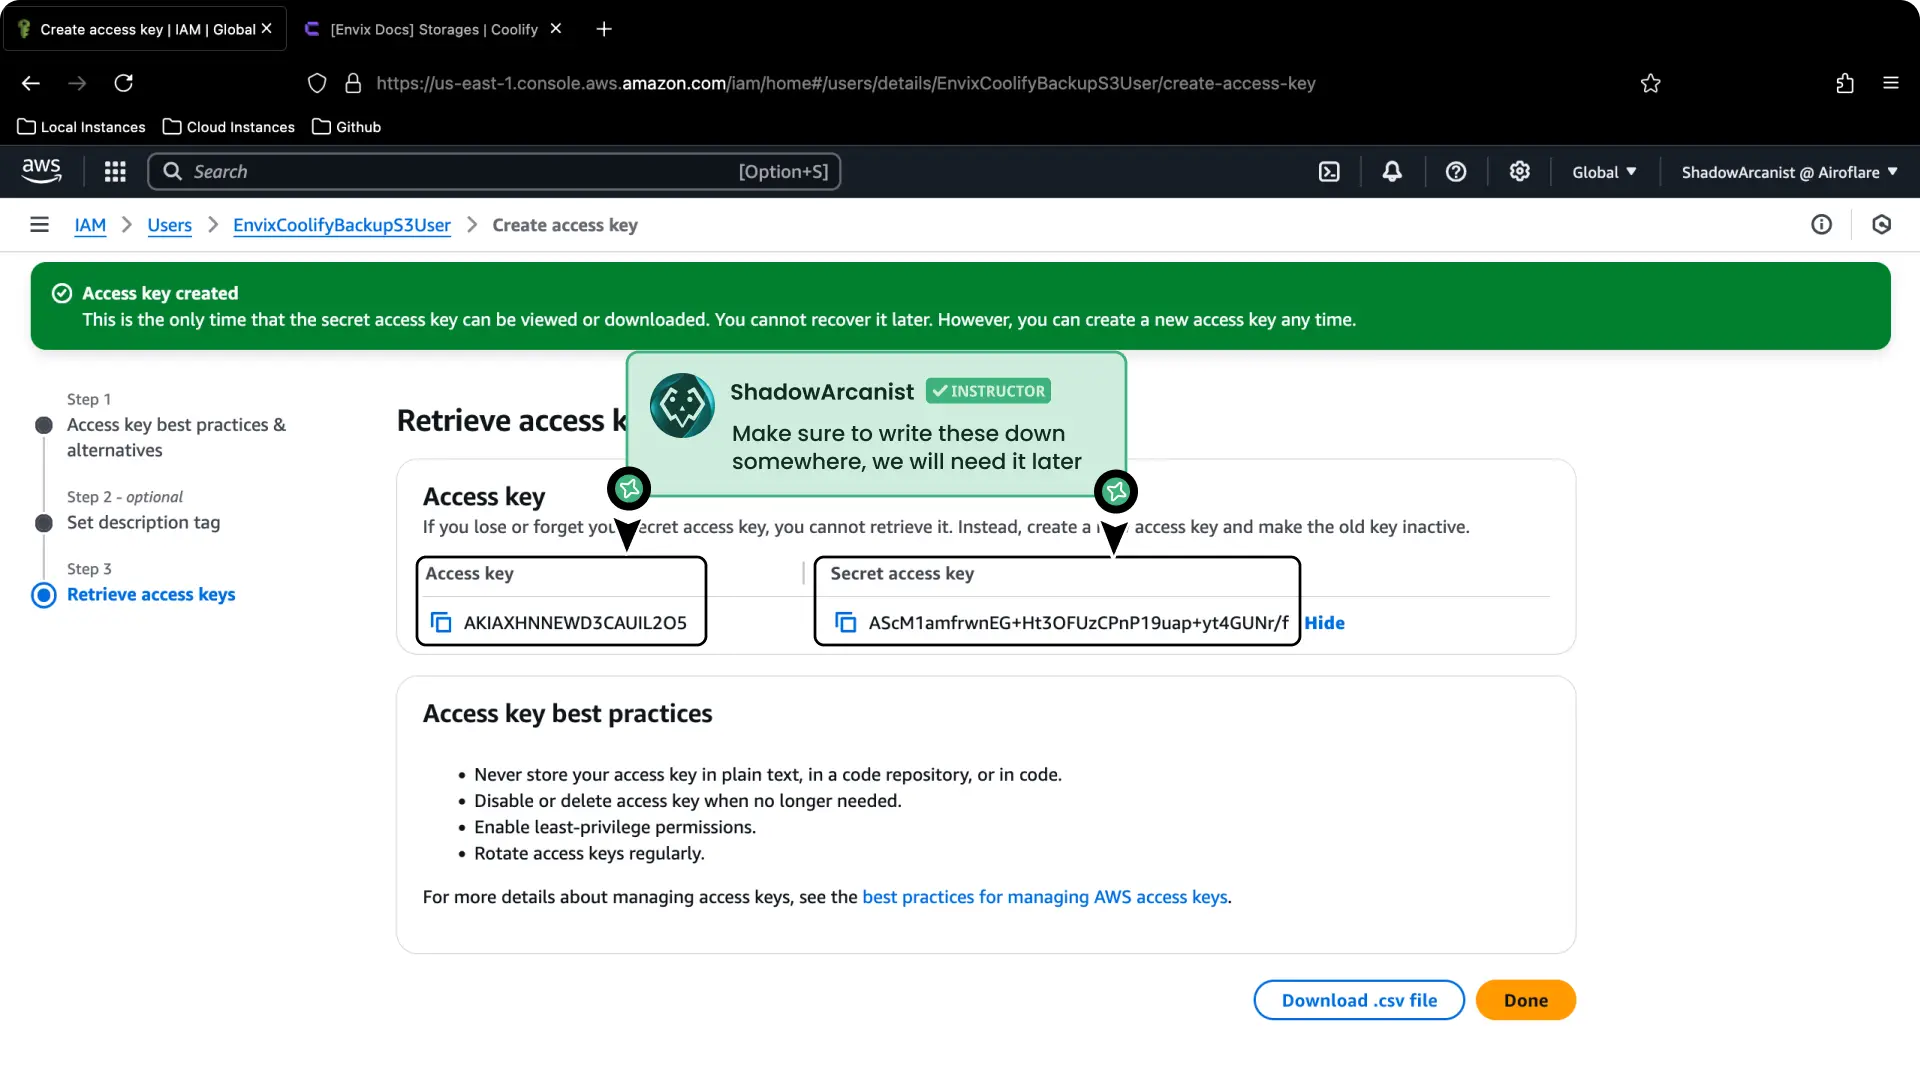
Save the Access key and Secret access key somewhere secure, then select Done.
AWS does not show the secret access key again after you close this page. If you lose it, create a replacement access key.
Set up Amazon S3 in Coolify
In the Coolify dashboard, open S3 Storages from the sidebar.
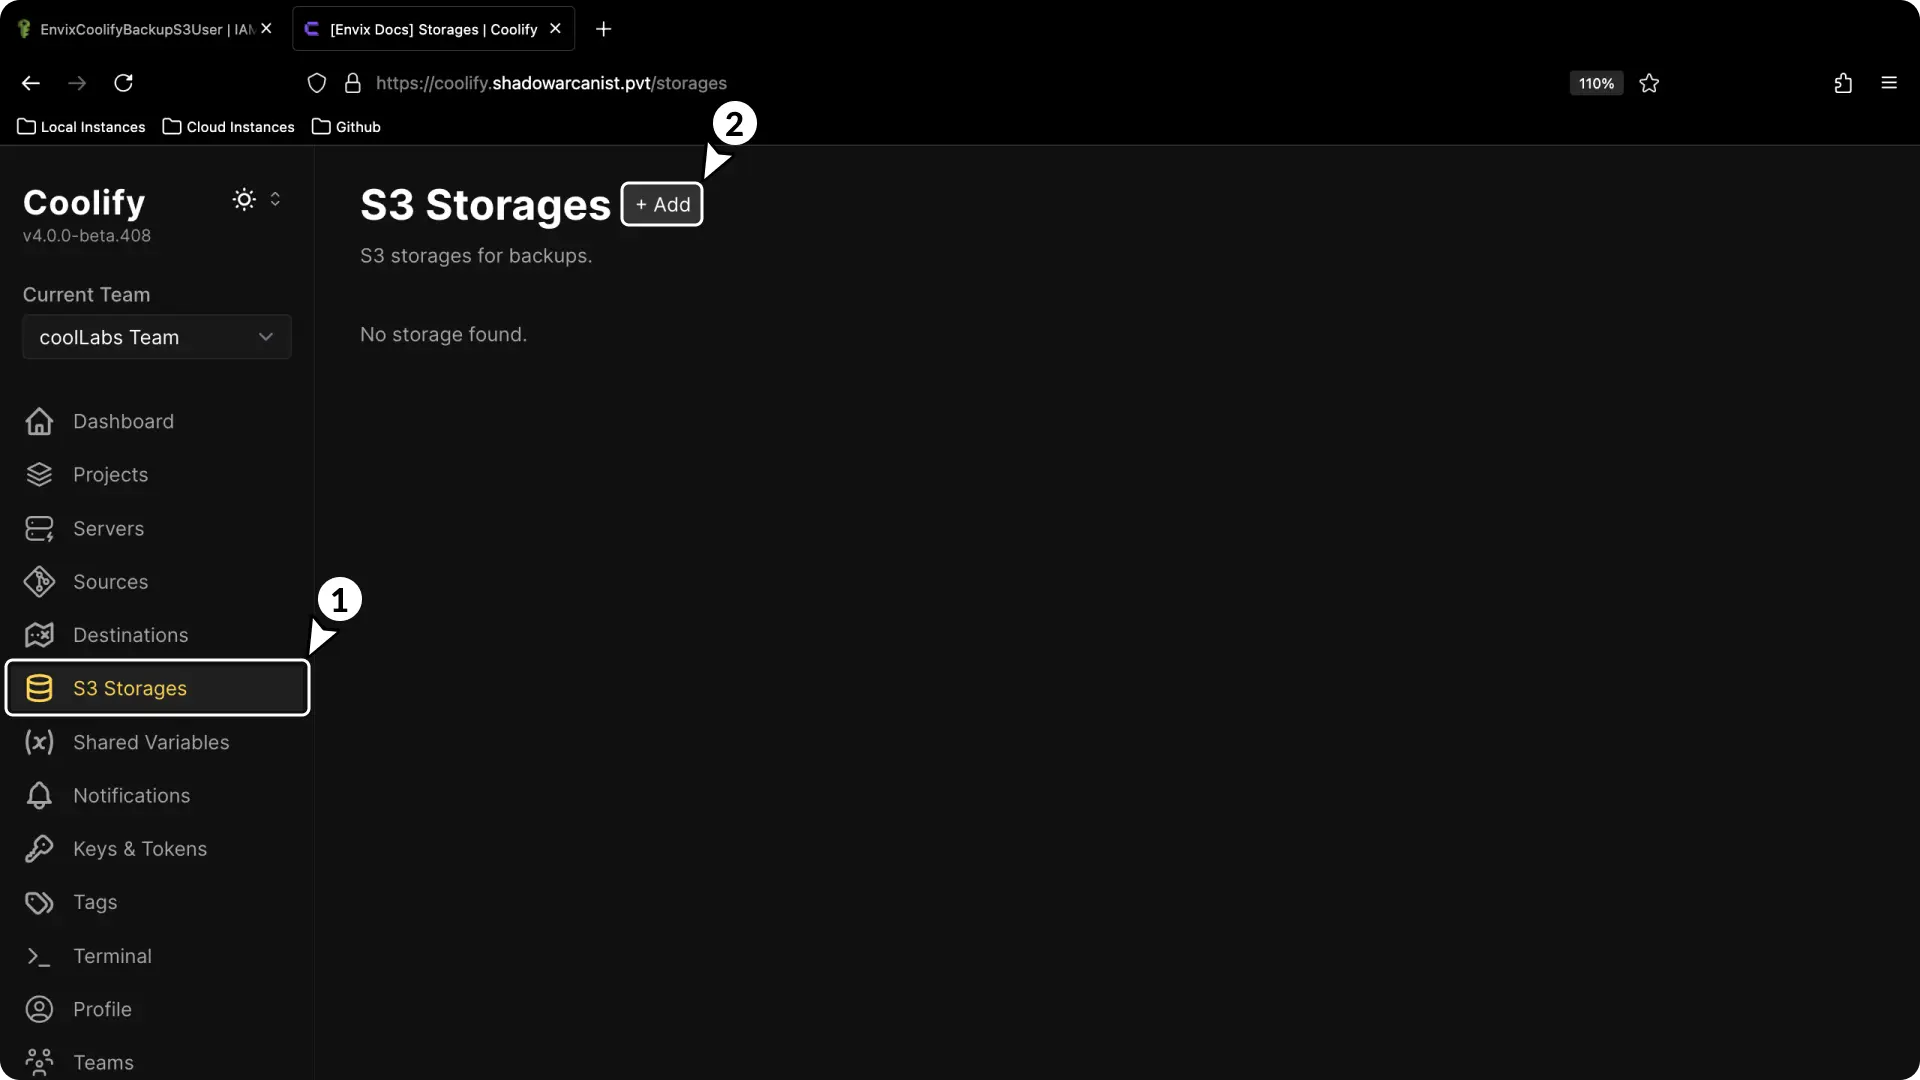
Select Add.
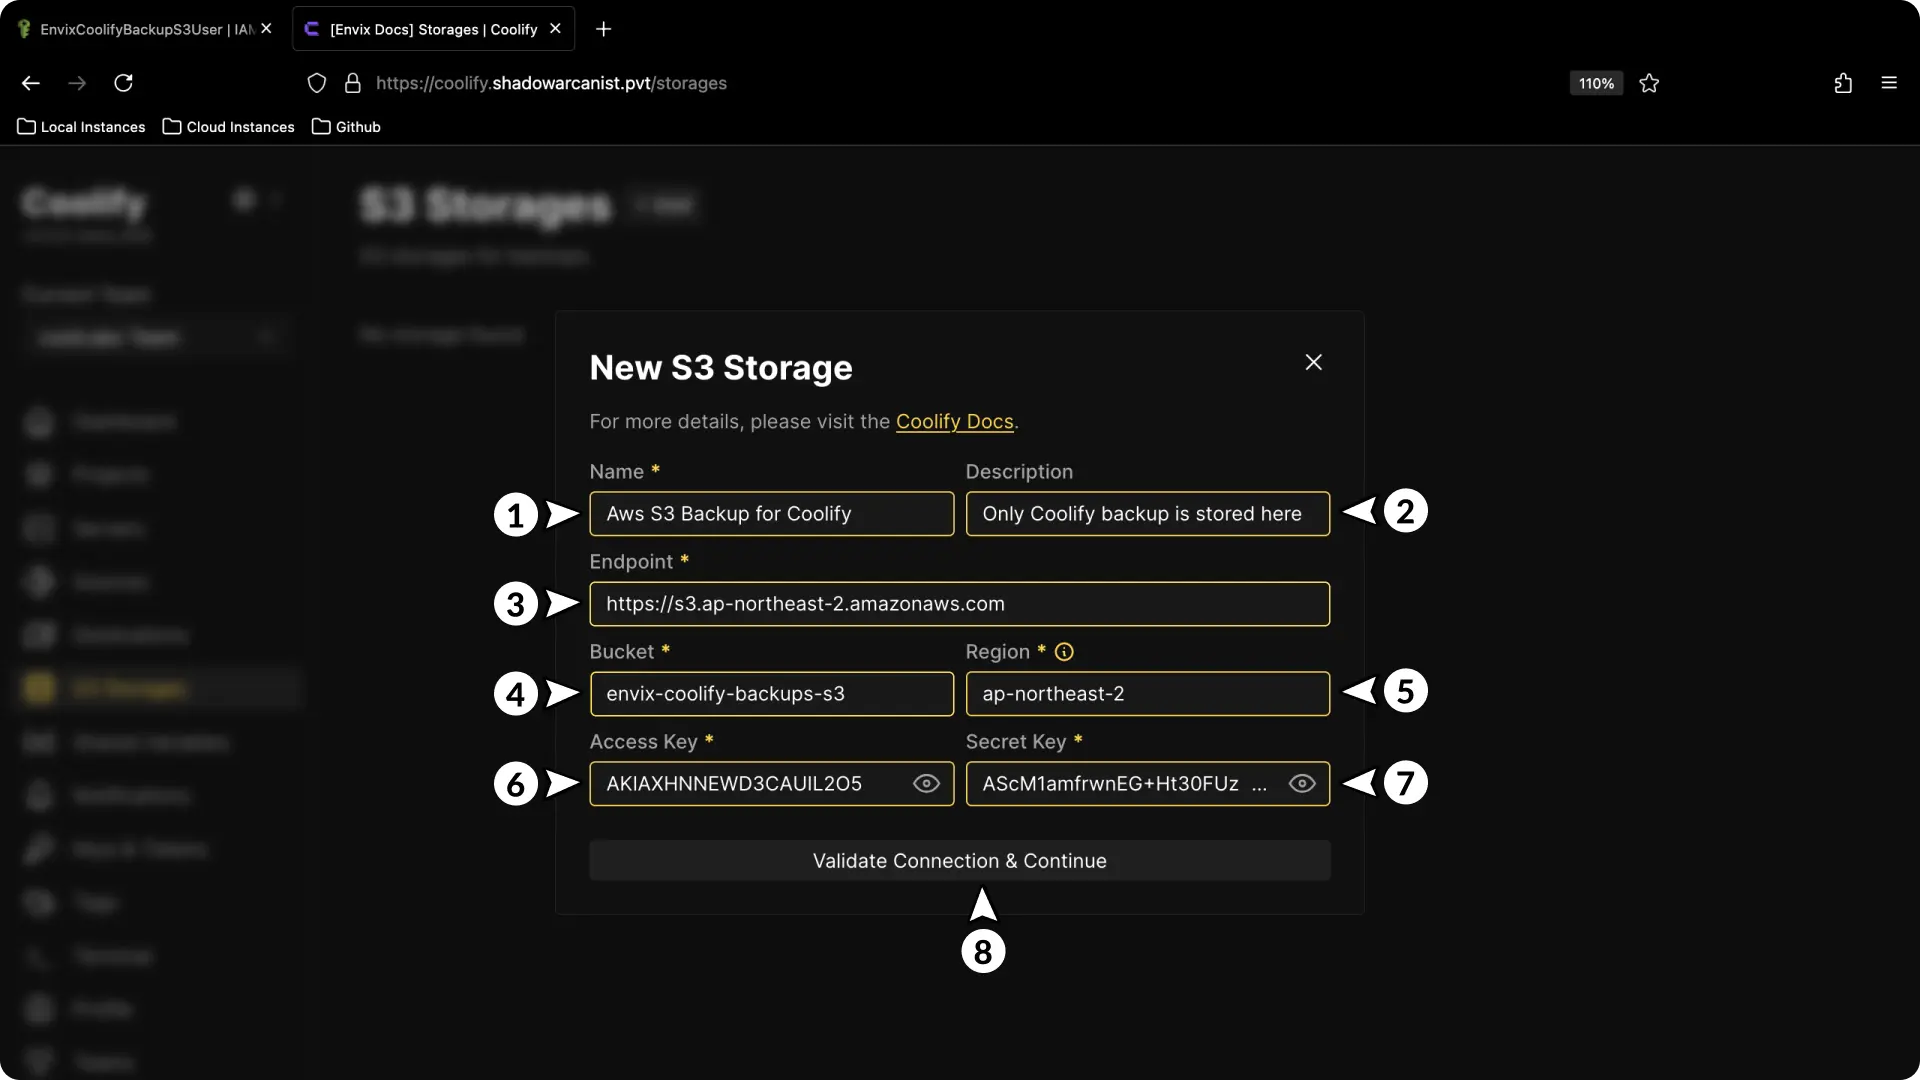
Complete the form:
- Enter a name for the S3 storage. This name only identifies it in Coolify.
- Enter an optional description.
- Enter the endpoint without the bucket name, such as
https://s3.YOUR_REGION_NAME.amazonaws.com. - Enter the S3 bucket name.
- Enter the bucket's AWS Region.
- Enter the IAM Access Key.
- Enter the IAM Secret Key.
- Select Validate Connection & Continue.
After validation succeeds, Coolify opens the storage details page.
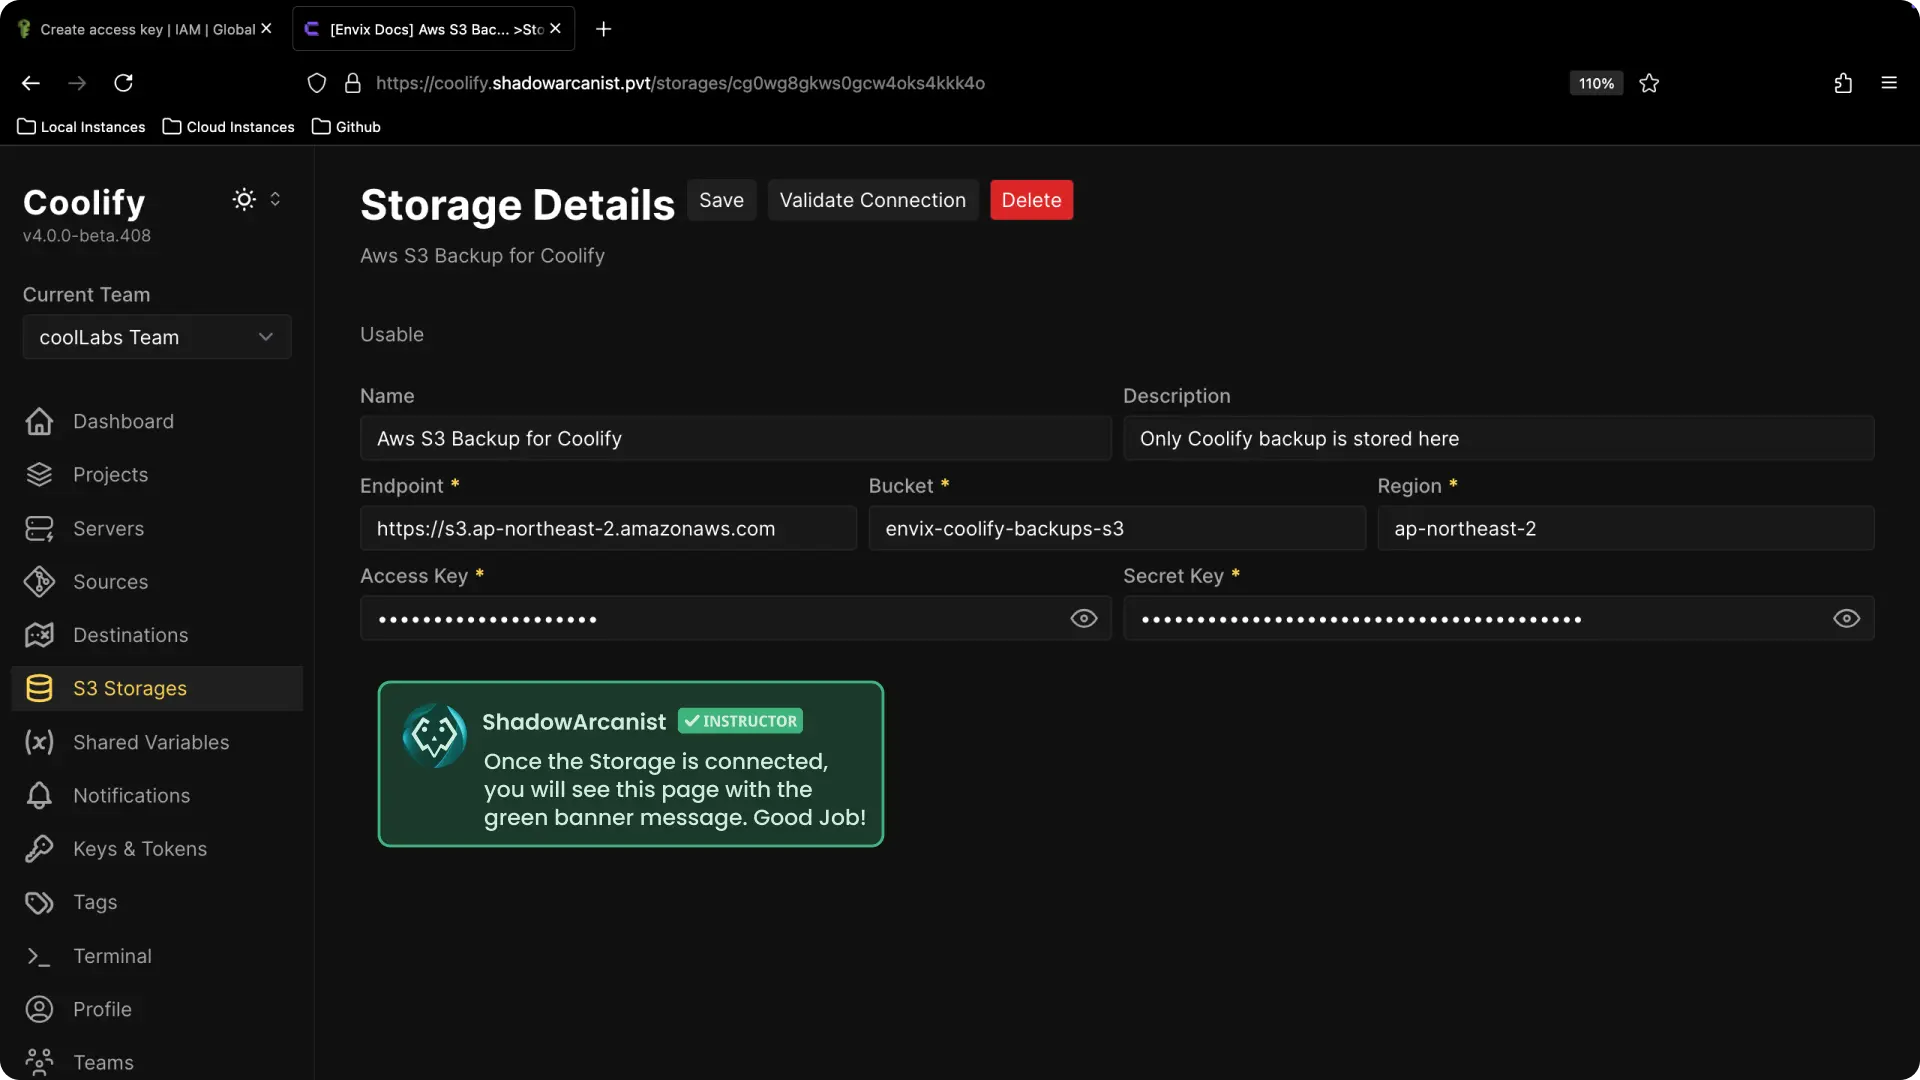
The connection is configured and validated. You can now select this storage when you configure an instance backup or a database backup.