
Manage destinations
Use the Destinations pages to review Docker networks across your team's servers, see which resources use a network, and change or remove a destination.
Find a destination
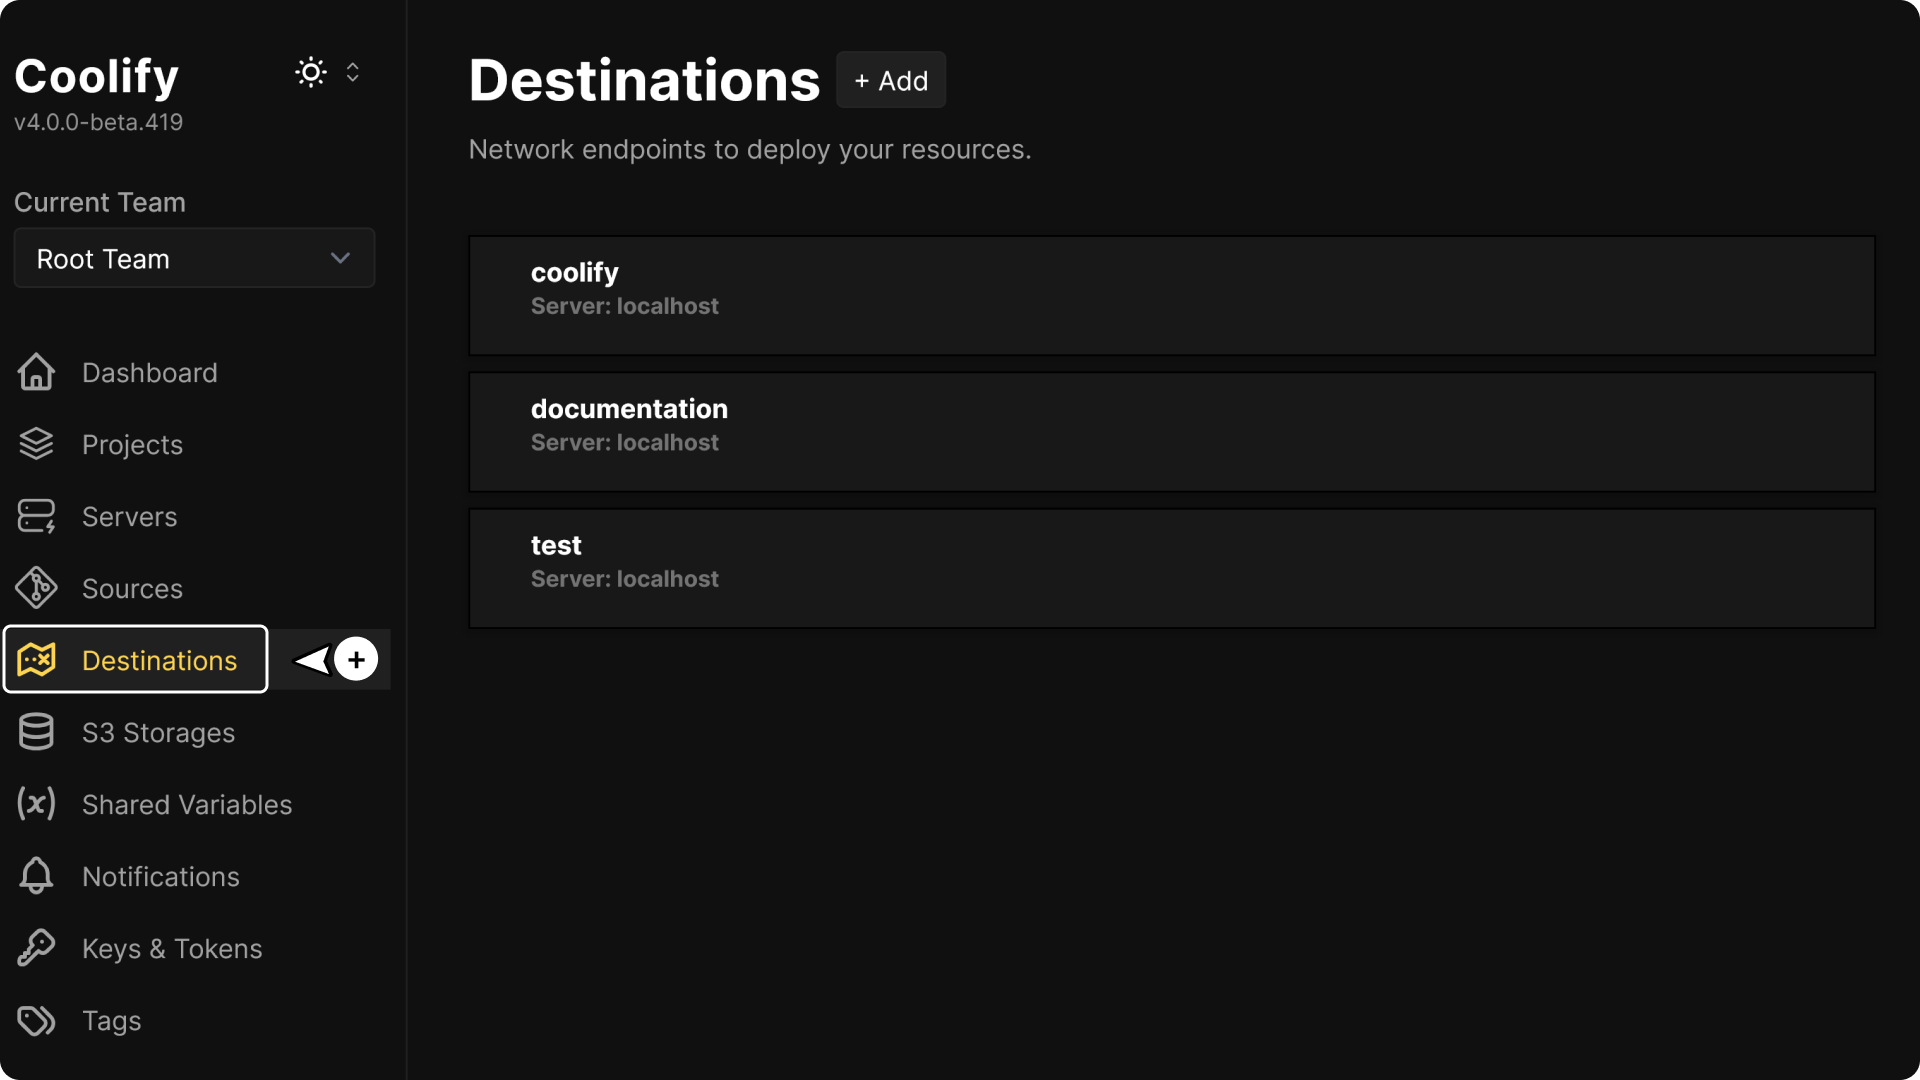
Select Destinations in the Coolify sidebar to see destinations across all usable servers in the current team. Each entry shows the destination name and its server.
To see destinations for one server, select Servers, choose the server, and open Destinations.
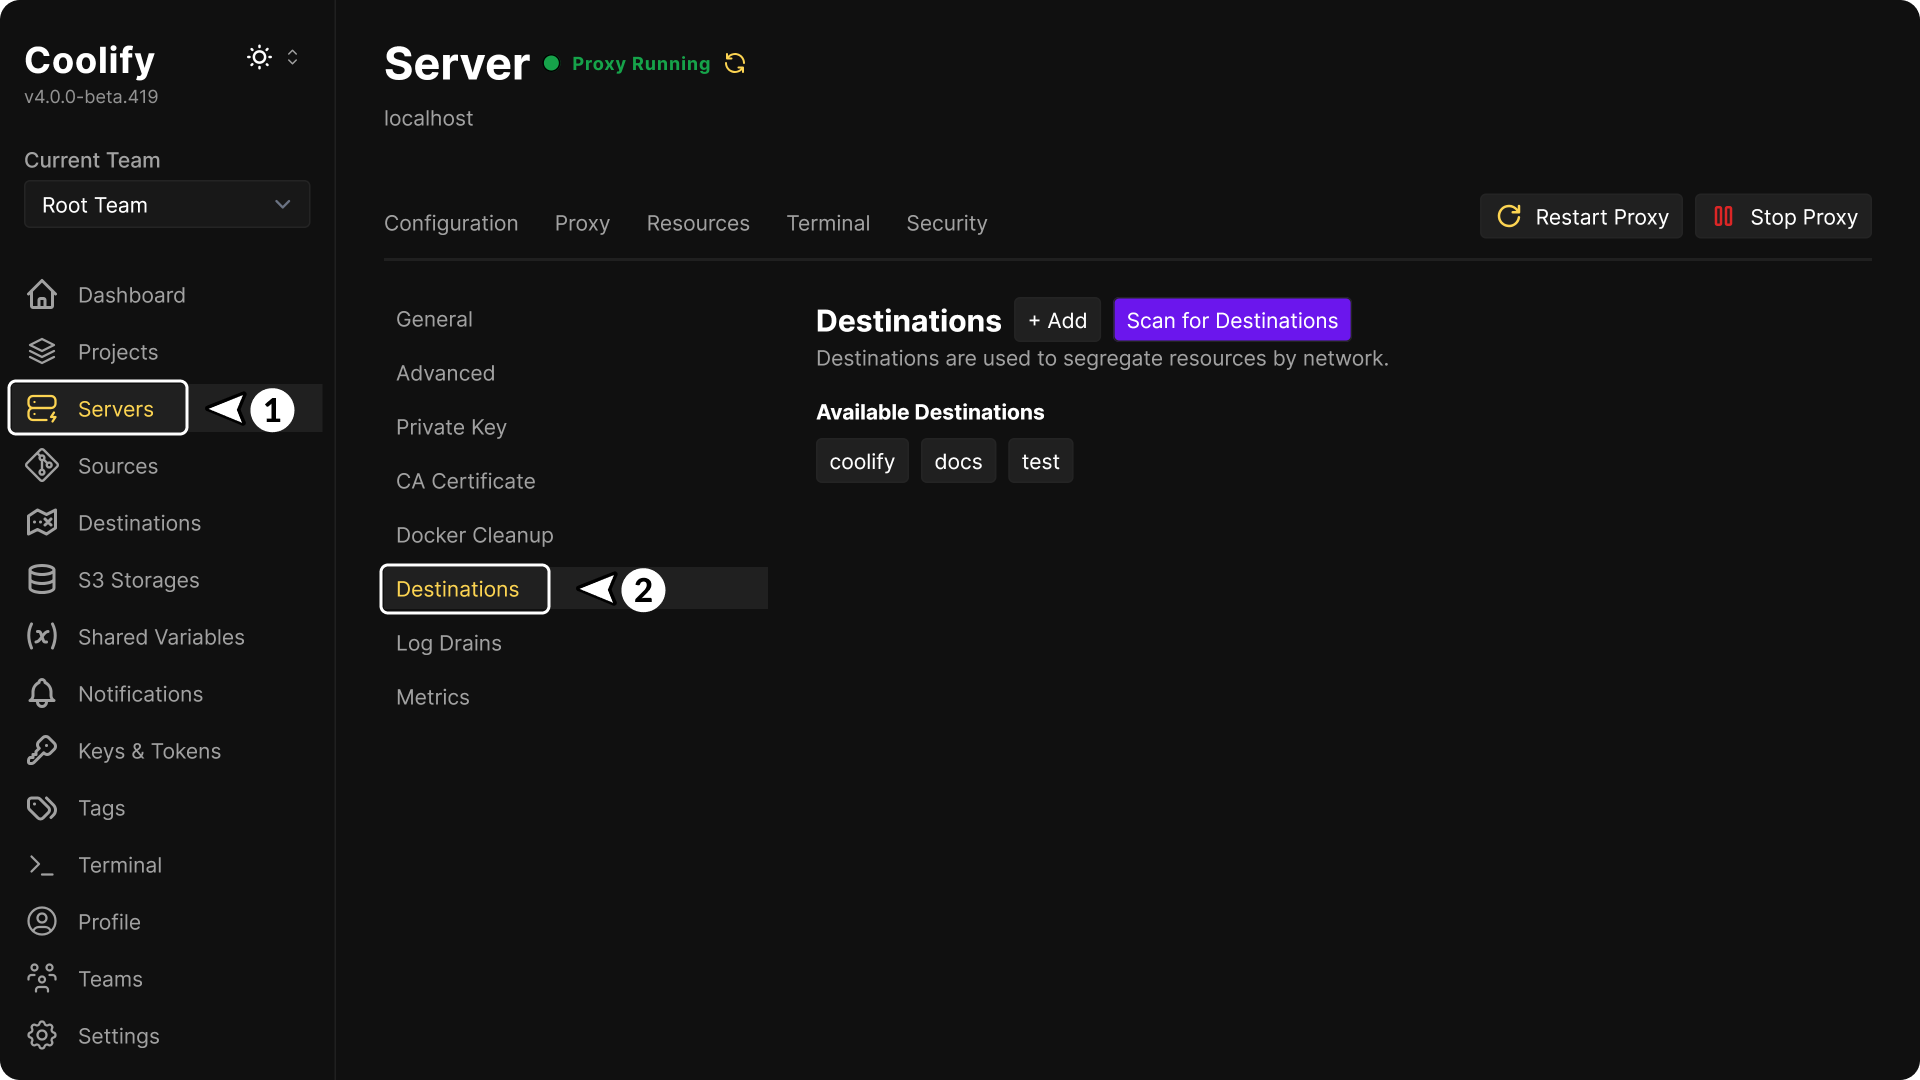
Review destination details and resources
Select a destination to open its management page.
- General shows its dashboard name, server IP address, and Docker network name.
- Resources lists the applications, databases, and services recorded against a standalone Docker destination. Use the search field to filter by resource, project, environment, or type.
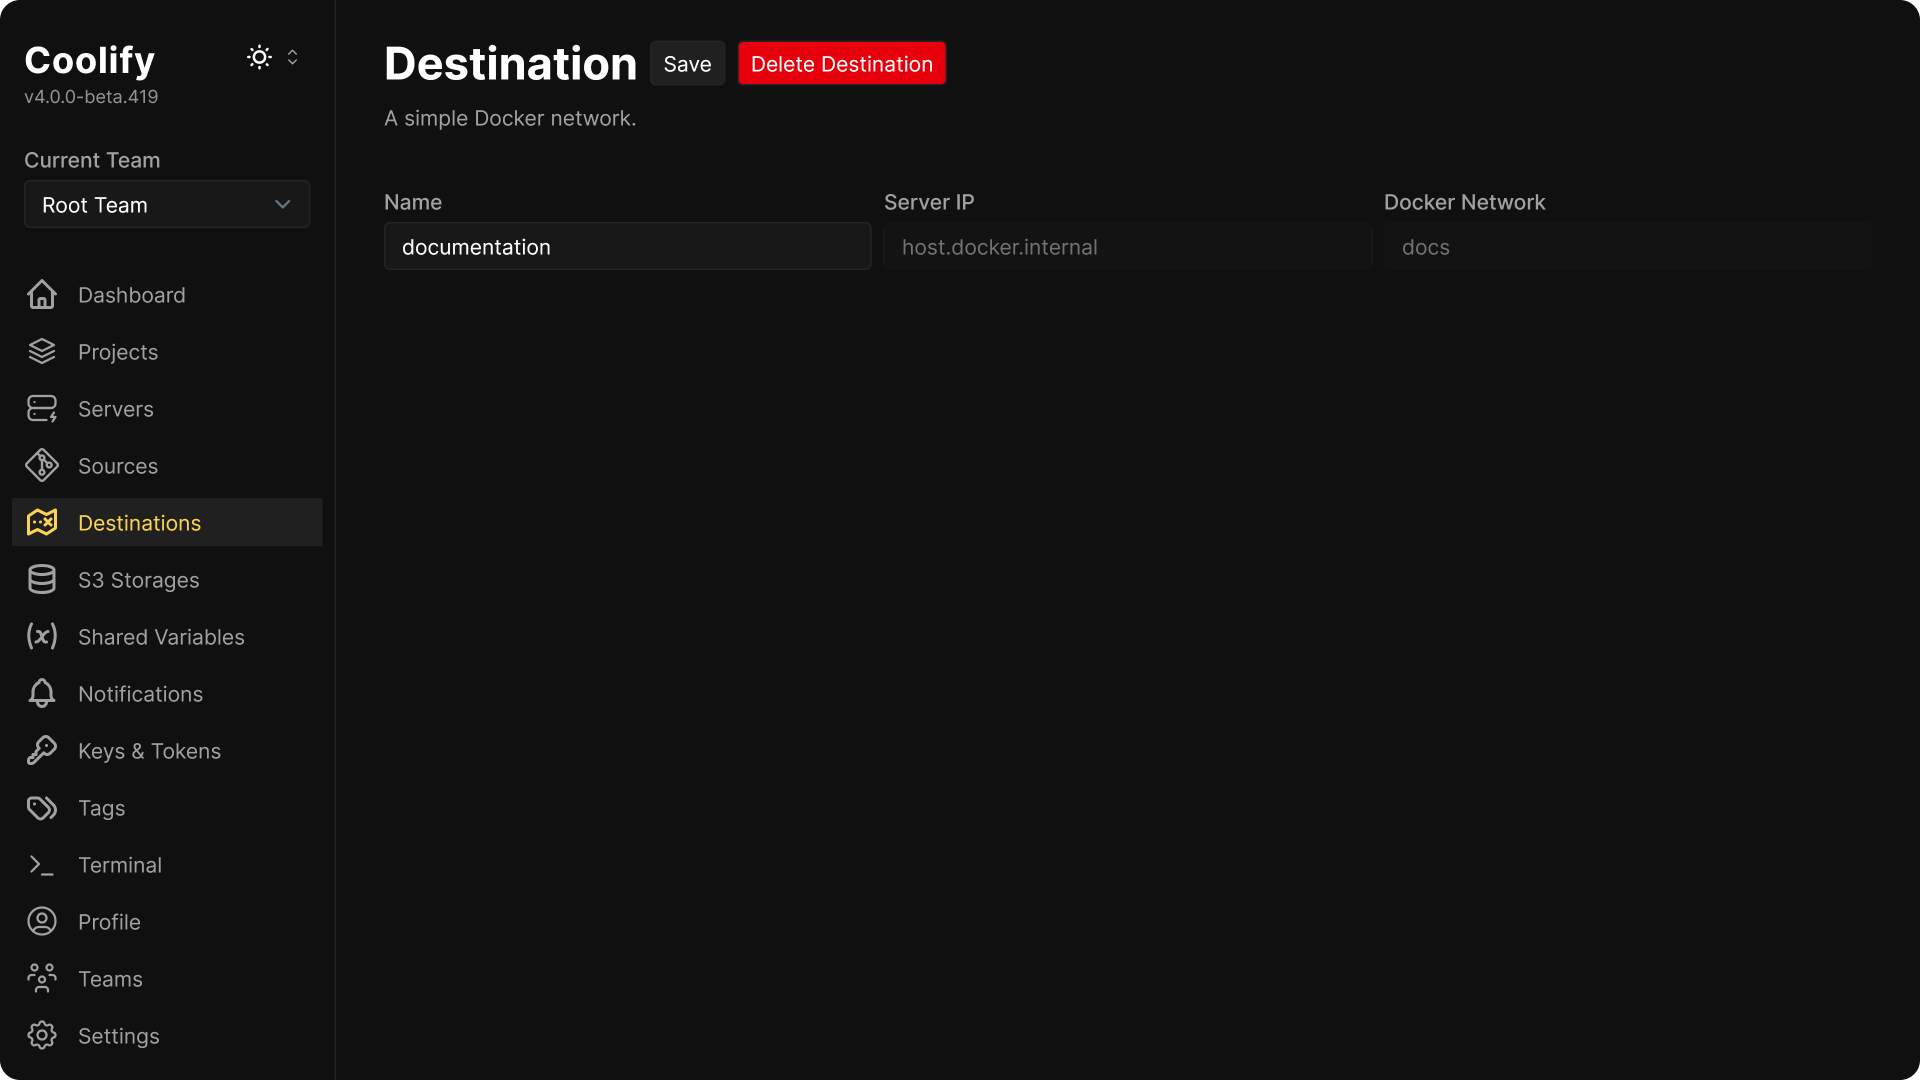
| Field | Behavior |
|---|---|
| Name | Editable dashboard label. Renaming it does not rename the Docker network. |
| Server IP | Read-only address of the server that owns the destination. |
| Docker Network | Read-only Docker network name used on the server. |
Rename a destination
- Open the destination's General page.
- Change Name.
- Select Save.
- Return to Destinations and confirm that the new name appears with the same server.
The server and Docker network cannot be changed after creation. Create another destination if a resource needs a different server or network.
Choose a destination for a new resource
When you create an application, database, or service, Coolify asks you to select a server.
- If the server has one destination, Coolify selects it automatically.
- If the server has more than one destination, select the destination whose Docker network the resource should use.
The selected destination becomes part of the resource configuration. Coolify does not provide an in-place action that changes an existing resource to another destination.
Clone a resource to another destination
Clone a resource when you need a separate copy of its configuration on another server or Docker network.
- Open the resource in its project and environment.
- Open Configuration and select Resource Operations.
- Under Clone Resource, choose Select Server.
- Choose Select Network Destination.
- Select Clone Resource.
- Open the cloned resource and verify its destination and configuration before deploying it.
Cloning duplicates configuration such as environment variables and build settings. It does not copy database contents, persistent-storage files, or data held by an external provider. The original resource remains unchanged.
Use a backup or a resource-specific migration procedure when the clone also needs existing data. Move Resource on the same page changes only the project or environment; it does not change the server or network destination.
Connect Docker Compose resources
Docker Compose applications and service stacks use a resource-specific network by default, even though the resource has a selected destination.
Enable Connect To Predefined Network in the resource settings when its containers must join the selected destination and communicate with other resources on that Docker network. Read Docker Compose networking for the Compose requirements and limitations.
Do not add a custom Compose network only to reproduce a Coolify destination. Conflicting network configuration can prevent the Coolify Proxy from reaching the resource.
To remove a destination and its Docker network, follow Delete Destination.